

Introduction: How to Make an End Grain Chessboard


I make end grain cutting boards. Once I made a "Chess" end grain cutting board
I used mineral oil and beeswax for finishing, so it was impossible to use it as a chessboard. Mineral oil and beeswax never become dry. Also I made a mistake and made A1 square white.:) I am not a chess player.
Then I got an order for the real chessboard. The making process is the same with the exception of finishing. I used varnish for finishing.
I will show the stages of the making process.
Thank you!
Andrei Muntian,
FREE tutorial "THE BASICS OF MAKING END GRAIN CUTTING BOARDS" - http://eepurl.com/brMc_5
Step 1: Drawings, Wooden Panels


I made the drawings. The customer wanted 50 mm (about 2") squares, so I made 400x400 mm playing surface and 458x458 mm overall size. The border was lower than playing surface. I decided to use walnut and maple for the playing surface and walnut and cherry for the border.
I made two panels (walnut and maple) 52 mm thick.
Next day I sawed off four maple strips and four walnut strips. The thickness of all strips after planing was 50 mm.
Then I made another one wooden panel of these maple and walnut strips.
Step 2: Playing Surface


When the panel dried up I sawed off eight 38 mm wide strips.
I rotated each strip 90 degrees so that the end grain was up and assembled a board.
Then I glued it.
Step 3: Chess Notation


I used CNC machine to make letters/numbers at the border.
I used V-inlay technique. First I made pockets for letters and numbers, then mirror inlays. 30 degree V-bit was used.
I inserted inlays into pockets and glued them.
Step 4: Gluing a Chessboard


I planed the playing surface and sawed of the edges.
I sand the strips with letters/numbers at the drum sander.
Then I glued the border to the playing surface. I made double border. First I glued 4 mm cherry strips, then 25 mm walnut strips. The height of the playing surface was 36 mm, the border - 24 mm.
Step 5: Sanding


There was a lot of sanding. It is very difficult to make an end grain surface flat and smooth. I used dual drum sander with 80 and 120 sandpaper, then a rotary sander with 150 and 220 sandpaper.
Also I engraved my logo at the CNC machine.
Step 6: Finishing
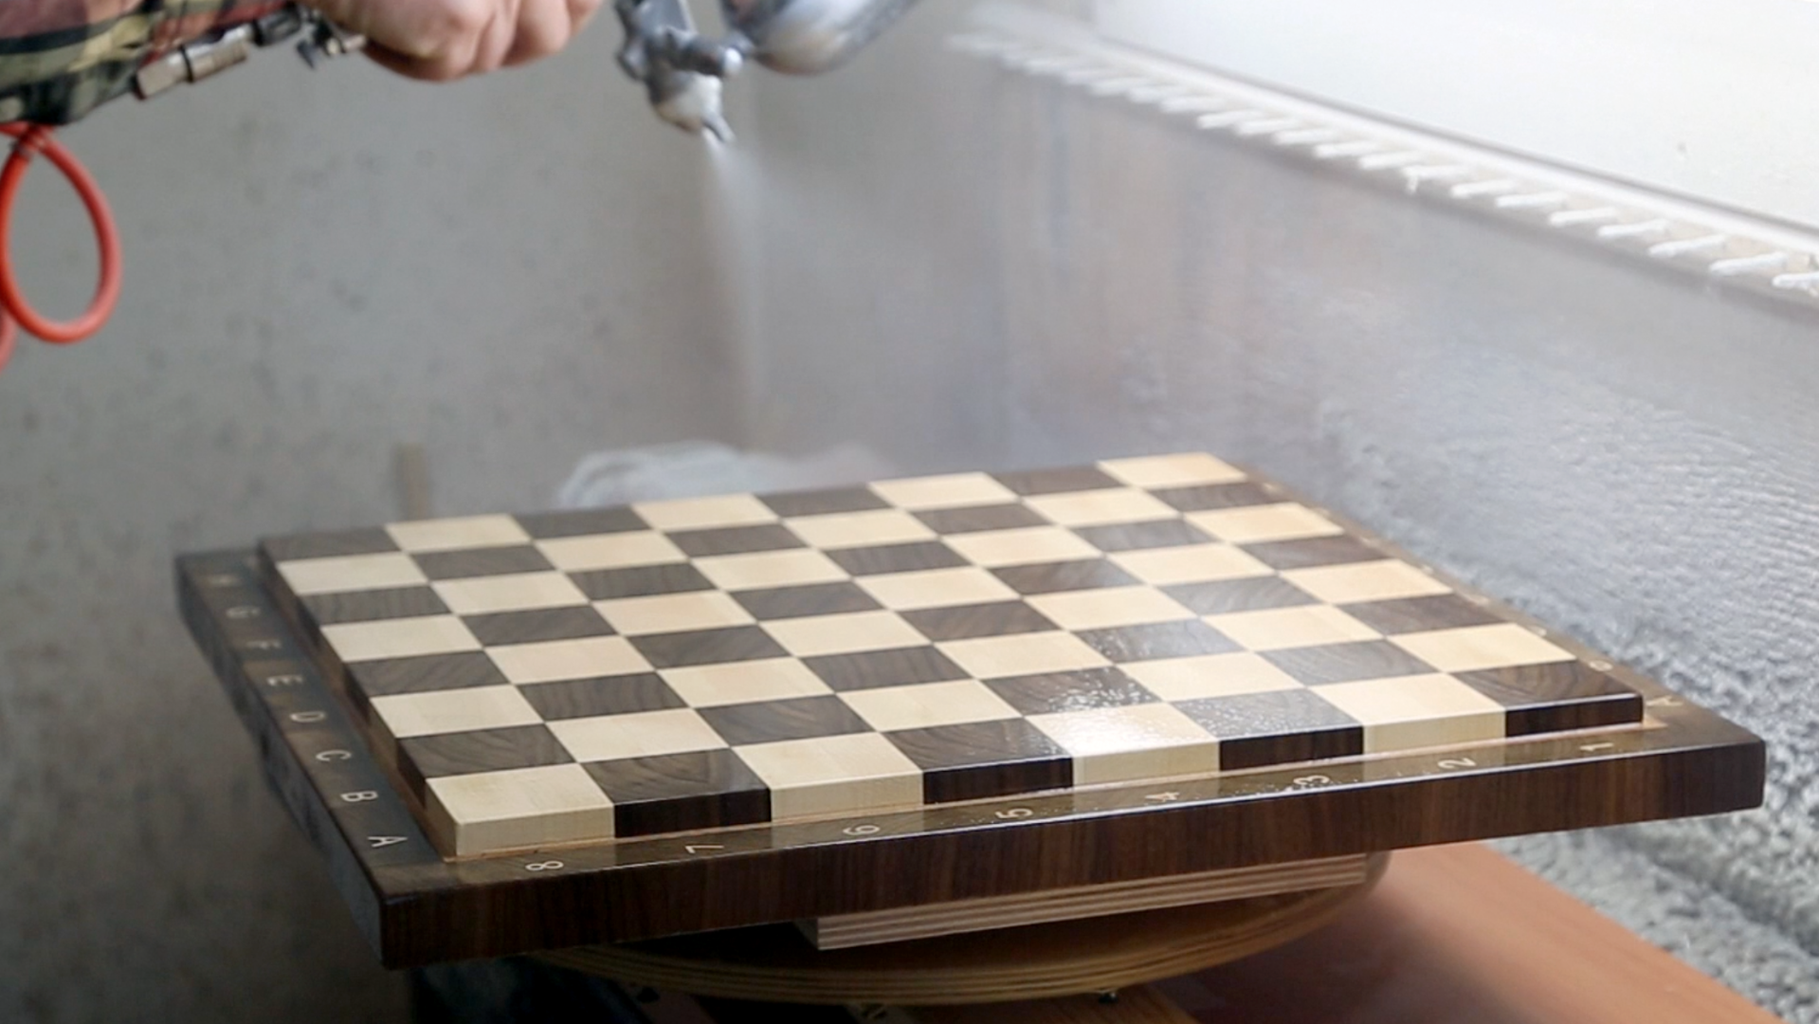


I used a nitrovarnish (20% gloss) for finishing.
A lot of sanding again. I used random orbital sander with 400 sandpaper. I sanded every coat of varnish. There were five coatings.
Step 7: The Result


Thanks for watching!


