

Introduction: Hunchback Witch With Pet Spider


I have been wanting to make this costume for over five years and she came out perfect
Step 1: Supplies Needed

Creepy witch mask, styrofoam head, Fake eyeball, liquid latex, Apoxy sculpt clay (2 part A&B), Pottery clay sculpture carving modeling Tools, Duct tape, large cotton balls, oven baked clay – white, Tandy leather stain, acrylic paint and black and green, high gloss varnish, body paint – black and green, black or grey nail Polish, a snug fitting vest- (I used a laser tag vest I got at a garage sale), 4 to 6 cans of great stuff insulation foam, heavy duty Velcro strips, six or more yards of black material - I used an old futon cover, dark grey Halloween cheesecloth, Ace bandages, dress form
Step 2: Creeping Out the Mask


I decided she would only have one eye with the other one have been gouged out. I actually made an eyeball that I carried around and showed people. I have instructions at the end for that. I used a prosthetic latex eye that I bought at a Halloween store. I secured it with duct tape on the inside of the mask and shaped and built her Eye up using Apoxy sculpt. This stuff is amazing- it is user-friendly and has a 2 to 3 hour working time. It hardens on its own and after 24 hours it can be sanded, carved, drilled, and painted! I used my modeling clay tools and a little water to sculpt the eyelids and once it was set up, I placed masking tape around the actual eyeball to protect it from the remaining steps. I painted a layer of latex and then painted it green. The other gouged out Eye socket was made using cotton balls, latex and paint. Using high gloss varnish, I made it look wet and gross. I placed a layer of latex mixed with a little green paint to make her face more creepy and more uniform. I made a lot of teeth out of oven baked clay (shaped them and stuck them in the oven for 15 minutes). I decided to use just a few teeth for her. I distressed them using Tandy leather stain. I just stuck them down and her “gums”. To finish her off I deepened her wrinkles with some black paint.
Step 3: The Hunchback


Put the vest on the dress form and zip it up. In layers, add great stuff to the back to start building up the hunchback. I sprayed it with water which will speed up the curing process. Once it sets up ( within 1 to 2 hours depending on how warm it is Dash the warmer, the faster it sets up), more layers can be added. I don’t use the straw from the Can because you can only use it once. The can should be held almost upside down in order to be able to use all of the foam. The less pressure you use, the slower it comes out. If there is going to be any foam left in the can, pour some acetone down into the top which eats the foam and that way you can reuse the remaining foam. What is great about this project is you don’t have to be precise you can make the hunchback as large as you want it. This could be made for a small child or a large adult. Just keep adding more foam until you get to the desired effect. I started at the back of the top of the shoulders Because the head/shoulders will be Velcro to the front for easier assembly.
Step 4: Creating Her Outfit


This is also a very “forgiving” step. I actually used an old futon cover, ripped out the zipper and cut a hole for my head and one of my arms. The rest was cut and hot glued together! I cut a hole for her head to pop through, rolled back the material and hot glued it to stay in place. To make her have a hood, I gathered the material around her head and hand sewed it. I placed two old grey cheese cloth around her head and back and secured it with hot glue.
Step 5: Adding the Head and Creating the Shoulders


I used wax paper as a template on top of the vest to guide me as to where to attach the great stuff on each side of the head. I only placed enough on each side to go up about 6 inches. Once that set up, I attached the head and secured it with Ace bandages to the vest. Since I wanted to remove the shoulders and head and make it easier to get on and off, I placed wax paper on top of the vest in the areas that I made the shoulders. Ones that was totally set up, I placed heavy duty Velcro on the vest and under the shoulders with a hot glue gun. That way, I can put the vest on zip it up and then put the witch’s head and shoulders on.
Step 6: Finishing Touches and Extras


I wore a long sleeve black shirt which can be adjusted depending on how much I wanted to paint my arms. For a creepy effect, I painted my knuckles with black body paint first and made a fist to open up my wrinkles. I painted them and let them dry all the way. Then with my hand flattened, I removed most of the paint with a damp cloth just leaving the wrinkles alone. Once that dries, I painted my hands and arms with green body paint and dusted with translucent powder to set it. For the eyeball you will need a fake eyeball, Apoxy sculpt, heavy duty twine, masking tape, acrylic paint, latex and high gloss varnish. I sculpted around the eyeball with Apoxy sculpt to make the eyelids. Ones that set up, I placed a piece of heavy duty twine about 5 inches long and unraveled it to wrap it around the back of the eyeball and use hot glue to secure it. I covered the eye with masking tape to protect it from the next steps. I mixed some red acrylic paint with latex and cover the entire process. Once dried, I added different colored paints ( purple, okra, green, yellow ) to add depth. I finished with the generous amount of high gloss varnish to make it look fresh and wet. People were really grossed out when I showed them! For the spiderweb victim I used spiderweb, a black hoodie and pants and a hot glue gun. I didn’t take any pictures of this process because it is very easy to do and it was a last minute thing. I stretched out the spiderweb and hot glued it down as I wrapped it around the clothes. I attached a long strand from the spider to the victim!
Step 7: Spiders Supplies

One balloon, Vaseline, self adhering tape, cotton balls, electrical wire 12 gauge, baseball helmet without guard, 4 -6 cans of great stuff insulation foam, duck tape, brown spray paint, acrylic paint – Black, brown,, High gloss varnish, 2 ping pong balls, six Black glass beads OR six black small marbles, wire cutters, brown fake fur, hot glue gun, spray bottle for water, disposable gloves, old clothes, safety glasses, floral wire, plastic trash bags, wax paper, acetone
Step 8: Making the Body and Legs


Safety is my motto! Always wear protective Eyegear when dealing with different types of materials especially the great stuff. I’ve learned a lot just by trial and error working with great stuff. Spraying water on it can speed up the curing process. There is also a “window of opportunity“ where you can actually manipulate it and help to form your intended Shape. I go through a lot of disposable gloves when using this foam. Also make sure that your helmet is secure on the head of the person that is wearing it. I used the pumpkin to see where I wanted her body to be. I drew a circle around it to know where I would have the bulk of her body be. I discarded the pumpkin. I blew up a balloon, taped it to a bowl with the most bulbous part face up. I greased it down with a layer of Vaseline which will help the balloon not stick to the foam. I covered the balloon with a layer of great stuff to resemble a “bowl“ or her “back end“. See the picture just as a reference point as I forgot to take a pic of this part. After that set up, I popped the balloon and shaped it by cutting it down with an X-Acto knife in order to fit the helmet. I secured it with floral wire and hot glue. The reason why I did this with the balloon was to Decrease as much weight that this was going to have. Next I cut four long legs using the electrical wire which were about 9 feet long each, and secured them along the top and towards the back of the helmet with Duct tape. The legs would be approximately 3 to 4 feet in length . The next layer of great stuff I used was to firmly secured her legs and back end. I didn’t want this area to be too “poofy”. So this is where the window of opportunity came into play. I sprayed it with water and waited. It takes between 5 to 15 minutes for the foam to set up enough to be manipulated. I was able to make it as flat as possible in the area where the legs are. Don’t forget to pour acetone down the top of the can when not in use. I tried the helmet on to make sure I made her fangs so they wouldn’t be in my line of vision.
Step 9: Making Her Fangs, Legs, Eyes and Pedipalps


Upon examining pictures of spiders, I noticed the extra “legs“ next two their fangs. These are called pedipalps and are used to hold its prey when she attacks. So I made some! The next layer was to make her more uniform and create her Fangs. Coming from the top quickly on full blast and then going slow on the way down and lightning up on the pressure of the can, I could control how fast or slow the foam came out. I did wait for that time that I could touch and shape her fangs a little. During this same time is when I placed the first four of the her eight eyes. The two large ones are ping pong balls I painted black with high gloss varnish. I just stuck them into the foam and pinched the foam around them. Now if they were not secure enough, I would have just used some hot glue around them. Using the lightest (in weight) material I could, I gave the legs some definition. I first bent them into the position that I wanted them to be in. I hot glued cotton balls for the joints and wrapped trash bags around the legs. Starting with the tip of the leg, I wrapped each one with long strips of ace self adhering bandage. I added two more pieces of wire next to the fangs for the pedipalps and wrapped them in the ace self adhering bandage as well. For the other four eyeballs, I had to cut into the foam and used hot glue to secure them. I placed masking tape on all of the eyes to protect them during the painting process. The next layer of Foam was to add some “meat” to her legs and two cover up the helmet completely and build the Pedipalps.
Step 10: Painting the Spider


Once I was satisfied with her shape, I painted her first with a couple layers of dark brown primer/spray paint. The paint dries quickly and I could turn her over to completely cover her and any spots I missed. I then added lighter colors of browns and tans with acrylic paint. I wish I would’ve used gloss and not matte But she does look pretty creepy and Old! I noticed that her legs weren’t strong enough so I had to add more great stuff next to her body. It was easy to cover up with paint and to blend it in. The finishing touch was too hot glue some pieces of fake fur to her joints! In order for me to be “invisible”, I hot glued some “see-through” black fabric under the helmet. I was able to see out but nobody could see me!
Step 11: Putting It Together!!!!!


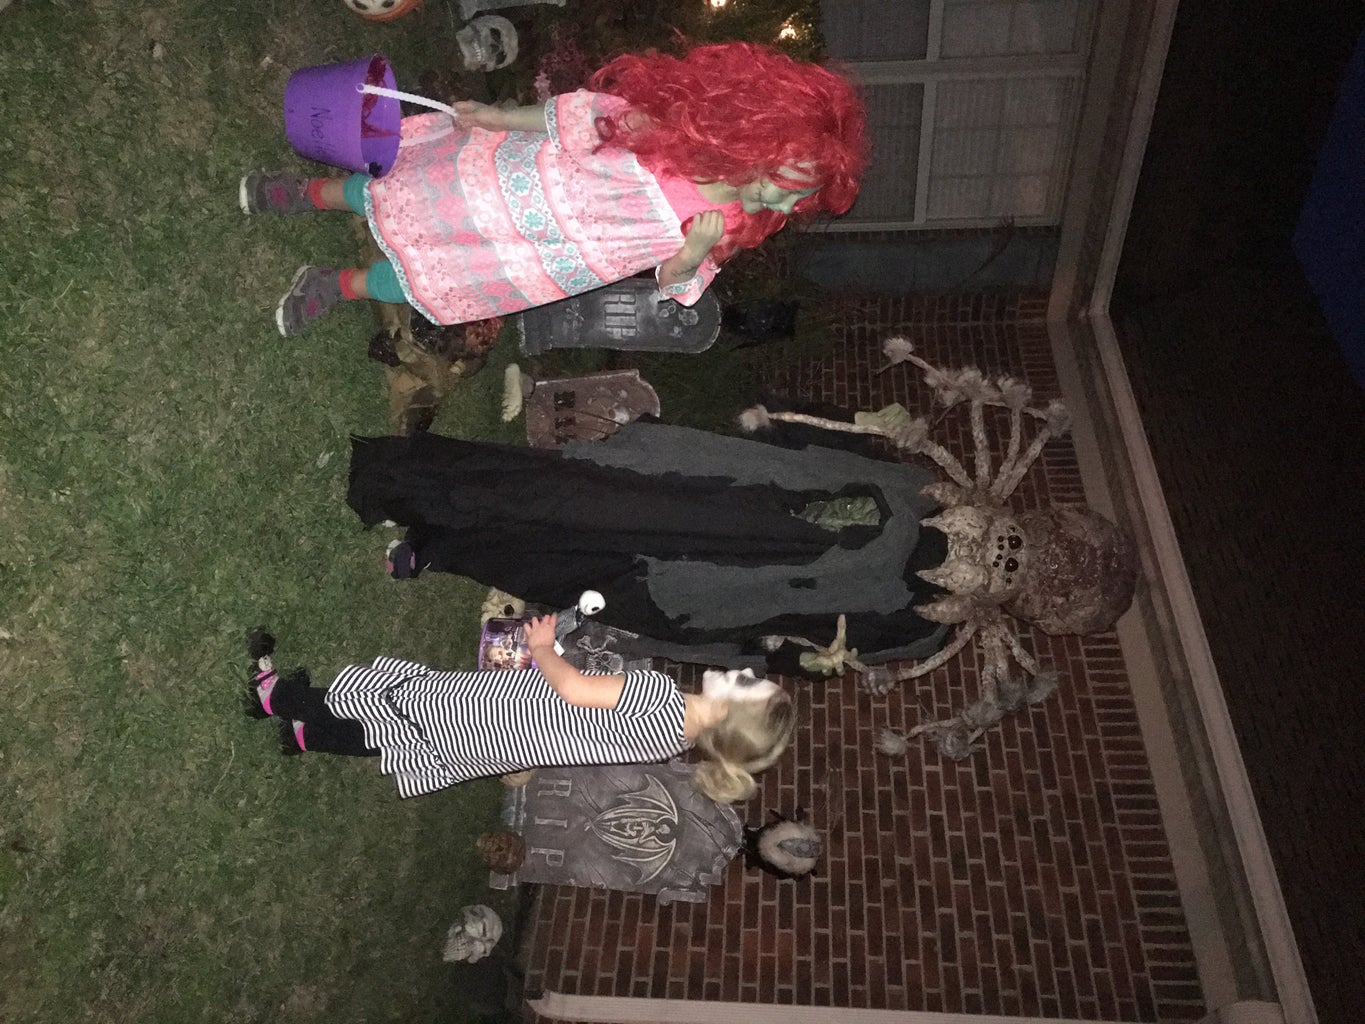


We had a lot of fun with our trick-or-treaters! Even my Mom got involved and scaring people!

Participated in the
Halloween Contest 2018


