

Introduction: I2C - Communicating Arduinos


This lab was created by Stephen Mathis and Cody Self.
In this lab, we created an I2C bus using two Arduinos; one master and one slave.
Here is a list of items used to make this I2C bus:
- 2 Arduinos
- Jumper Wires
- 220 (Ohm) Resistors
- 2x LED's
- 2x Breadboards
Step 1: Step 1: Connect the 2 Arduinos
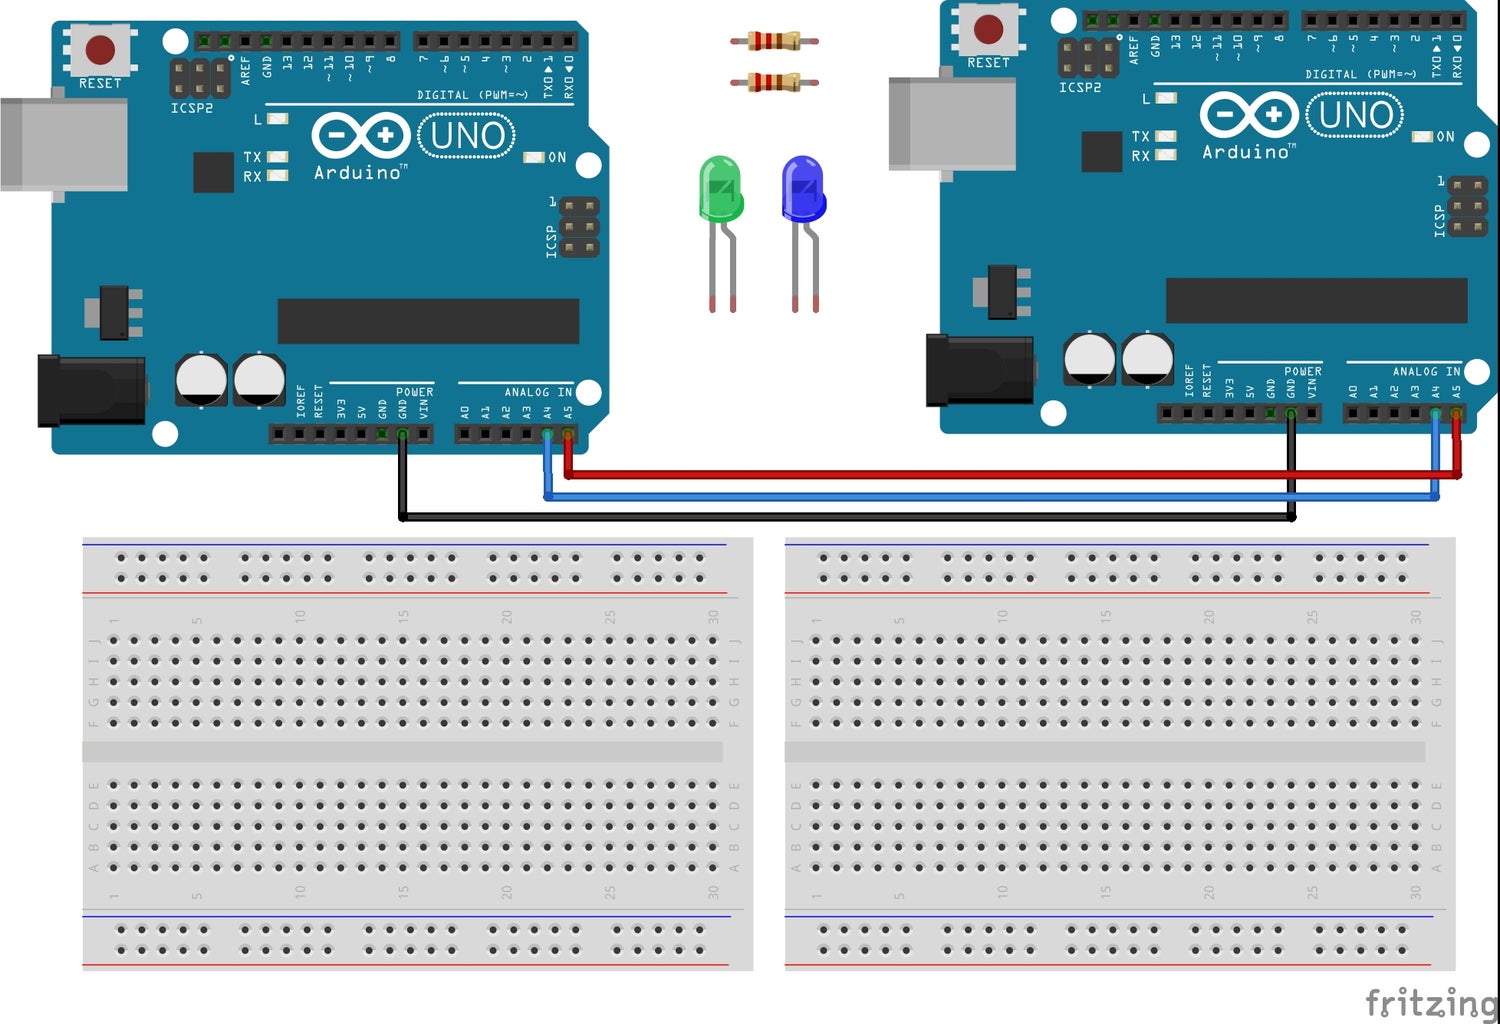
- Start by using a Jumper Wire to connect the GND lines on each Arduino.
- The GND line has to be the same for both Arduinos for it to work.
- Connect pins A4 and A5 on both Arduinos.
- Again, the connected pins have to be identical for both Arduinos to work.
Step 2: Step 2: Conecting the Arduinos to the LED Communication

- Attach an LED to the Breadboard.
- Connect a 220 (Ohm) Resistor to the long lead of the LED
- Connect the Resistor to Pin 13 on the master Arduino.
- Connect a Jumper Wire from the short lead of the LED to the GND pin on the Arduino.
- Repeat steps 1-4 for the Slave Arduino.
Step 3: Step 3: the Code
Here is the code for the Slave and Master Arduino.


