

Introduction: IOT Based Motion Activated Alarm System


Since a very long time, I wanted to make practical use of IOT or say Internet of things. In one of our previous project, we made a Weather Station, which was mounted on our balcony and that project was just fabulous. I wanted to try something more practical so today in this blog, we will learn how to make Motion Activated Security System for your home or garage. We will learn how motion sensors work, how easy it is to add an industrial grade alarm. We will wire this system, build our ANDROID / IOS app which will receive notification and see this system in action. So let’s get started.
Supplies
Step 1: Watch the Video
Step 2: Idealogy


Let’s discuss the problem statement of this project.
"to make a Motion Activated Alarm suitable for Home / Office, which can be controlled using smart phone"
We basically need a system that can be activated on motion, later on we will generate a very high pitch irritating sound as alarm and finally we will add ability to switch the alarm ONN / OFF and get notified on App whenever alarm is triggered.
Step 3: Selection of Material


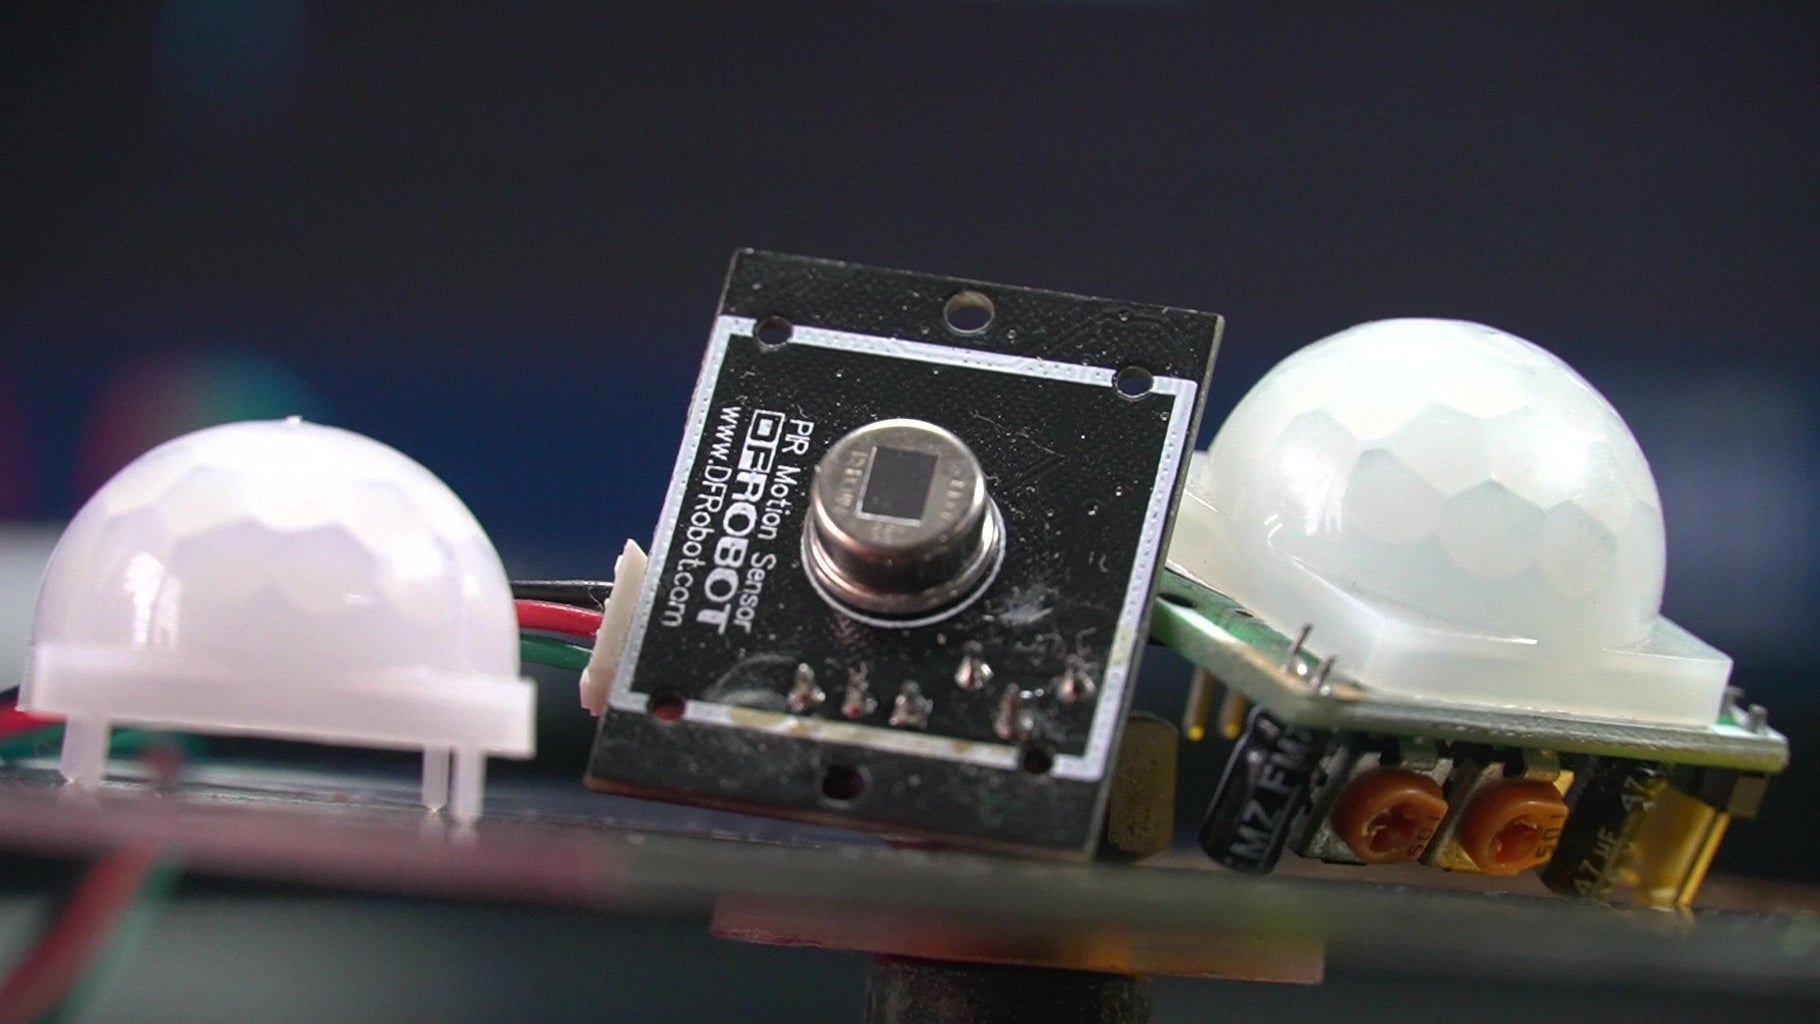

Motion Sensor:
There are obviously many choices for motion detection like camera, PIR sensor, RF Based Sensor, and few industrial options which after all use PIR in different footprints. But the cheapest option is RCWL-0516 module or say RCWL- 0516, which is based on EM Waves at Microwave frequencies ( but don’t get scared with microwave term, since the power rating of this module is in mill watts.)
Micro Controller:
We need a Microcontroller with Wifi / Internet Connectivity option or say we need an IOT NODE so that we can easily control or receive data whenever there is an Intrusion. My Go To choice for IOT node is NODE MCU or say ESP8266 which is very simple to use and can be coded with Arduino IDE.
Buzzer / Alarm system:
For Buzzer or Alarm system, I used this Industrial Alarm which is generally used in ATM's and other industrial applications. An Electronic Hooter could be a great option too but it’s a little expensive and overkill for house applications, so this Alarm fits quite the task. It works on 230V AC and has Knob to Adjust the Pitch, which we will set to maximum irritation level for maximum efficiency. Also we will add a single channel relay to control our 230v Buzzer.
Step 4: Understanding RCWL-0516


The RCWL-0516 works on Doppler Effect. Well, what is Doppler Effect?
"The Doppler effect (or the Doppler shift) is the change in frequency of a wave in relation to an observer who is moving relative to the wave source. It is named after the Austrian physicist Christian Doppler, who described the phenomenon in 1842."
The Module itself is an engineering marvel. It is divided in two parts, one is the control/mixer part which is based on IC RCWL9196 and few complimentary passive components that make up colpits oscillator. The other part is Antenna, Microline Inductor and Microline Capacitor built right on the PCB. This module basically sends an EM Wave and whenever there is motion, due to Doppler Effect the EM waves either get compressed or decompressed which is observed by shift in frequency. In either case the Mixer will sense difference and indicate an Output for 2 seconds. This Output time could be increased by adding additional capacitor on SMD Pads attached on backside of PCB. This sensor is rated for 7meter usage, by soldering 1 Mega Ohm resistor on R-GN pad, we can reduce the sensitivity to somewhat 5meters. I have plans to use it along with a Microcontroller so it’s unnecessary to add capacitor for trigger times, since it can be done in code.
Step 5: App Development


For App part, we need a notification on either phone or maybe via email, for which we will use Blynk since it reduces quite of our work. We will also add Software button to basically switch the system on or off while not in use. I initially wanted to add a software kill switch but in case of no internet, it would simply fail. So I didn’t waste time in adding interrupt and kept the code very simple.
Follow up the Following Steps to Complete App Development
- Let’s open our Phone and install BLYNK via App store or Play store.
- Register to Blynk network and create a new project.
- Give any name for your project then select device as NodeMCU and Connection mode as WIFI.
- Once the project is created, we will receive an email with authentication code copy the code, we will paste it in code ( Followed in next step).
- Swipe Right on Dashboard and click on button widget.
- Tap on that button to open properties on Output select digital pin D4 and leave rest of options standard or untouched.
- Swipe right and add Notification, Email and Twitter Widgets.
- Click on run.
Step 6: Coding


Talking about code, we have added Blynk library along with ESP8266Wifi library.
#define BLYNK_PRINT Serial
#include <ESP8266WiFi.h>
#include <BlynkSimpleEsp8266.h>
Next we define our WiFi SSID, Password and Authentication code from Blynk app ( which we copied in last step).
char auth[] = "Enter your Authentication code from Blynk";
char ssid[] = "wifi";
char pass[] = "wifiwifi";
In the setup section, we declared required input output parameters.
void setup()
{
  Serial.begin(9600);
  Blynk.begin(auth, ssid, pass);
  pinMode(Sensor,INPUT);
  pinMode(Main,INPUT);
  pinMode(Buzz,OUTPUT);
  digitalWrite(Buzz,HIGH);

}
At last we declared a loop which starts with a condition to check if the RCWL is high or not.
if (digitalRead(Main) == 1 && digitalRead(sensorval) == 0)
once the RCWL output and out App switch is active, we will strobe Patterns of Sound alerts and also send email and app notifications along with a wonderful tweet.
   Blynk.notify("hey man someone entered your room");
   Blynk.email("INTRUTION ALERT!", "Hey man someone tried to enter your room, better be careful");
   Blynk.tweet("hey man someone entered my room not cool #PrivacyMatters #MisionCritical ");
   digitalWrite(Buzz,LOW);
   delay(7000);
   digitalWrite(Buzz,HIGH);
Find the Full Code Attached in this Step

Step 7: Connections


Sensor Connections:
The RCWL-0516 module has 5 pins, out of which we will use only 3 pins, i.e. VIN, Ground and OUT.
VIN to VIN of Node MCU,
Ground to Ground of Node MCU,
Out to Digital Pin D0 of Node MCU.
Relay Connections:
signal pin to Digital pin D6 of Node MCU.
Vcc to VIN of Node MCU
Gnd to Ground of Node MCU
Power:
We will power the entire using 5V power supply, whose circuit I have removed and soldered.
+5V to VIN of NodeMCU and Ground to Ground.
At this point, let me warn you we are working with 230V AC, I am being careful is an understatement.
Mains Connections:
connect Neutral and Live to Input of 5V Power Supply.
Connect Relay's Output between Neutral and one end of Buzzer.
Connect Second end of Buzzer to Live.
Find Gerber File of PCB that we made for You here!

Step 8: Elegant Enclosure


By this time our circuit and project is almost done, but like always I don’t like to see my circuit as a mess so I will enclose it inside an Electrical box of dimension 102 x 102 x 48 mm ( 4" x 4" x 2" ).
Just remember one important thing that is to properly isolate the boards since we are working with 230V AC. we can use Hot Glue or Electrical Tape to Properly Isolate the Boards.
i drilled two Holes for Buzzer out and Mains IN using 5mm Drill.
Also I would like to point the Sensor at an angle and away from power supply circuit, to avoid interference and get maximum efficiency.
Step 9: Conclusion


I must say this might not be the perfect solution, few commercial options might be better for home security, but as an engineer this project was a learning curve and definitely works if you know what you are doing. I hope you guys learnt something from this Blog and hopefully enjoyed learning, if so hit the like button and share this post with your friends, also consider subscribing to our Social Handles, it’s free.


