

Introduction: Car Remote Starter Installation!


For almost a decade I have enjoyed a viper remote start in my car. I love the ability to warm up the engine and have the air conditioning running by the time I sit in the driver's seat.
I wanted the same convenience for the wife and after 5 years she has given permission after seeing all the other improvements I have done on her veteran Hyundai trajet.
If you are good at car audio, electronics, modifications and maintenance then a remote start system is very easy. You must have the wiring diagrams for your vehicle and it helps if there is already an existing viper or DEI alarm installed. For cars that never had an aftermarket alarm and use factory immobilizer, you will need the immobilizer bypass module from DEI.
I bought the avital 5303l system for her vehicle which is also a DEI product. This installation requires heavy Guage wiring connection to the car's ignition key switch. Soldering is mandatory here.
I have attached the complete installation guide for the Avital 5303L. The installation I performed did not include wiring of the door lock or door switches circuits since these were already wired to the existing viper alarm.
Attachments

Step 1: Dry Testing the System.


It is hyper important to wire up the system at home to a 12volt supply and test all the needed features. I bought the bitwriter to allow far easier programming of certain features. I simulated door status, remote starting, triggering the alarm, and the 2 way pager features of the remote. Also important are the brake shutdown and neutral safety features. For dry testing the neutral safety wire must be tied to 0Volt. To test the brake shutdown just touch it to 12Volt.
All worked well and I decided the following features I wanted installed or omitted:
1. No parking light hook up. I find this feature annoying and I gives away the fact that the driver is coming to a remote started vehicle. Sort of dangerous in our island home.
2. The remote start will not monitor the engine status. I have a fixed crank time of 1.0second. Older cars like ours never give a proper tach or voltage signal. My car never once worked properly with the feedback signal.
Step 2: Remove the Lower Dash Cover.


With 4 Phillips head screws, a 10mm bolt and the trunk release cable off the lower cover removed to reveal the old viper module and the ignition wiring. The car battery needs to be connected to do certain tests.
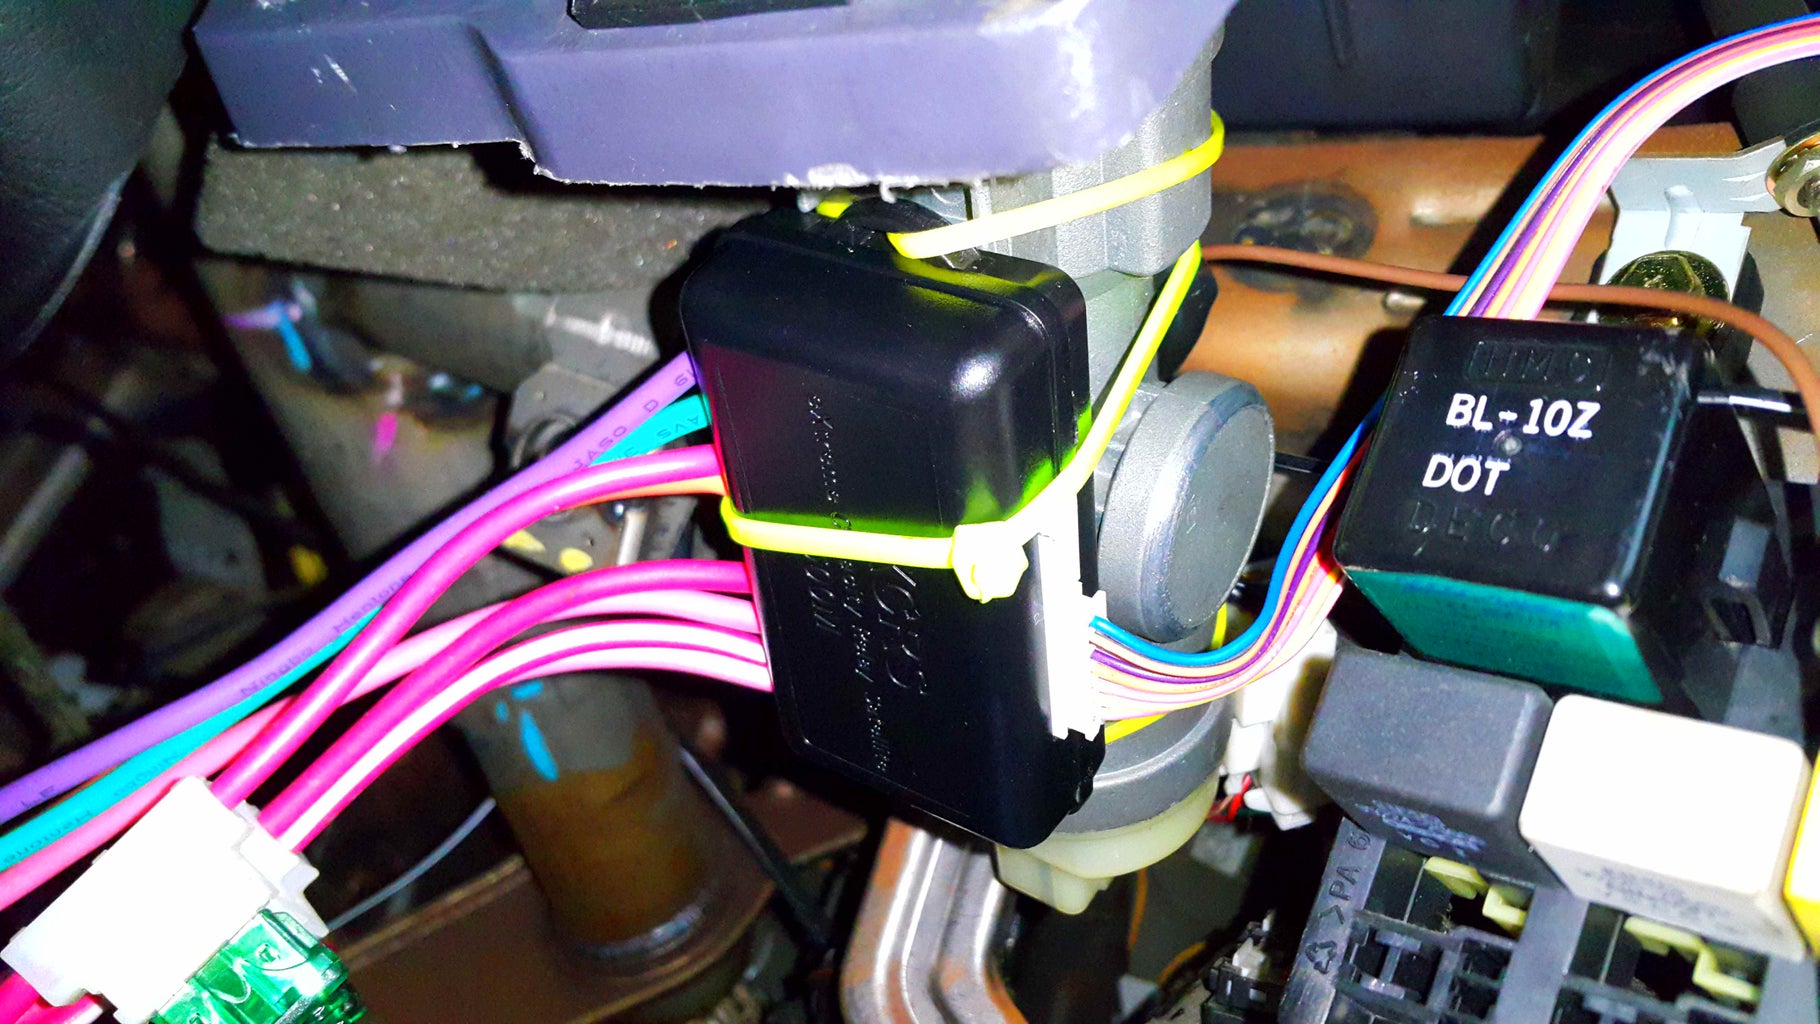
Step 3: Finding the Kill Switch Wiring.


The viper 350hv installed in this vehicle has a kill relay to prevent ignition if the module is unceremoniously yanked out.
I bypassed this kill by connecting the violet wire to the black 0volt.
Step 4: Testing the Ignition Wires.


Here the battery 12volt, Accessories, ignition1/2 and starter wires need to be identified. These 6 wires will be connected to the remote start relay module. The key switch has a connector jack with 3 pairs of lugs.
The constant 12volt will always have voltage on it. This is the first and easiest the find. In this car it is the RED and ORANGE wires in the middle of the connector jack to the key switch.
The key must be inserted to find the other 4 wires. Turning to the Accessories position, testing with my multimeter gives the YELLOW wire. Verifying by turning off then back to accessories is necessary. This wire is at the top of the connector jack.
Next the ignition1 and ignition 2 wires. Turning the key to ignition and probing the harness gives me the PINK wire as ignition 1 ORANGE wire as ignition 2. Toggling between accessories and ignition position verifies my finding. Both of these wires are at the bottom of the connector jack.
Lastly the starter wire at the top of the connector jack. This involves actually cranking the engine. Of course the starter solenoid wire can be temporarily disconnected but the starter on this vehicle is hard to reach. Once GRAY the wire is identified now onto some real installing!
Step 5: Replacing the Old Viper With the New Avital.


Having an existing viper alarm system makes installation so much easier. The wires are already there to be tapped into and nicely identified. Disconnecting the battery is important here to avoid blowing fuses.
I used the same H1 12pin jst connector. I removed the pins I have no use for with the avital module. Luckily dei makes both avital and viper so the connections are pretty universal. The wiring highlighted in yellow are what I used for my installation.
I cable tied the avital 5305l module inside the dash.
Step 6: Installing the Brake Shutdown.


This is taken from the brake pedal switch that send 12volt to the lights. Testing is simple by depressing the pedal to get 12volt. The other side of the switch will have constant 12volt.
The brown wire is tapped into the switched 12volt.
VERY IMPORTANT!
If you have led Park and brake lights, you must remove the park lights WHITE wire from the H1 connector! The leds produce a backfeed that actually disables the remote starter! I learned this the hard way.
Step 7: Installing the Neutral Safety Wire.


This wire is located on pin 1 of connector c21-4 on the ecm module of the car. In park the wire at this pin goes to 12Volt.
Due to the horrendously stupid wiring Hyundai uses in this vehicle, the neutral safety feature cannot be installed at this time. I will need to put a delay ON timer relay to temporarily 0volt the neutral safety wire to allow remote starting then a relay powered from the park gear position will keep it at 0V.
Every sane car manufacturer uses 0volt to identify a gear at the ecm. Retard inbred Hyundai engineers uses 12volt only when the key is at the ON position. The remote start module refuses to start if the black/white safety wire is not already at 0volt.
Luckily my wife has not yet gone the way of her mother by turning off her car in gear complete with keys and door wide open. Easy for car thieves stalking her. Sheesh.
Step 8: Installing the Antenna.


After cleaning the windscreen, I stuck the antenna behind the rear view mirror. I routed the wiring down the driver side pillar.
Step 9: Installing the Remote Start Relay Module.


Since I had already identified the necessary heavy Gauge wires, I solder connected the wires shown in the wiring diagram. My 100watt soldering iron came in handy for this step. I disconnected the battery here to avoid any faults. Mind you, this step is the hardest since it involves tight spaces under the dash. The battery has to be disconnected for this step.
The avital 2 red wires with fuses I tied to the 12volt BATTERY RED wire (middle of connector).
The avital red white wire with fuse I tied to the 12volt BATTERY ORANGE wire (middle of connector).
The avital orange wire I tied to the Accessories YELLOW wire (middle of connector).
The avital pink wire I tied to the ignition1 PINK wire (bottom of connector).
The avital pink white wire I tied to the ignition2 ORANGE wire (bottom of connector).
I had to cut the starter wire now. The avital green wire I tied to the GRAY wire running to the key switch. The avital purple ties to the other end of the GRAY wire running to the engine starter. This wire is at the top of the connector.
The last pic shows a convenient wiring diagram I did to identify all the heavy gauge wires for the remote start module.
Once I put electrical tape and plugged back in the connector and reconnected the car battery. It is very important to manually start the car and ensure all circuits to the oem wiring is working properly!
Step 10: Future Programming.


I left a spare programming cable plugged into the avital 5305l module. This will make it easy to tweak at future dates without having to take down the dash.
On a related note, the bitwriter refuses to write when the system is in valet mode. It must be in alarm mode to allow reading and writing.
Step 11: Horn Installation and Completion!


The horn was simple to install. The black wire went to chassis for 0volt.
With the car remote started I did the following tests.
1. Shutdown by pressing the brake pedal.
2. Manually inserting the key and trying the start while the car is remote started. This is to test the anti grind feature.
Now the wife has remote start capabilities with her veteran Hyundai trajet. We live in a hot climate so have the air conditioning on is a huge comfort by the time she actually gets into the car.
Also she likes the new 2 way pager remote. She likes the pretty factor. Kudos to me! Not bad for an anniversary present eh.


