Introduction: Interfacing 20x4 LCD With Arduino


A liquid-crystal display (LCD) is a flat panel display, electronic visual display, or video display that uses the light modulating properties of liquid crystals. Liquid crystals do not emit light directly.
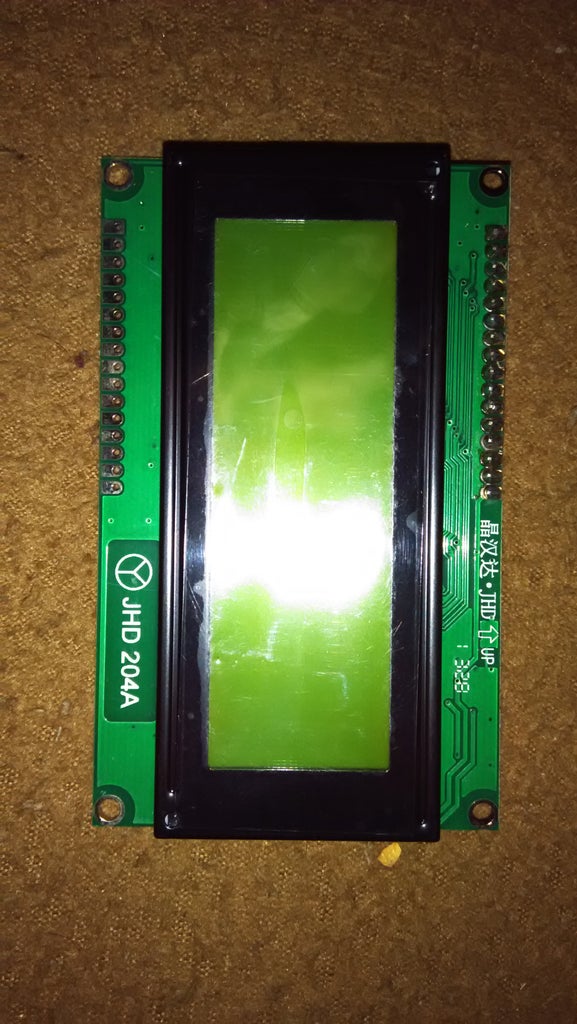
Here, in this i'ble we're going to use a monochromatic 20x4 alphanumeric LCD. 20x4 means that 20 characters can be displayed in each of the 4 rows of the 20x4 LCD, thus a total of 80 characters can be displayed at any instance of time.
Step 1: Material Required
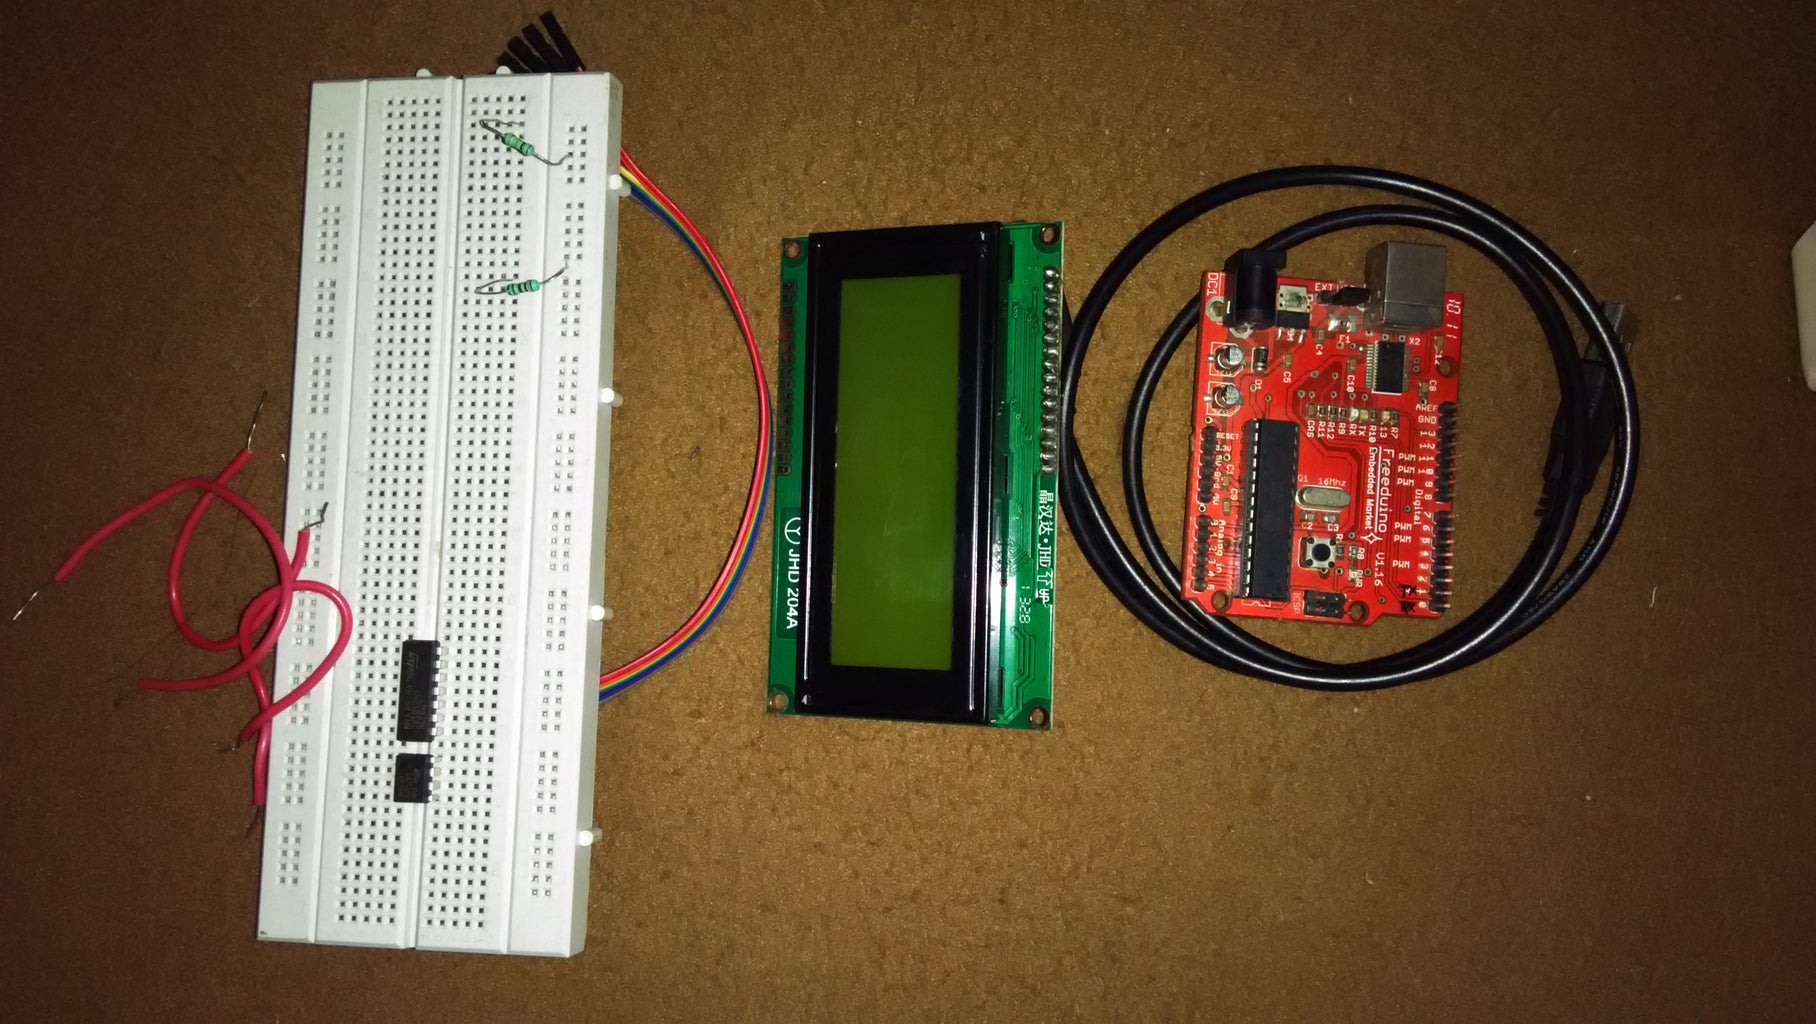
List of requirements is as follows:
1. Arduino/or any other clone
2. 20x4 LCD
3. Breadboard
4. 1k, 220R Resistors
5. Connecting wires
Step 2: LCD-Pinout

The LCD we are using has 16 pins. Description of each pin is as follows:
Pin No Symbol Level Description
1 VSS 0V Ground
2 VDD 5V Supply Voltage for logic
3 VO (Variable) Operating voltage for LCD
4 RS H/L H: DATA, L: Instruction code
5 R/W H/L H: Read(MPU?Module) L: Write(MPU?Module)
6 EH H->L Chip enable signal
7 DB0 H/L Data bus line
8 DB1 H/L Data bus line
9 DB2 H/L Data bus line
10 DB3 H/L Data bus line
11 DB4 H/L Data bus line
12 DB5 H/L Data bus line
13 DB6 H/L Data bus line
14 DB7 H/L Data bus line
15 A 5V LED +
16 K 0V LED-
Step 3: Schematic


1. Study the schematic carefully.
2. Place your LCD on the bread board.
3. Make connections as per the schematic.
4. Instead of the potentiometer, you can use a 1k resistor and connect Pin 3 of LCD to Vcc via the resistor.
5. Carefully check whether all the connections are tight and correct.
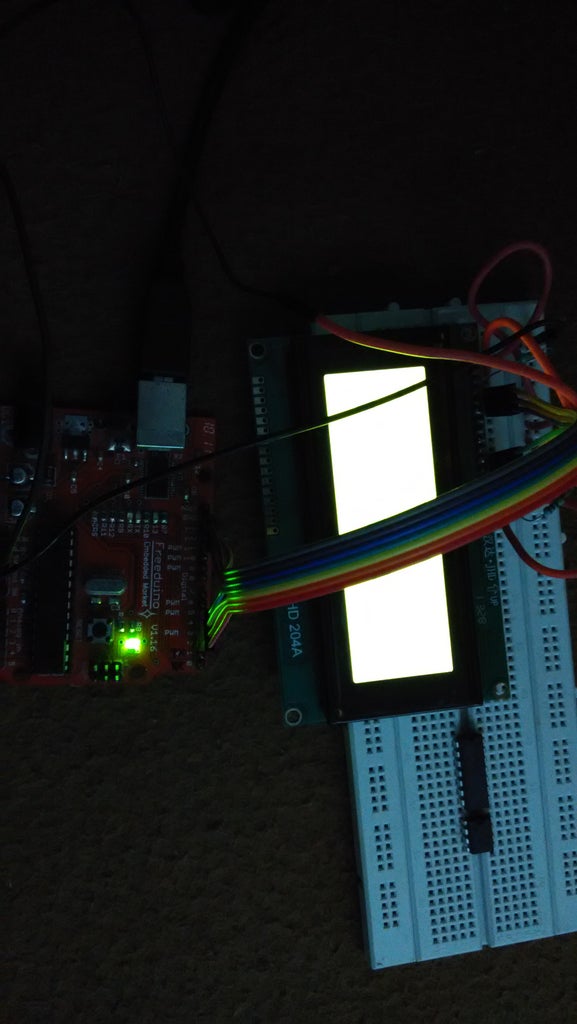
6. Power up your Arduino via USB and check whether the LCD lights up. If yes, proceed.
Step 4: Code

There are two options that you can follow, either you can build up your own code, if you know how to or you can use the example code from the built-in Arduino library "LiquidCrystal.h".
I have used the HelloWorld example from the library. You can find this example in Arduino IDE following the path: File->Examples->LiquidCrystal->HelloWorld.
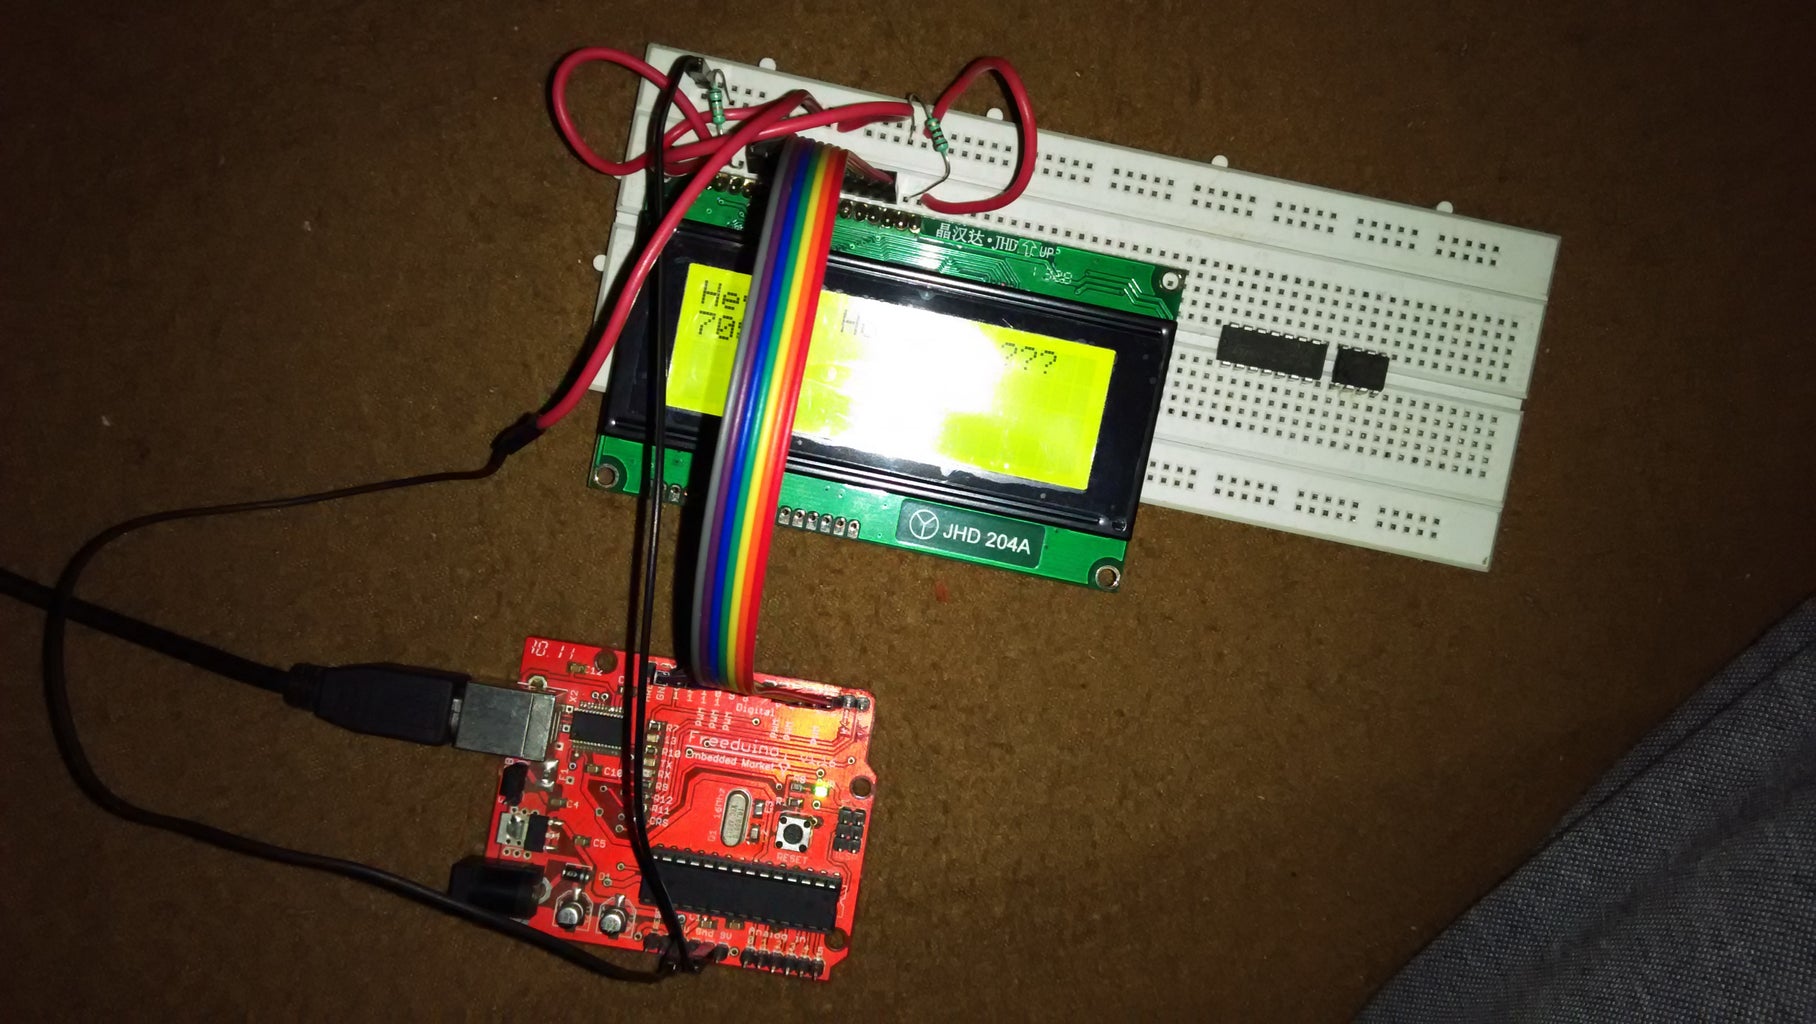
Now connect the Arduino to any of the USB ports and upload the code.
Once the code is uploaded, you must be able to see "hello, world" printed on the LCD.
Step 5: That's All