

Introduction: Interfacing Servo Motor With Arduino Uno


Introduction:
Hi everyone, this is liono maker.
In this tutorial we will learn how to interface Servo Motor with Arduino uno and wiring with it. This is how to make schematic of servo with Arduino. In the sketch we will see servo motor take start from 0 to 190 and then wait for some time and then servo motor move to the position from 190 to 0, this is what happening in this project.
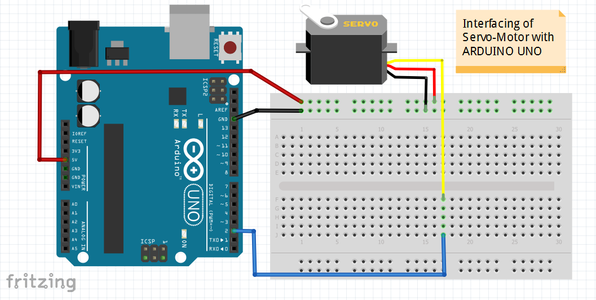
Wiring:
Arduino uno servo motor
GND --------------------------------- GND
5Volt -------------------------------- 5Volt
pin# 2 ------------------------------- yellow wire (signal wire)
software Required:
1) Arduino IDE
2) Fritzing
code:
#include < Servo.h>
Servo myservo; // create servo object to control a servo
// a maximum of eight servo objects can be created
int pos = 0; // variable to store the servo position
void setup()
{ myservo.attach(2); // attaches the servo on pin 2 to the servo object
}
void loop() { for(pos = 0; pos < 190; pos += 1) // move from 0 degrees to 190 degrees
{ // in steps of 1 degree myservo.write(pos); // move to position in variable 'pos'
delay(20); // waits 15ms to reach the position
} for(pos = 190; pos>=1; pos-=1) // move from 190 degrees to 0 degrees
{ myservo.write(pos); // move to position in variable 'pos'
delay(20); // waits 15ms to reach the position
}
}
//................................completed................................................
Thanks for watching

Participated in the
Arduino Contest 2020


