

Introduction: Joystick Led Pwm


Controlling led or simply reading values of analog values from joystick... let's get started
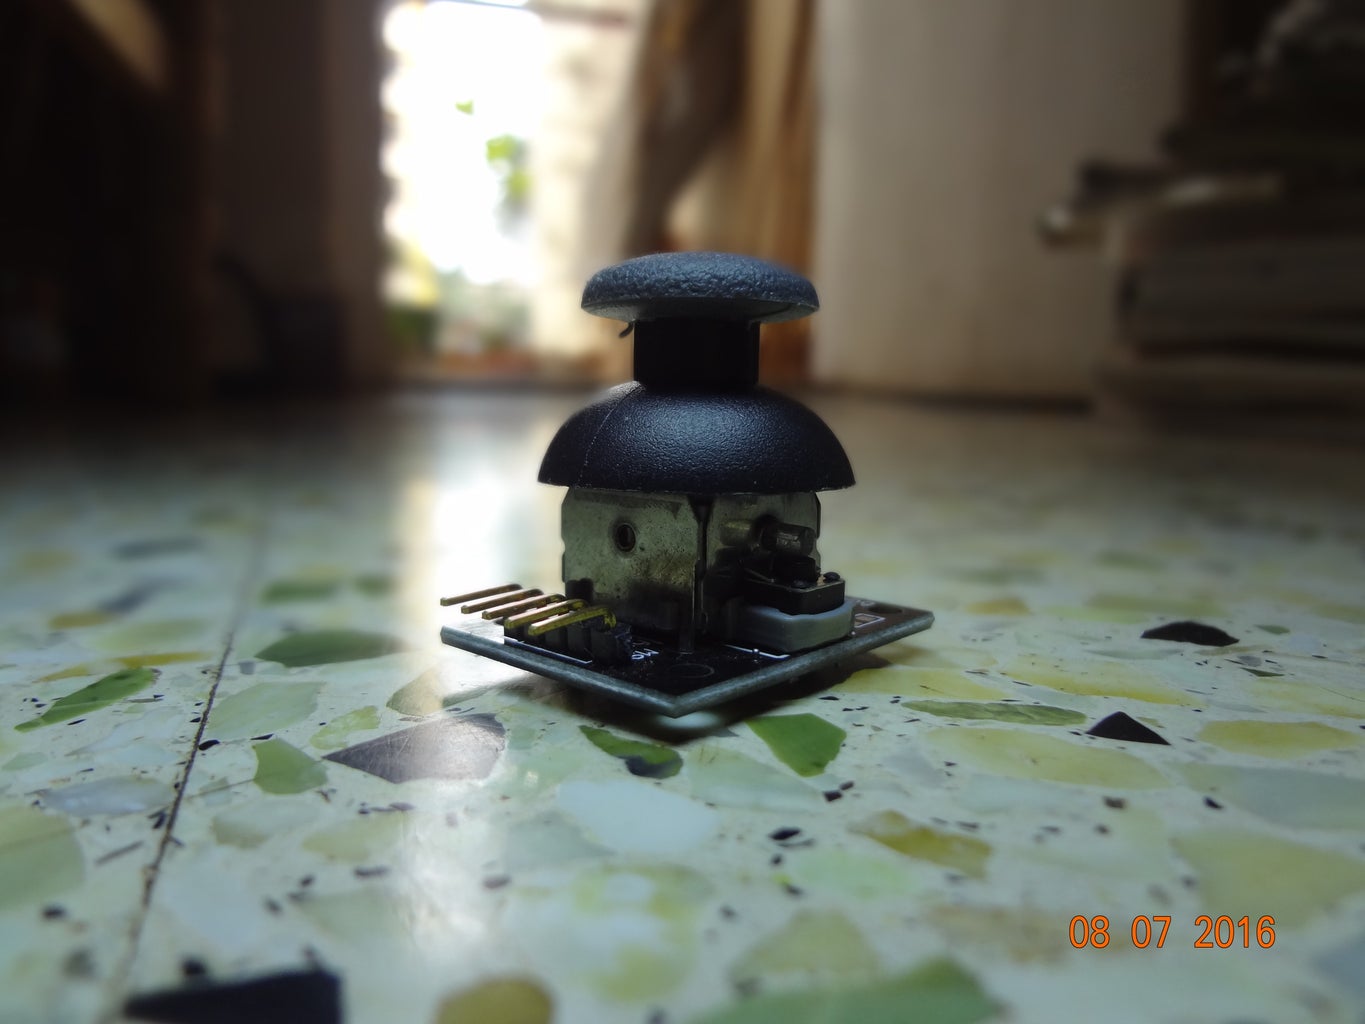
Step 1: Parts Used


* Arduino uno (with USB cable)
* Joystick (potentiometer)
* led (any)
* Jumper wires(single strand wires)
Step 2: Connection

Easy to understand with this pic I guess and any questions feel free to comment....
x axis to A1
y axis to A0
SW to pin2
+5v to 5v pin or 3.3v pin
and gnd
Led to 11 pin
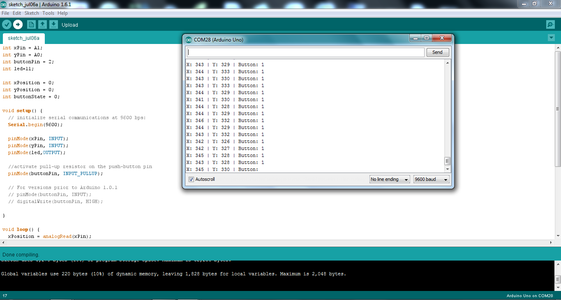
Step 3: Code

int xPin = A1;
int yPin = A0;
int buttonPin = 2;
int led=11;
int xPosition = 0;
int yPosition = 0;
int buttonState = 0;
void setup()
{
Serial.begin(9600);
pinMode(xPin, INPUT);
pinMode(yPin, INPUT);
pinMode(led,OUTPUT);
pinMode(buttonPin, INPUT_PULLUP);
}
void loop()
{
xPosition = analogRead(xPin);
yPosition = analogRead(yPin);
buttonState = digitalRead(buttonPin);
Serial.print("X: ");
Serial.print(xPosition);
Serial.print(" | Y: ");
Serial.print(yPosition);
Serial.print(" | Button: ");
Serial.println(buttonState);
analogWrite(led,xPosition);
delay(100);
}
Step 4: Testing
You can add another led to to y axis and make to use
...
Attachments


Step 5: Potentiometer

Potentiometer can be used instead of joystick


