

Introduction: Kintsugi Bowls With Tinted Epoxy


Sometime last year, I heard about a process called Kintsugi - a Japanese tradition of repairing broken ceramics with gilded lacquer. The point of kintsugi is to illuminate the history of an object. So you broke a great utilitarian object like a bowl? An illuminated repair like seen in the kintsugi process highlights the cracks as an event in that objects life, and highlights the cracks and the repair with a wonderfully gold glue, instead of just junking it after it breaks. I was inspired by this concept and wanted to make a whole bowl set for my house using this technique.
For this project, we are going to emulate this tradition with slowish-setting 15-minute 2-part epoxy, and gold pigment powder. This Instructable is a breakout exercise from the Epoxy Lesson of my Glue Class.
Step 1: Materials and Tools

- 15-30 Minute Epoxy
- Bowl
- Stir Stick
- gold epoxy pigment
- silicone mixing cup
- silicone brush, or glue brush, or any applicator. I like the silicone brush because it's reusable.
- zipper plastic bag
- hammer
Step 2: Process and Assembly


Start by placing the ceramic piece into a zipper bag. Close the bag, and break the bowl. Get creative, throw it at the floor, use a hammer, channel your inner Hulk. Breaking the pieces in a bag ensures that you don't have any pieces flying willy-nilly.
Pull the pieces out of the bag and establish an assembly order, begin mixing the adhesive.

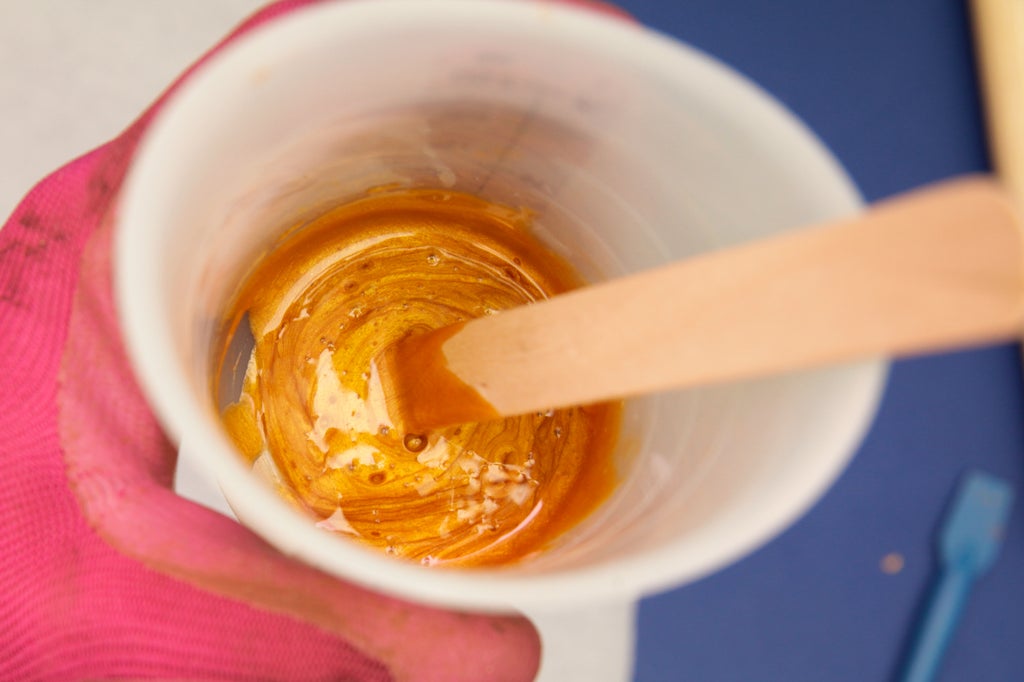


Measure out equal parts of hardener and resin, and add a half-dime-sized amount of pigment powder.
There are all kinds of epoxy pigments available, some are powdered, others come in gel resin form. If you use a gel pigment, be sure to use a little bit more hardener when you are mixing the resin. I like working with powdered pigments because you don't have to compensate by adding more hardener, but gel pigments are often more opaque.

Gently dab adhesive on to the borders of the crack. Ceramic is very sharp, I recommend handling this project with gloves that won't rip or tear, but also can form a chemical barrier to protect your skin.

Use enough epoxy adhesive to create a raised bead along the fracture line. This ensures that when you fit your pieces together, some of the gold enamel will squeeze out the sidses.


Jig pieces as necessary. The cure box I outline in my Glue Class is handy again here, but we have to make sure the broken pieces nor the adhesive comes into contact with the rice. You can use parchment paper spritzed with some cooking spray(or mold release) to act as a protective barrier from the grain as the glue cures.


Fill in any outstanding gaps with epoxy. Allow to cure completely for at least 24 hours before using. I love using this bowl set around my house. They all started as uniform white plain bowls, but now each one has gilded imperfections unique to each vessel.

That was fun, right?! Whoever thought there could be such joy in mixing smashing things with pretty gold epoxy :P
For more super fun adhesive tips, tricks, and projects, be sure to check out my Glue Class!


