

Introduction: Kodak Vest Pocket to Rebel Lens Adapter


I bought a Kodak Vest Pocket Series III camera off Ebay for about $35 for a class project on film. I enjoyed the vintage look of the photos this camera turned out as well as the analog aperture sizes, but hated waiting for the film to be developed and printed.
So, I came up with this simple hack to take digital pictures with the lens of my 100 year old kodak vest pocket camera. The whole procedure takes about 5 minutes and cost me under $2.00 (after purchasing the Kodak Vest Pocket and Canon Rebel). All you need is an L-bracket, two wing nuts, two head-less 1/2 inch 1/4-20 screws, and two to five washers.
Begin by taking the lens off your Canon Rebel and the rear cover off the KVP (make sure there isn't any film in there!). Next, screw in the headless screws into the tripod holes on the bottom of the cameras. They have been using the same size tripod holes since tripods were invented!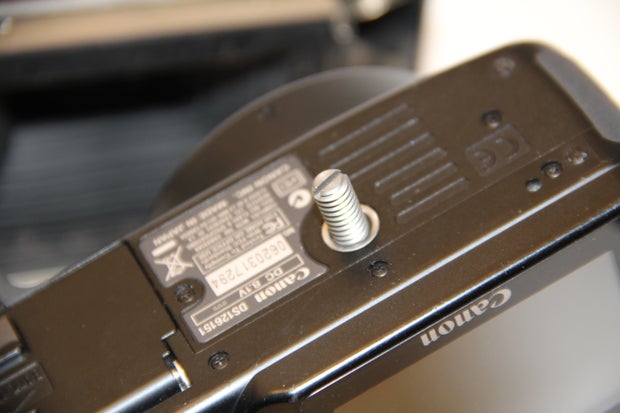

Next, place washers over the screws. I needed to put three over the screw on the KVP because it has to be a little higher than the base of the Rebel in order to cover the entire lens opening.
Now, place the L-bracket over the holes and screw it down with the wing nuts. I just happened to find this L-bracket and it fit over the holes perfectly! I was planning on cutting off the unused end of the L-bracket but it turns out to be a great stabilizer for the camera.
In order to open the lens of the KVP, turn the diomatic to the letter T and press the shutter button. This should keep the lens open until you press the lens again. When taking pictures, use the aperture slider on the VPK but the change the shutter speed on the Rebel.
Now you're ready to take some awesome pictures! I've posted some that I've taken below.


Participated in the
Hurricane Lasers Contest


