

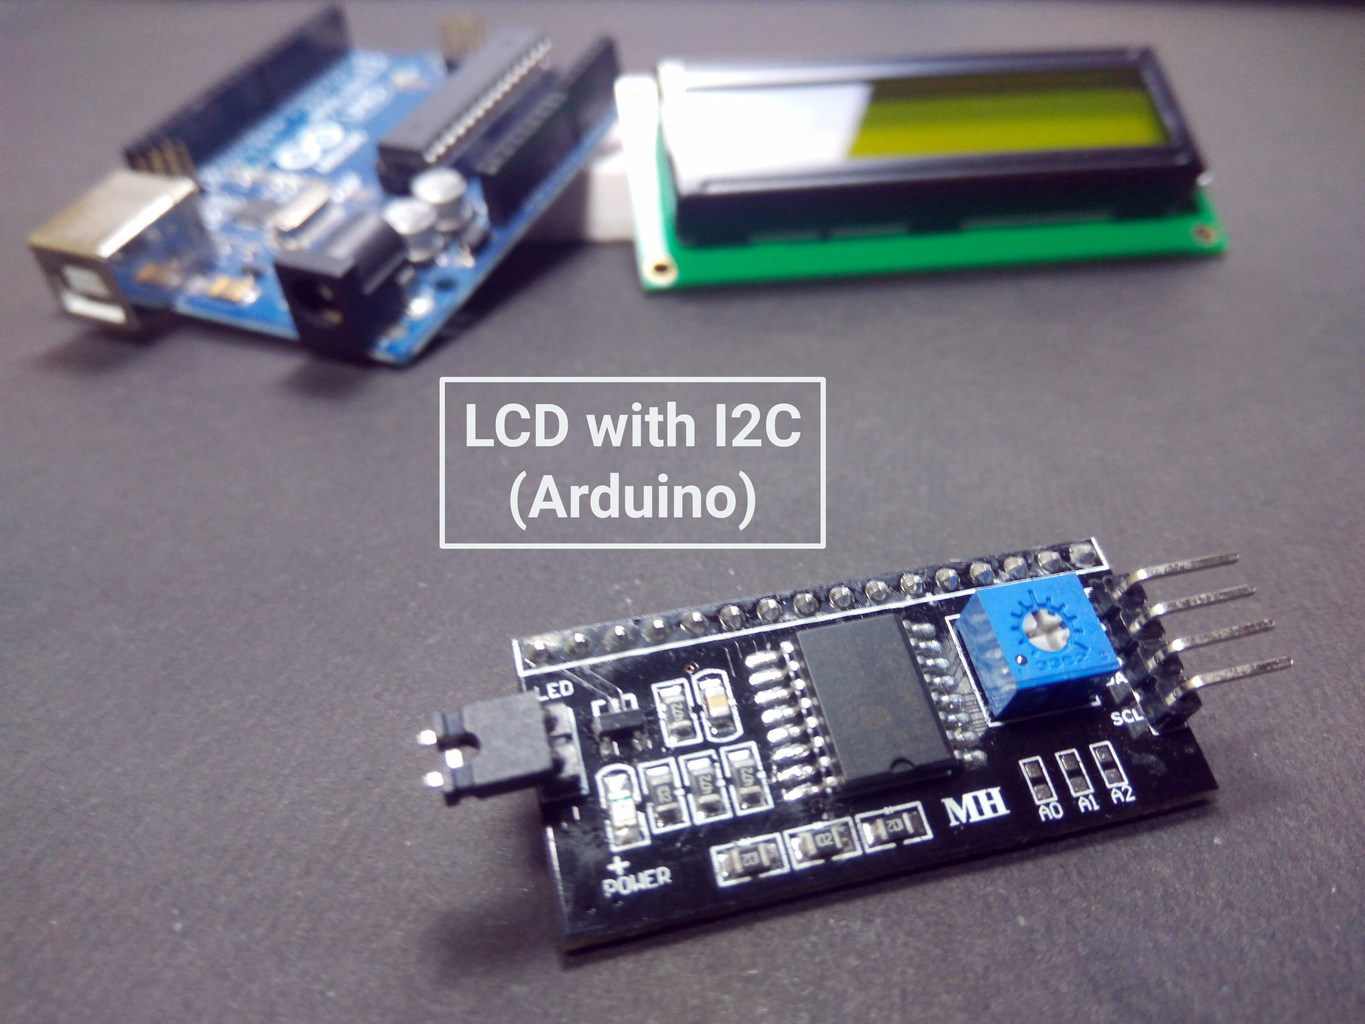
Introduction: Use 16x2 LCD With I2C


In one of my previous Instructable, I showed you how to connect and interface an LCD to Arduino Uno and display values on it. But as observed, there were a lot of connections and if the project started getting a lot messy due to too many wires.
In this Instructable, I'll show you how to connect an LCD to an I2C, which will have only 4 pins to control and use the LCD. So let's get started.
Step 1: Components Required


For this project you will need :
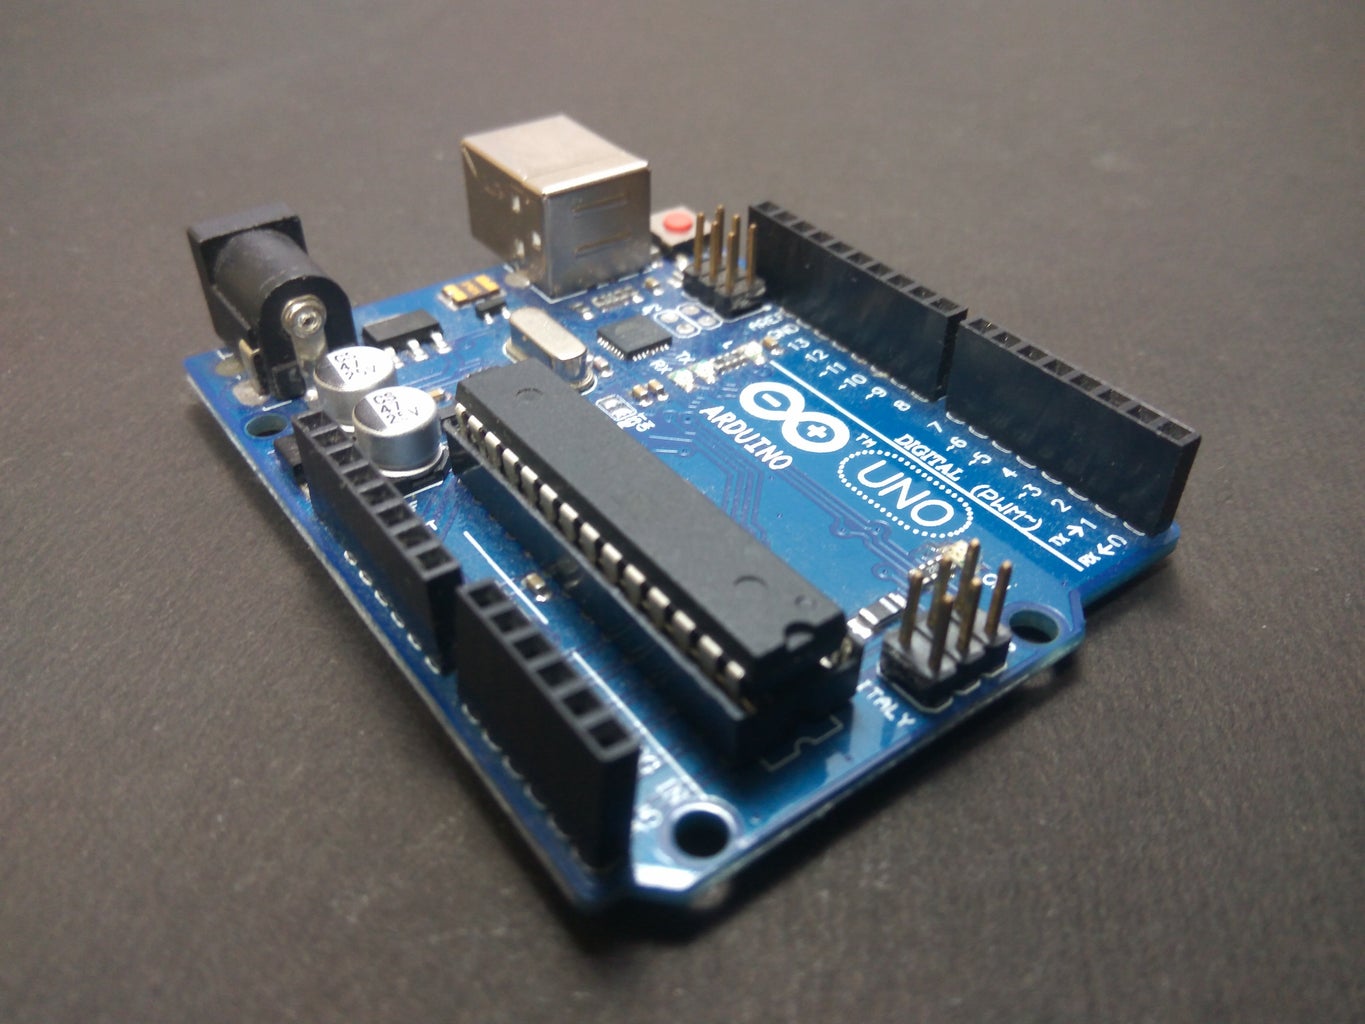
- Arduino Uno
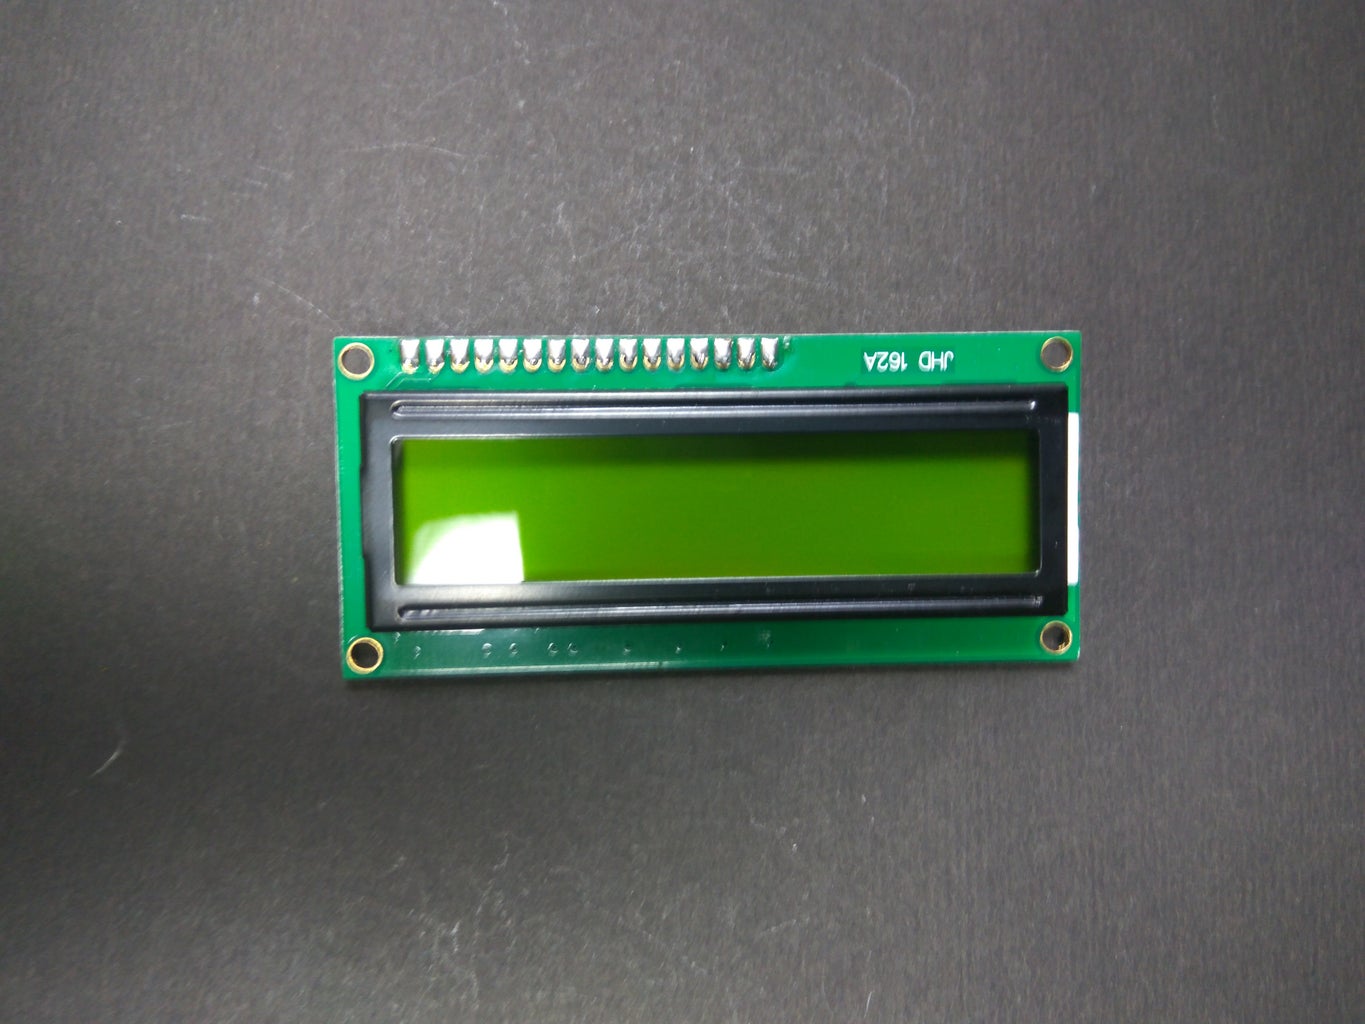
- 16x2 LCD
- I2C for 16x2 LCD
- Hook-Up wires
With all these, let's get into the connections part.
Step 2: Connections
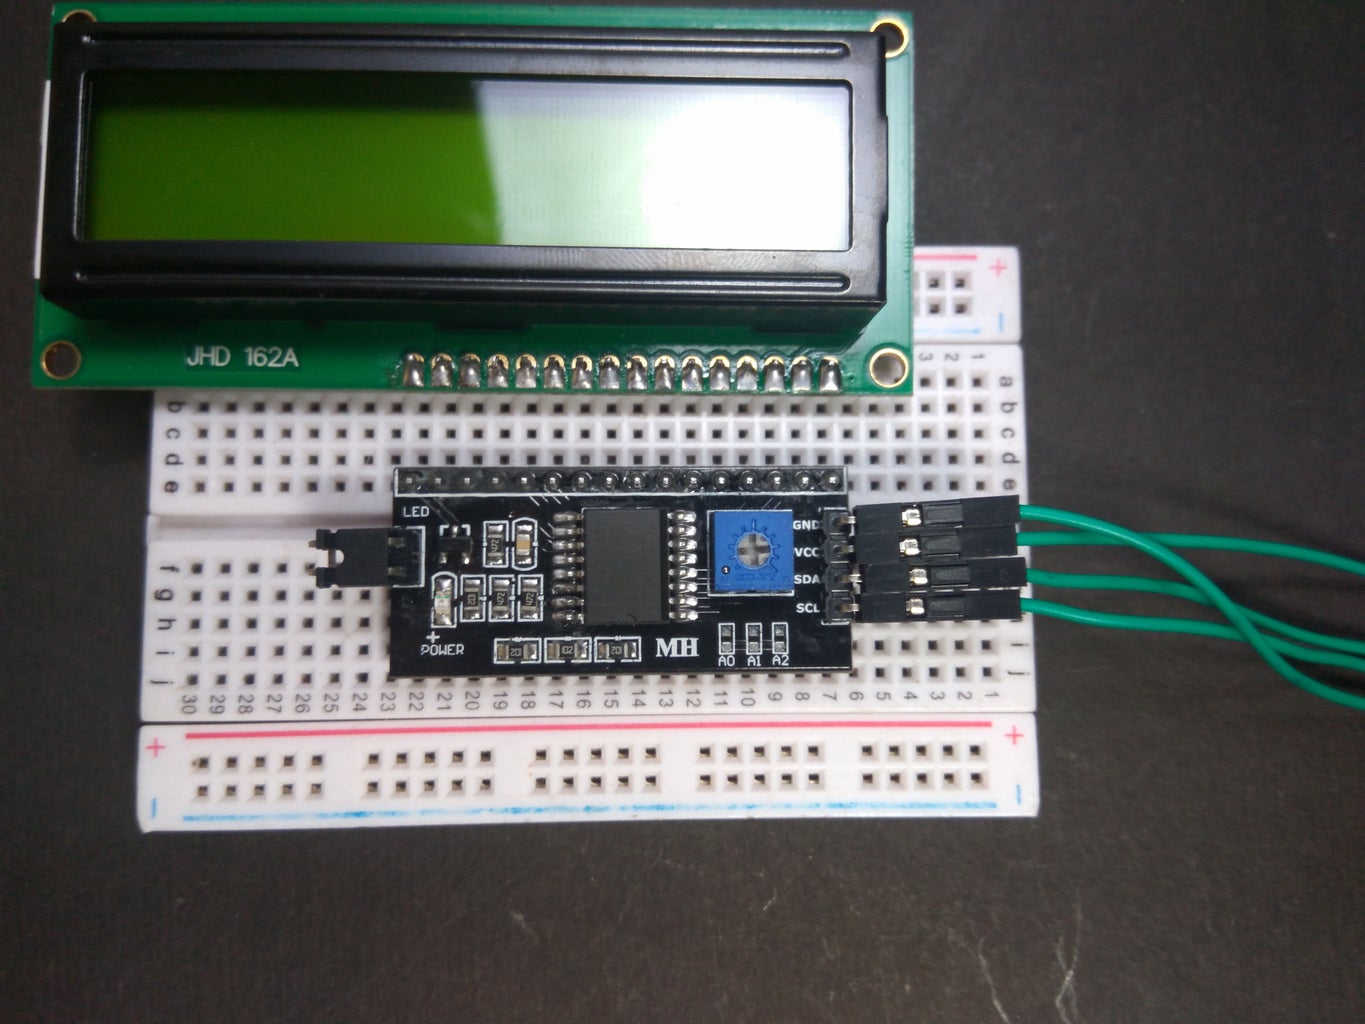
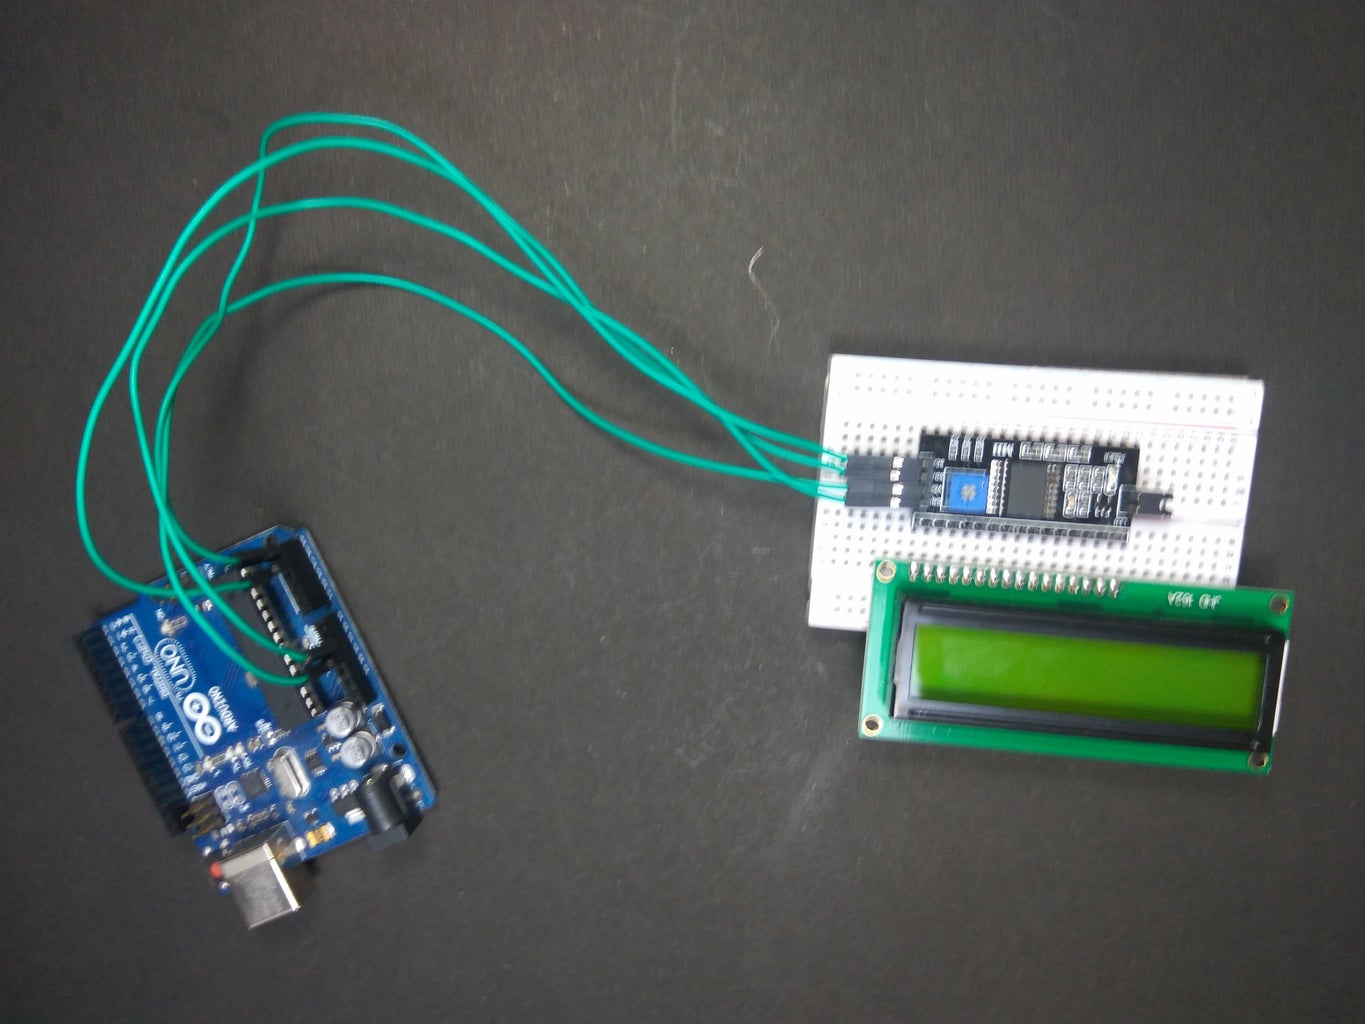
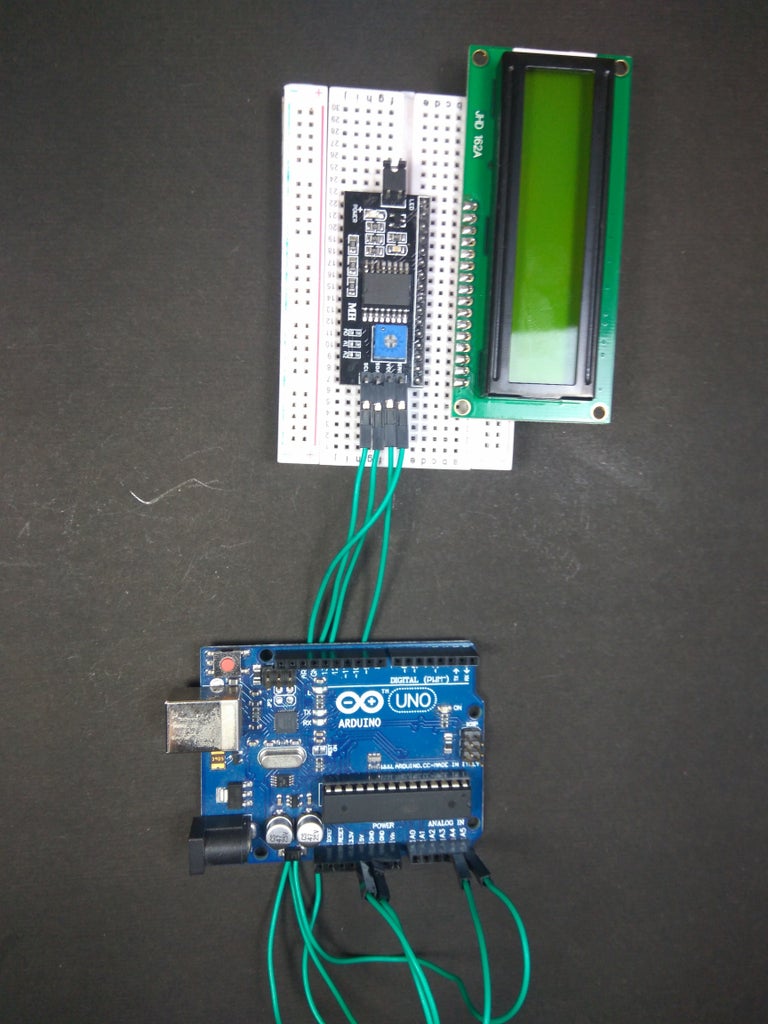

Refer the pictures and make the connections. It's quite simple, you just have to plug in the I2C in the ports of the LCD and solder it into place. Then connect the SCL pin to A4 pin on the Arduino and the SDA pin to the A5 pin on the Arduino.
I'm not soldering the I2C as I have already soldered header pins on the LCD. But I would suggest soldering the I2C on the LCD.
Step 3: Code
There is an LCD I2C master library included in the Arduino IDE. But there's a slight problem with the code in it. All the examples in this library assumes the default address of the I2C as 0x27. So first we have to find out what the address of our I2C is. We can do this by using the I2C scanner code. Once we have the I2C address we can replace this value in the example code and start using it.
I2C Scanner Code:
#include <Wire.h>

void setup()
{
  Wire.begin();

  Serial.begin(9600);
  while (!Serial);             //  wait for serial monitor
  Serial.println("\nI2C Scanner");
}


void loop()
{
  byte error, address;
  int nDevices;

  Serial.println("Scanning...");

  nDevices = 0;
  for(address = 1; address < 127; address++ )
  {
    // The i2c_scanner uses the return value of
    // the Write.endTransmisstion to see if
    // a device did acknowledge to the address.
    Wire.beginTransmission(address);
    error = Wire.endTransmission();

    if (error == 0)
    {
      Serial.print("I2C device found at address 0x");
      if (address<16)
        Serial.print("0");
      Serial.print(address,HEX);
      Serial.println("  !");

      nDevices++;
    }
    else if (error==4)
    {
      Serial.print("Unknown error at address 0x");
      if (address<16)
        Serial.print("0");
      Serial.println(address,HEX);
    }
  }
  if (nDevices == 0)
    Serial.println("No I2C devices found\n");
  else
    Serial.println("done\n");

  delay(5000);           // wait 5 seconds for next scan
}
Example Code(To display characters entered in Serial Monitor):
#include <Wire.h>
#include <LiquidCrystal_I2C.h>LiquidCrystal_I2C lcd(0x3F,20,4); // set the LCD address to 0x27 for a 16 chars and 2 line display
void setup() { lcd.init(); // initialize the lcd lcd.backlight(); Serial.begin(9600); }
void loop() { // when characters arrive over the serial port... if (Serial.available()) { // wait a bit for the entire message to arrive delay(100); // clear the screen lcd.clear(); // read all the available characters while (Serial.available() > 0) { // display each character to the LCD lcd.write(Serial.read()); } } }
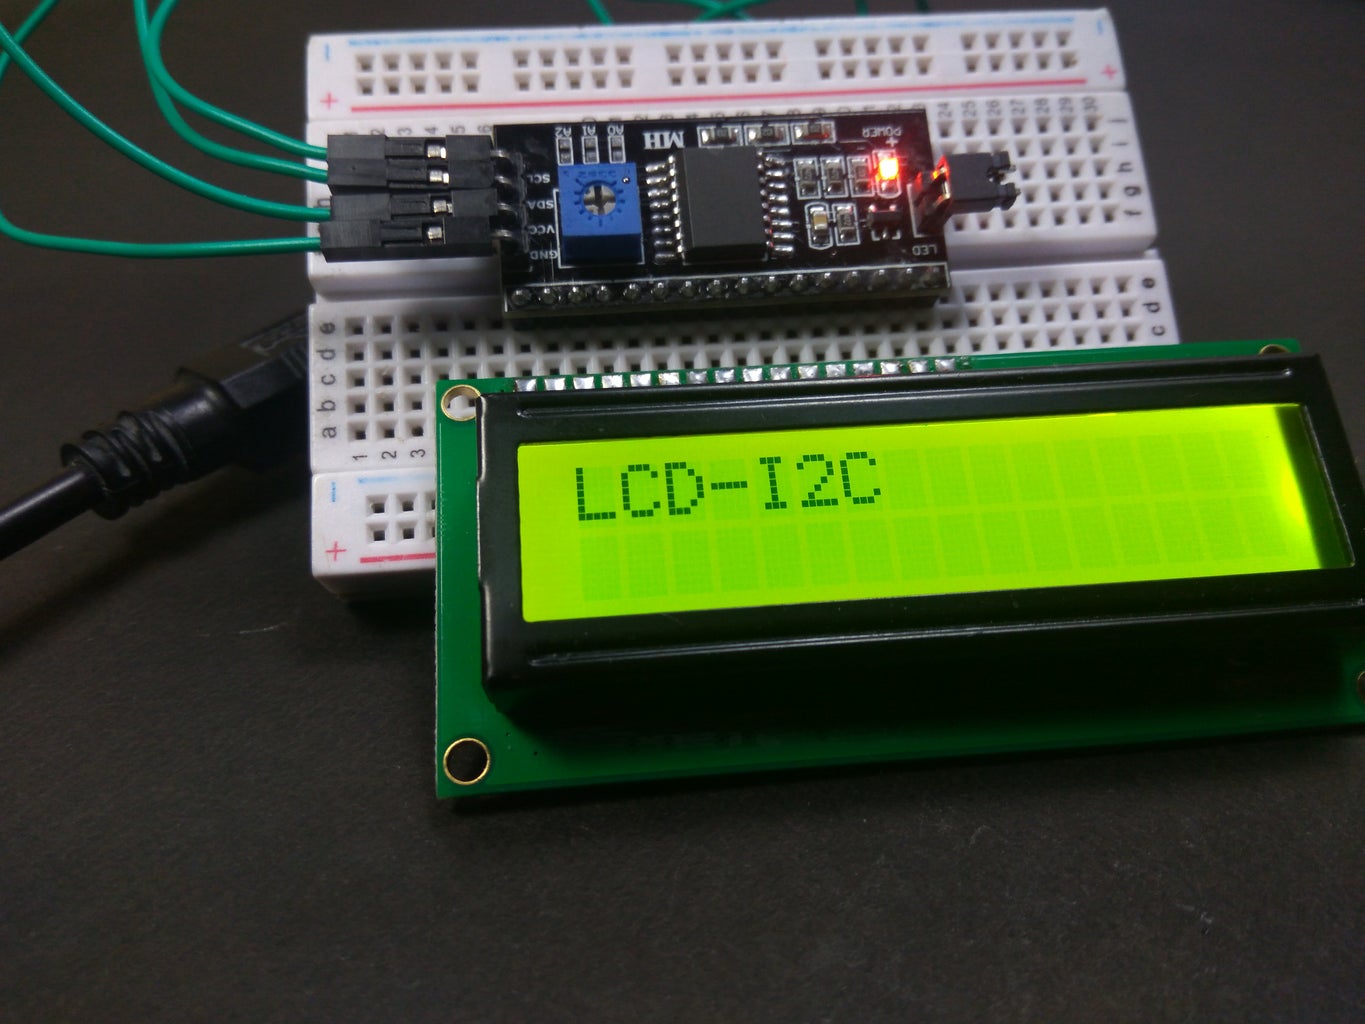
Step 4: The Output
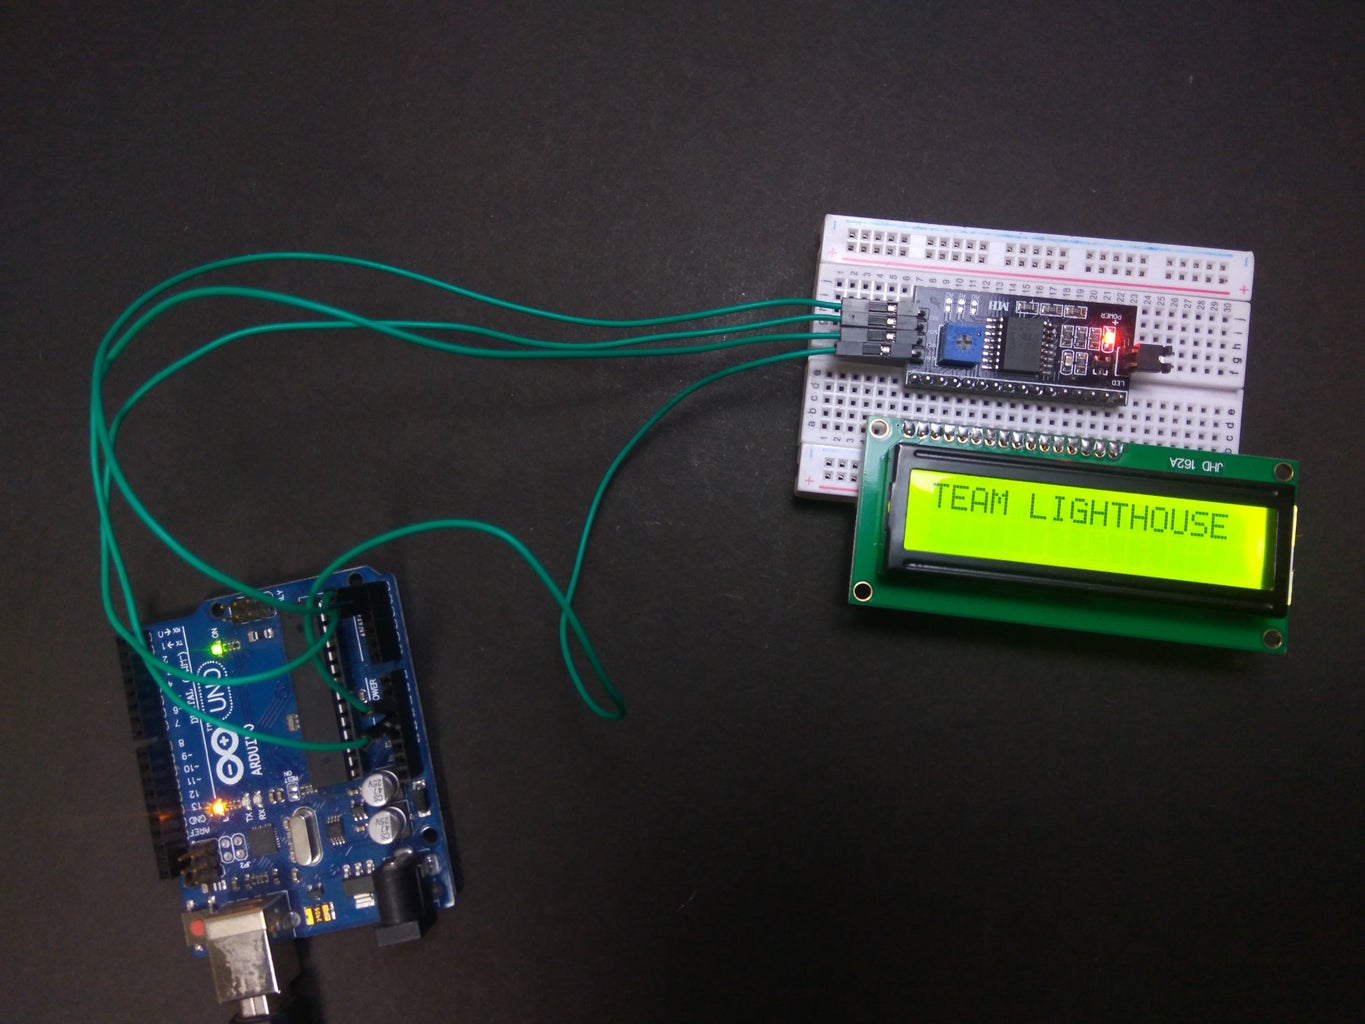
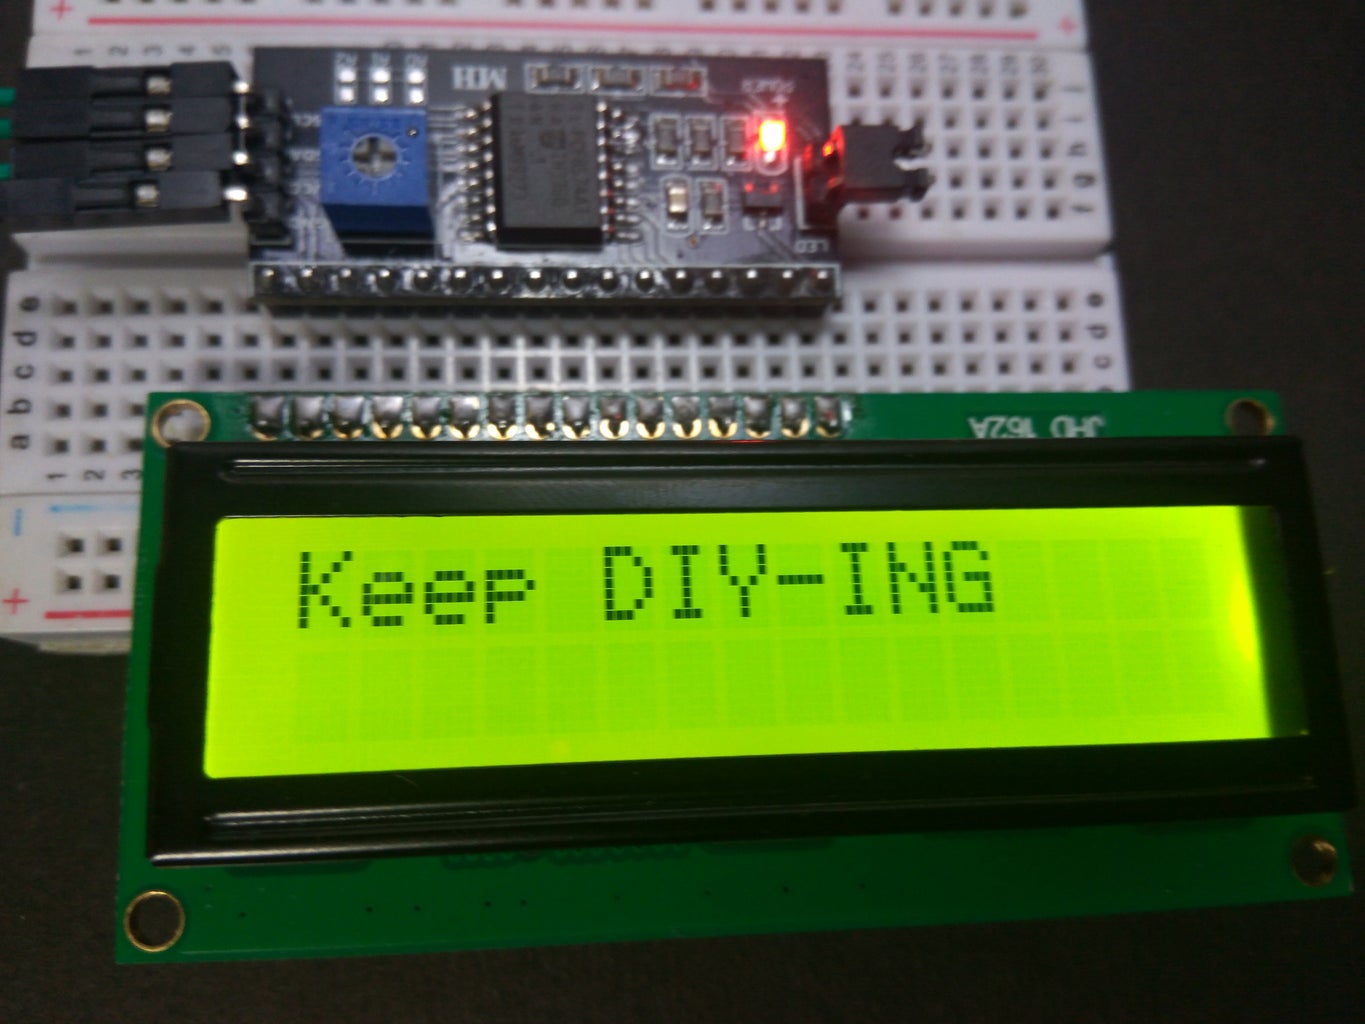
Once you have uploaded the code, you are ready to go. For this Instructable I have taken the example of the Serial Print Code. So now after uploading the code, open the Serial Monitor and type a word and click "send". Now you should see this value getting displayed on the LCD.
That's All Folks !! Stay Tuned For More !!

Participated in the
Makerspace Contest 2017


