Introduction: LINE FOLLOWER ROBOT


Autonomous line follower robot
Step 1: OBJECTIVE
To make an autonomous robot capable of traversing through a white or black line.
Step 2: EQUIPMENTS REQUIRED
- Arduino UNO (with cable)
IR sensor array
BO Toy motors (200-300)RPM X 2
Wheels X 2
Motor Driver(L293D)
Jumper Wires (As per required)
HW Battery(9volts) X 2 with connectors
Double sided tape
Soldering iron
Chassis
Castor wheel
Nut and Bolts
Step 3: HARDWARE CONNECTION
- Cut a rectangular plate (15 X 12) made of either wood or plastic for chassis.
- Solder small pieces of wire to the motors.
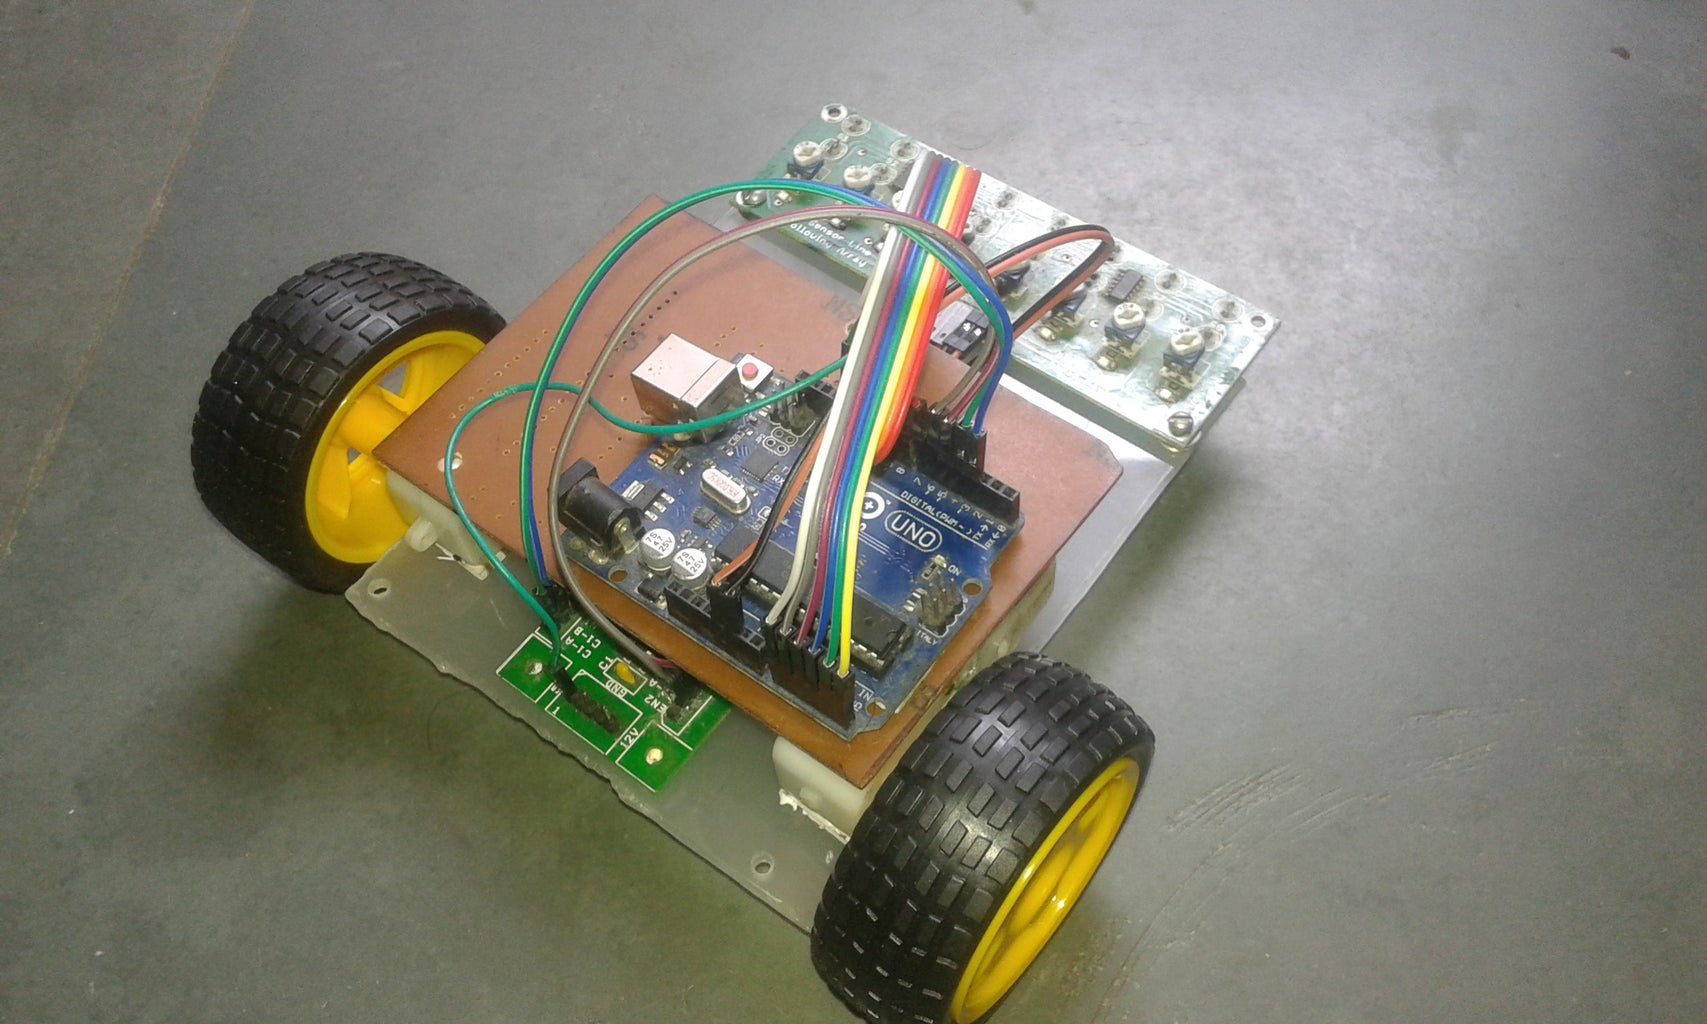
Attach the motors using double sided tape on the top of the chassis.
Attach the wheels to the motors.
Suitably place the castor wheel below the chassis using double-sided tape.
Attach the motor driver and connect the +ve and -ve terminal wires from the motors to the motor driver's O/P ports.
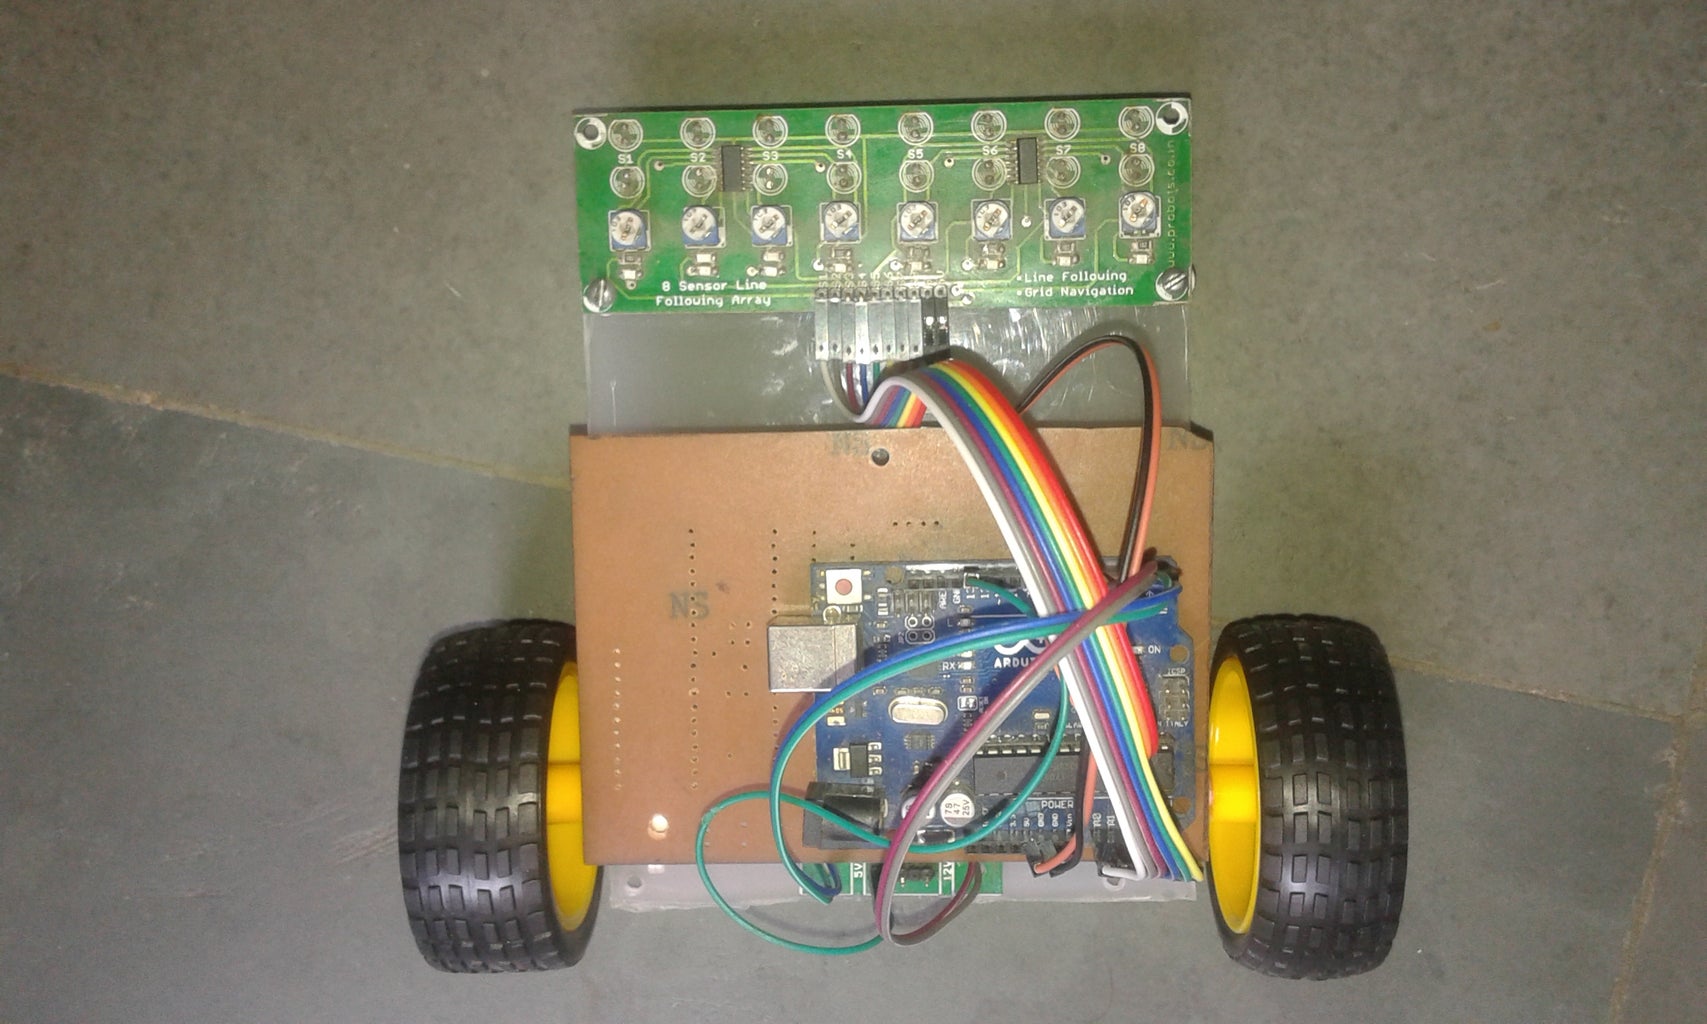
Attach the IR sensor at the front of the chassis.
Suitably attach the Arduino UNO on the chassis.
Step 4: Wirings and Connections
- Connect jumper wires from IR array (S1-S8) to Arduino and 'G' and '5V' to ground and 5V respectively.
- Connect four jumper wires from digital pins of Arduino and connect to I/P pins of the motor driver.
- Connect '5V' pin of motor driver to '5V' from Arduino in order to activate the L293D IC.
- Connect '12V' and 'GND' pin of motor driver to 9-12V supply which will be used to drive the motors.
Step 5: Arduino Programming
*Program as per wiring connections from IR sensor to Arduino and Arduino to motor driver connections.
Attachments

Step 6: Images