

Introduction: Large Scrap Paper Collage for Beginners

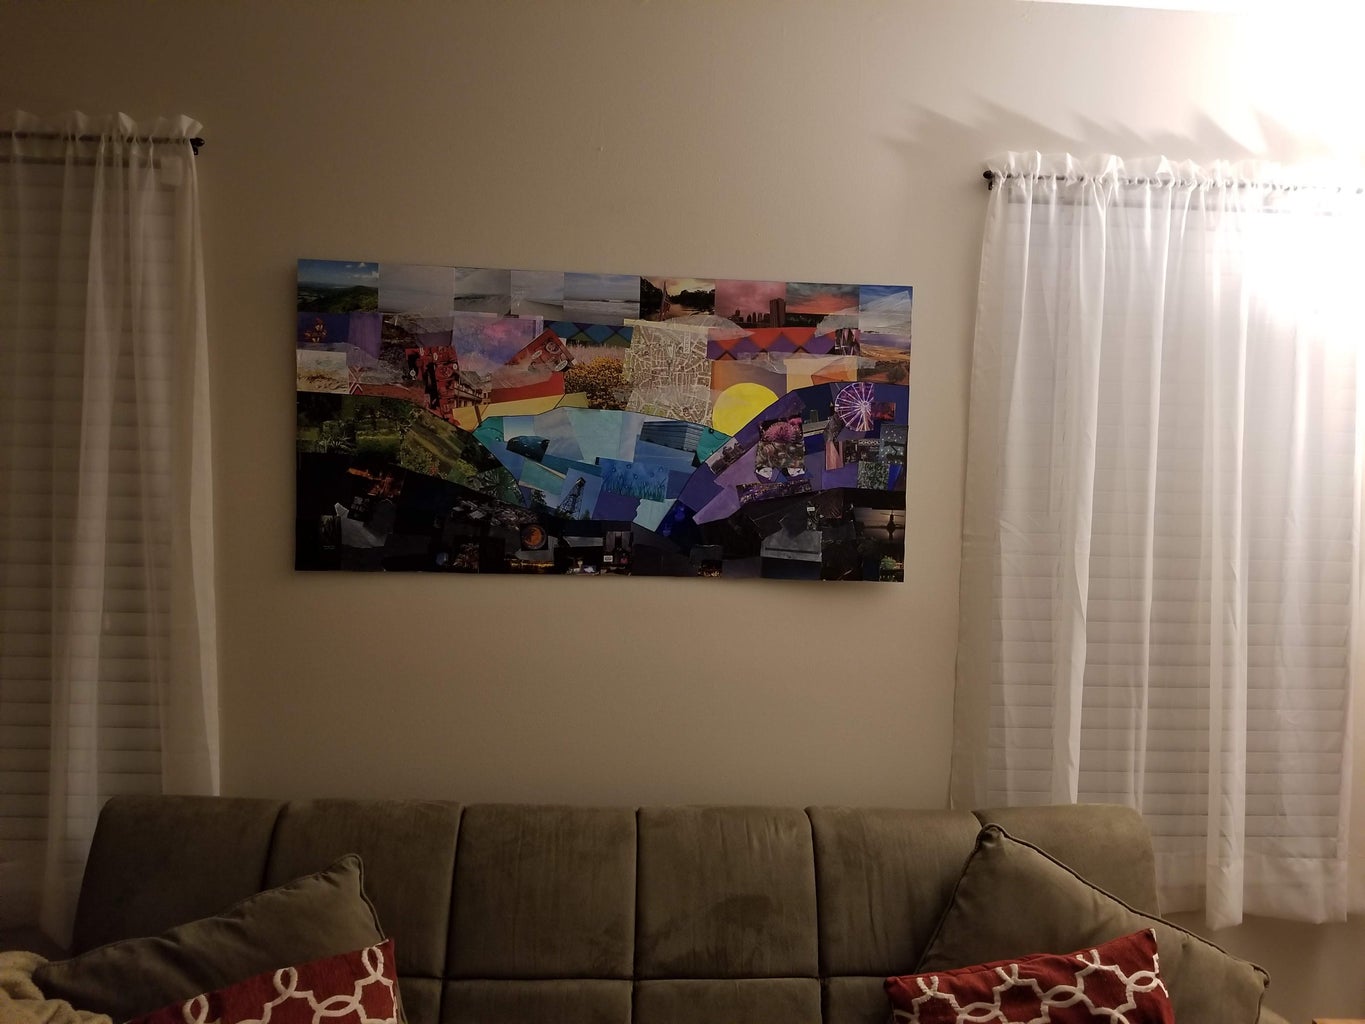

After cleaning out my office this past weekend, I realized how much scrap paper I'd collected. I had tons of old magazines, brochures, bits of wrapping paper, etc. What I can do with all this?
This project takes scrap paper and turns it colorful wall art.
Step 1: Step 1: Supplies

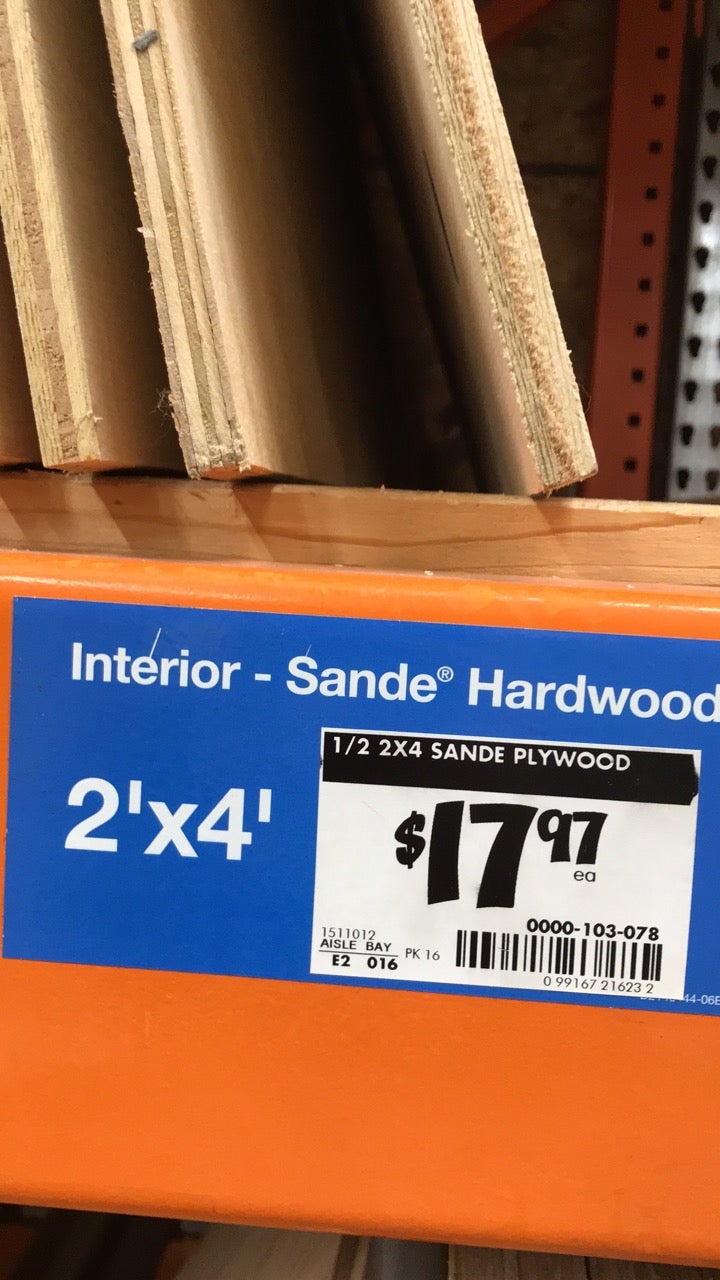


You will need:
- Scrap paper assortment (the more color the better!)
- 1 thin plywood sheet (I used a 1/2" thick 2'x4' hardwood sheet)
- Mod Podge
- Paint or stain (enough for the edges)
- Sandpaper
- Fastener for hanging on the wall (I used 2 saw-tooth hooks and some epoxy)
Step 2: Step 2: Prep Your Board


- Start by sanding down the edges of the board.
- Paint or stain the edges of your board. I used 1 coat of blue acrylic paint to give the project a fresh feel.
Step 3: Step 3: Draw Boundaries

- With a pencil, draw out an outline of your design. I used the pictured design that resembles rolling hills.
Step 4: Step 4: Cut and Sort Your Paper
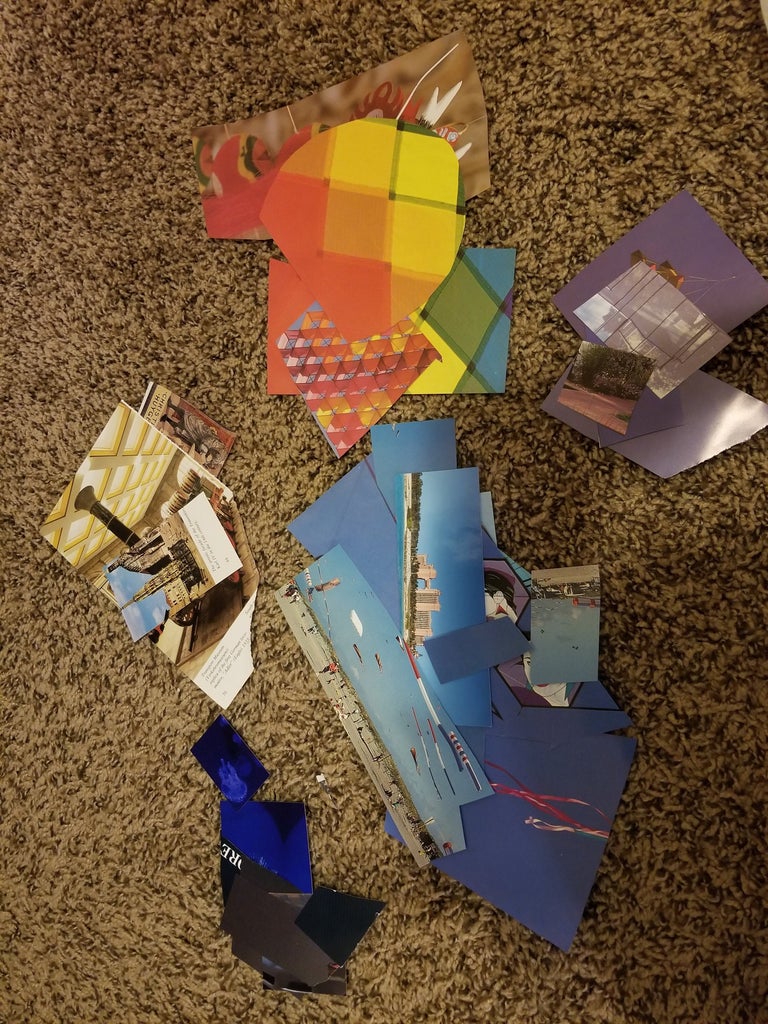
- Take your paper and cut/tear it into small pieces
- Sort the paper by color and make a pile for each block in your outline
Step 5: Step 5: Assemble
- Arrange paper pieces on the board to fill the design
- Once you are happen with the placement, brush Mod Podge onto the back of the pieces and press onto the board to attach
Step 6: Step 6: Final Details

Here are a few extra details I added.
- Tear tissue paper and attach with Mod Podge to create clouds
- Line the borders of the hills with Sharpie to make each area pop
- If you want an extra seal, coat the top with Mod Podge
Step 7: Step 7: Attach Wall-fasteners


- Draw a straight line 2/3 of the way up the board
- Equally space the fasteners on the drawn line (Each centered at 1/4 of the length away from the edge, as pictured)
- Place a dot of epoxy on the edges of the fasteners
- Wait 24 hours before hanging to allow the epoxy to harden

Participated in the
Paper Contest


