Introduction: Laser Cut Maze


You will need:
Laser cutter
Acrylic
Ball
Super Glue
M3 Screws and nuts
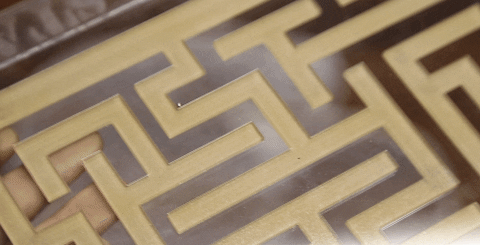
Step 1: Laser Cut

Included are the files to create both projects. Files are provided in .svg and .ai. Ai files will include all the files separated into layers.
Both projects can be cut within a 20"x12" cutting area. We are using the FSL Hobby Laser.
To make the "Simple Maze" you will need to cut 3 pieces.
"Simple Maze Center" x1
"Simple Maze Frame" x2
To make the Brain Maze, you will need 3 unique pieces.
"Brain Maze Center" x1
"Brain Maze Left" x1
"Brain Maze Right" x1
Both files are color coded with black and red. If the file includes black, raster engrave the black designs. Completely cut along the red lines.


Step 2: Assemble

Simple Maze
You should have two Maze Frames, and the Maze center. The "Maze Center" file will cut out into 3 parts. You will only need the outside square, and the inner most maze design.
Begin by placing down the "Maze Frame". Align the to center pieces on top of the frame. The outside square can be held in place by the screws. The Maze portion will need to be glued into place. Add small beads of glue to the maze and center it onto the frame.
Once dry, place a ball in the track of the maze and add the final frame piece to secure it inside the maze. Add all four screws to secure the four corners. Tighten in place with the nuts.
Brain Maze
You should have 3 unique files. These include the "Brain Maze Left", "Brain Maze Right" and "Brain Maze Center". The center file will cut out into 3 separate pieces. You will only need the head shape and the inner most brain design.
Begin by placing down "Brain Maze Left" so that the etched portion of the acrylic is facing up, and that the start/end text can be read correctly. Next, position the head shaped piece of the "Brain Maze Center" file over the first piece. This can be held down with the screws, but the maze path will need to be tacked with glue. Add dots of glue to portions of the brain maze and center it in the open space. Once dry, add the ball to the maze path. Seal the ball inside the maze by adding the "Brain Maze Right" over the pieces. Secure with 3 screws. Tighten in place with the nuts.
Step 3: Play