

Introduction: Laser Etched Beer Mug Alignment System


I took a rotary attachment course at Tech Shop and I etched some mug s for some friends.
In the process, I wasted a mug because I got the alignment wrong the first time.
I came up with an alignment system that takes the guess work out of where the laser will etch the design.
Step 1: Draw Your File in Corel Draw and Make a Template


Every style of glass is different, but the concepts are the same for all glasses.
Measure the glass and get the circumference. Subtract where the handle is and that is the width of your template.
You are going to first etch your design on a piece of paper and wrap it around the glass to make sure that it fits. Later, you will use the template as an alignment tool on the rotary cutter.
First, draw cut lines (the red lines) for the right dimensions for the project. Make sure that you draw a thin box that will allow you to center the the paper over the mold mark that is on every beer mug. This is how you make sure that you are in the center.
If you look closely, you will see that there are dark lines above and below the red center cut box. This is to give you some contrast and help you to line up the paper to the mug's mold mark.
Put your design into the file, adjust the laser to cut the paper, and let'er rip. Make sure that you are careful since the flash point of paper is 459 degrees, you don't want to be too aggressive.
Step 2: Affix the Template to the Mug and Insert the Mug Into the Rotary Attachment
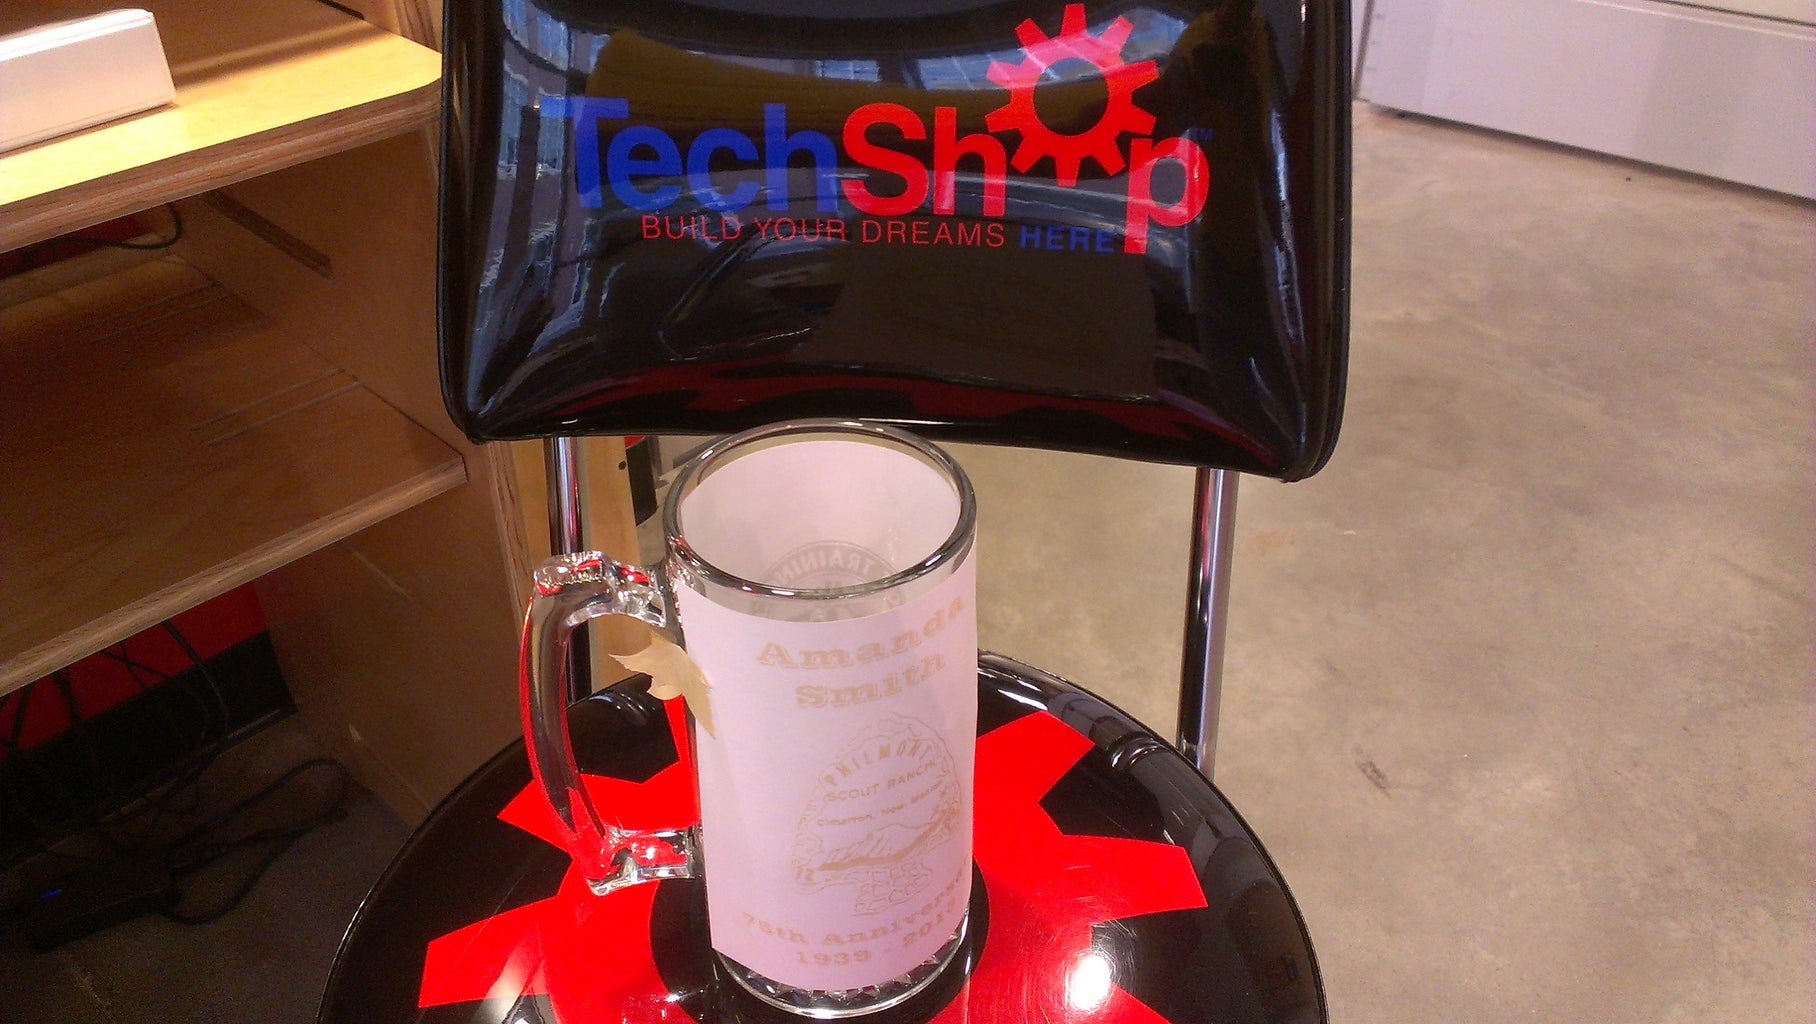


Use masking tape to affix the template to the beer mug and put the mug in the laser's rotary attachment.
You can now move the laser by hand and using the red laser aiming light, you can determine exactly where you need to position your design.
Once you have this information, you can use the plate menu and ad a marker to the plate. -- These instructions are for a TroTech Laser, but every brand of laser has a similar marker system.
The next thing to do is to print your file to the laser and just make sure that you turn off the red cut lines. Because you have a bounding box, the laser will etch your designs relative the the upper left corner of the file.
This means that your design will be exactly where you want it on the first try!
Remove the paper from the mug and run the laser!
That's all there is to using this system.
I made it at TechShop!


