

Introduction: Lego Arduino Nano With Legs Housing


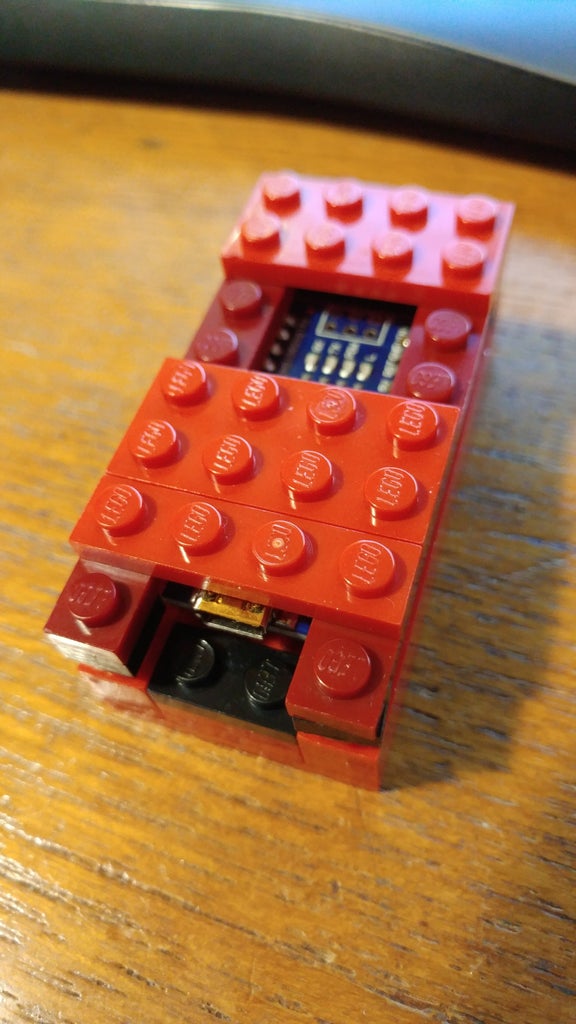


I needed a housing for my Arduino Nano... with pins for connecting jumpers to the bottom.
Step 1: Building the Sides...


The little gap allows the arduino to fit nicely and provides space for the header pins
Step 2:


The top piece is used to hold the USB tightly in place while you push the USB cable on. It also provides access to the reset button.
Note the handle piece is there to keep the arduino snug.
Step 3:


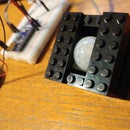
You could put a 4x8 piece on the bottom, but this way you can just connect a few pins and still have a stable assembly.
Step 4: The Bottom


The bottom piece holds the arduino in place.


