

Introduction: Lego Grandfather Clock


Step 1: Building the Innards
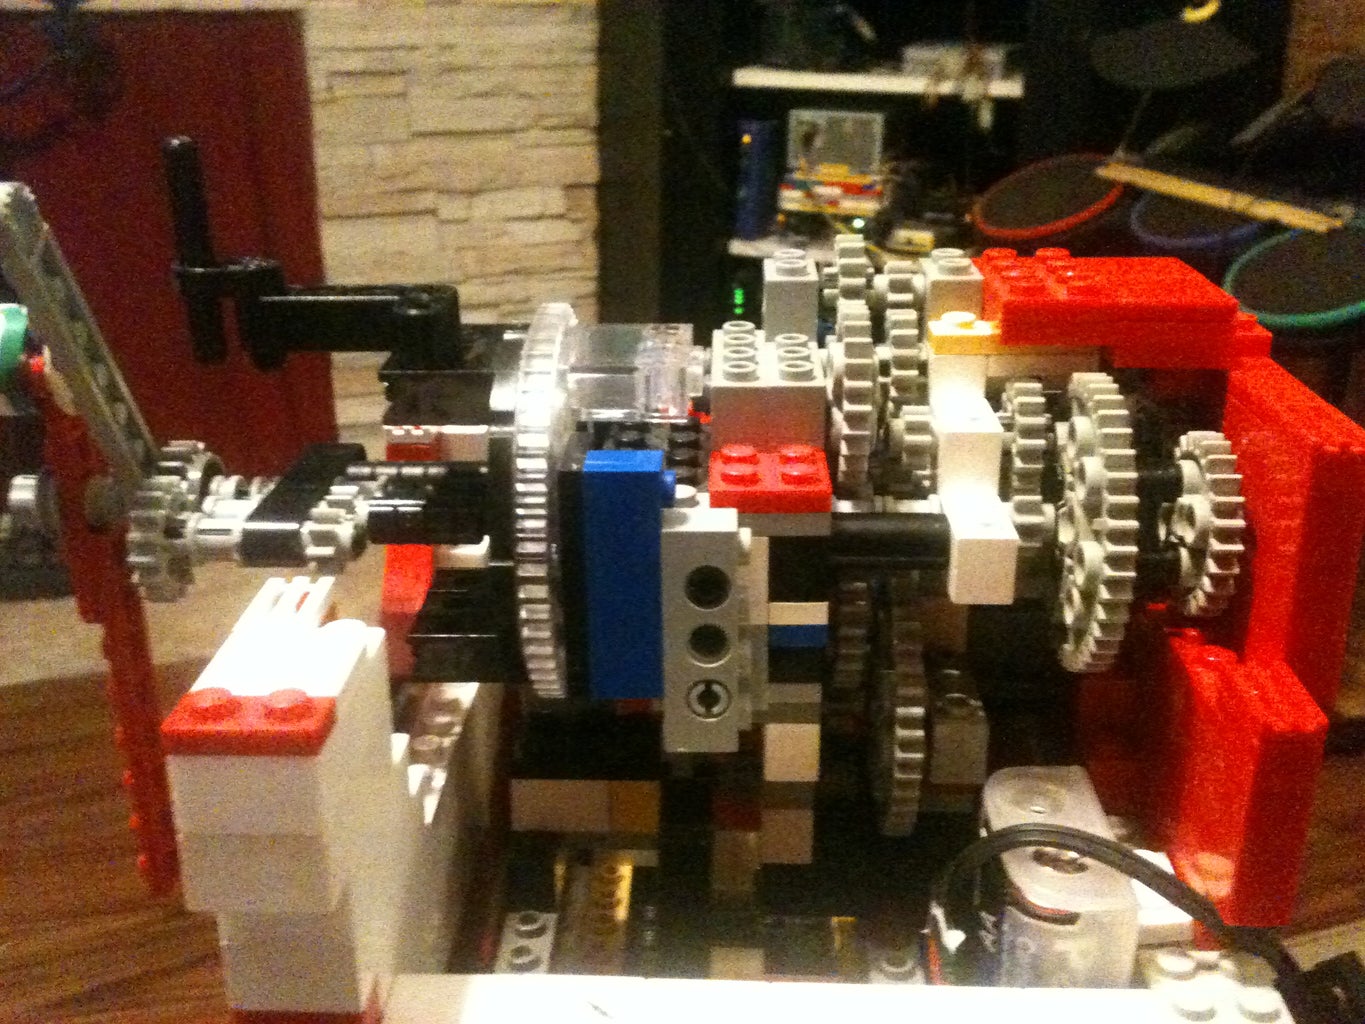


When I moved away from the prototype, I kept most of the original parts but I had to move stuff around to get it to all fit with the escapement gear in the center. I also added a sliding axle that could disengage the second hand to adjust the time.
For the motor, I put a slipping gear so the motor wouldn't stall between every tick. It runs off of 2 AA batteries in a battery pack I soldered to an old broken lego wire.
Step 2: Up and Up

Step 3: Final Look

Building from top to bottom, It took a few days to get this thing so tall. I feel like I spent so long looking for all of my red bricks. Then when the red bricks seemed to run out I moved onto black. Finally, when I gave up on black bricks, I just let the bottom of the pendulum show.
There you go, my Lego grandfather clock.

Finalist in the
Toy Building Blocks Contest


