

Introduction: Liquid Cristal Display Using Arduno


LCD (Liquid Crystal Display) is a type of display media that uses liquid crystal as the main viewer.
In this article I will use a 2x16 LCD. Because this type of LCD is mostly found on the market.
Specification:
- Physical form, see picture
- Number of columns = 16
- Number of rows = 2
- Operating voltage = 5V
- Equipped with a back light
- The back lights are yellow
Step 1: Required Components


Components needed in this tutorial:
- LCD 2x16
- Arduino Nano
- Jumper wire
- Project Board
- USBmini
Library needed:
- LiquidCrystal
The "LiquidCrystal" library doesn't need to be added anymore, because it's already provided by Arduino IDE
Step 2: Wiring

To install a 16x2 LCD, you can see the information below:
- LCD RS ==> D12
- LCD E ==> D11
- LCD D4 ==> D5
- LCD D5 ==> D4
- LCDD6 ==> D3
- LCD D7 ==> D2
- LCD RW ==> GND
- LCD VSS & K ==> GND
- LCD VDD & A ==> +5v
- LCD V0 ==> PullDown 10K Resistor
Step 3: Programming
Arduino IDE already provides an Example for those who want to learn to use Arduino.
To open a sample sketch for the LCD, the method is as follows:
- Open the Arduino IDE
- Click File > Examples > LiquidCrystal > Hello World
- Connect the Arduino to the Laptop, then upload the sketch.
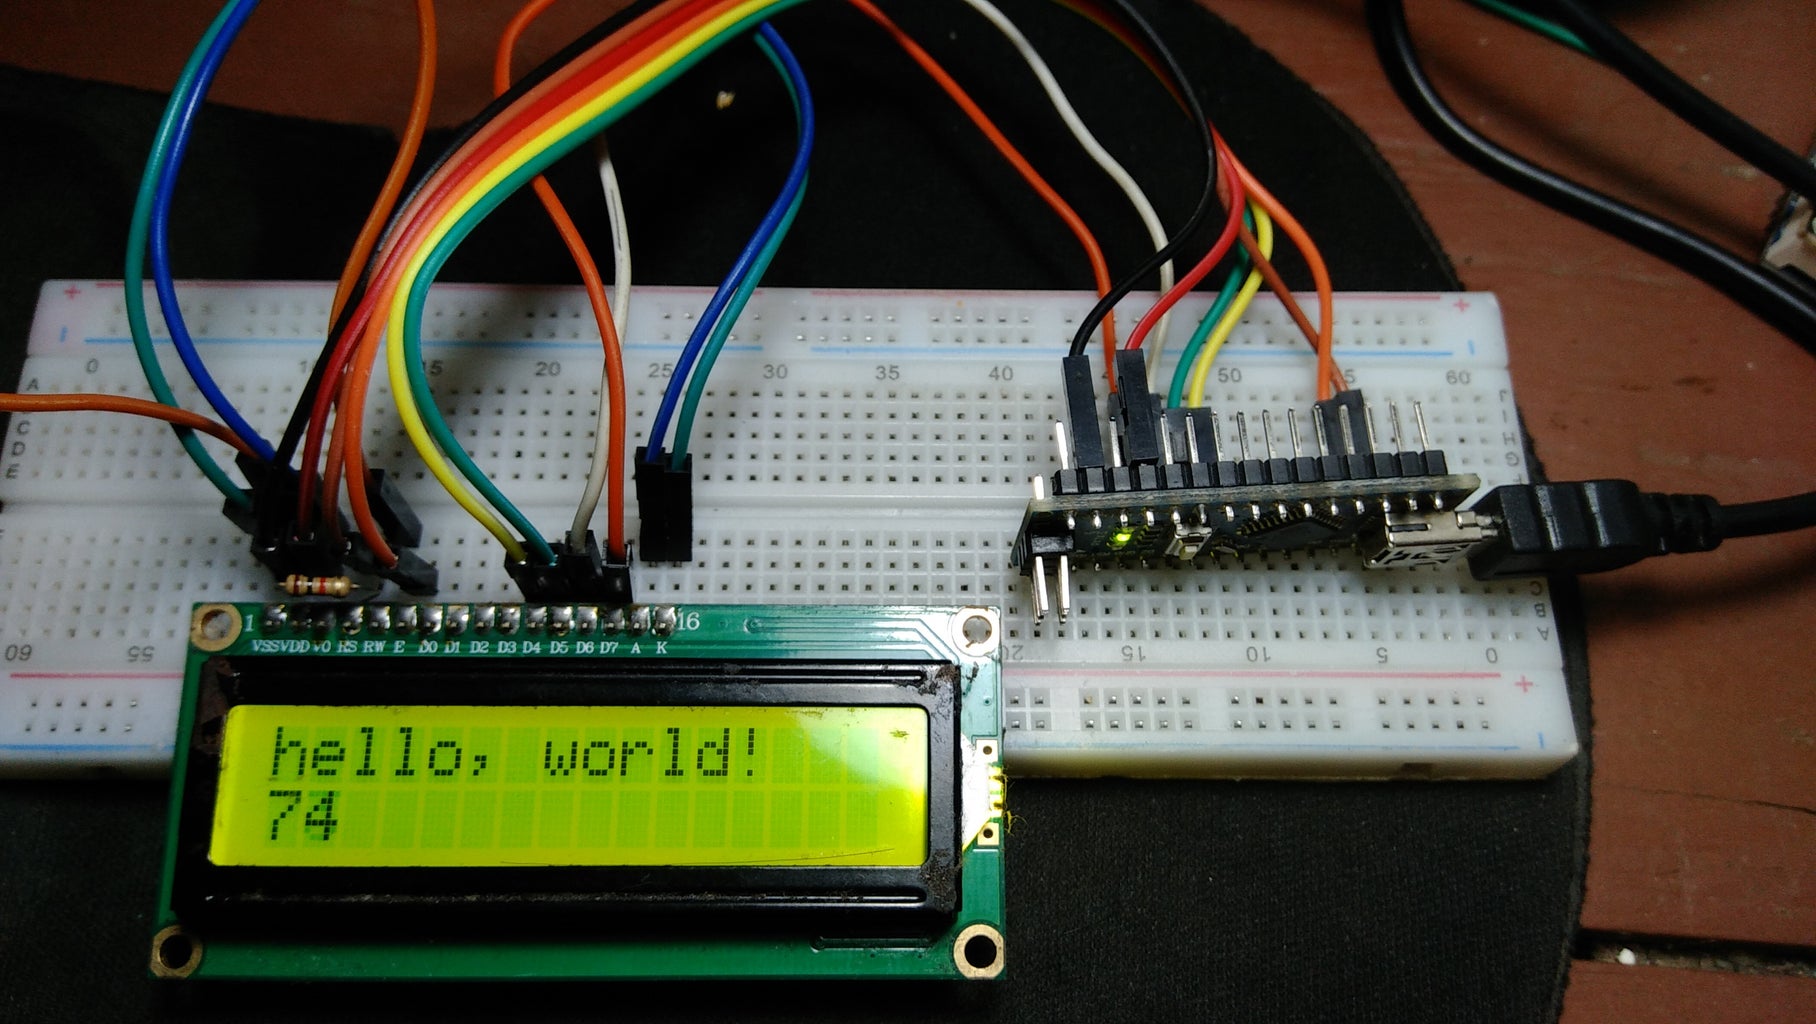
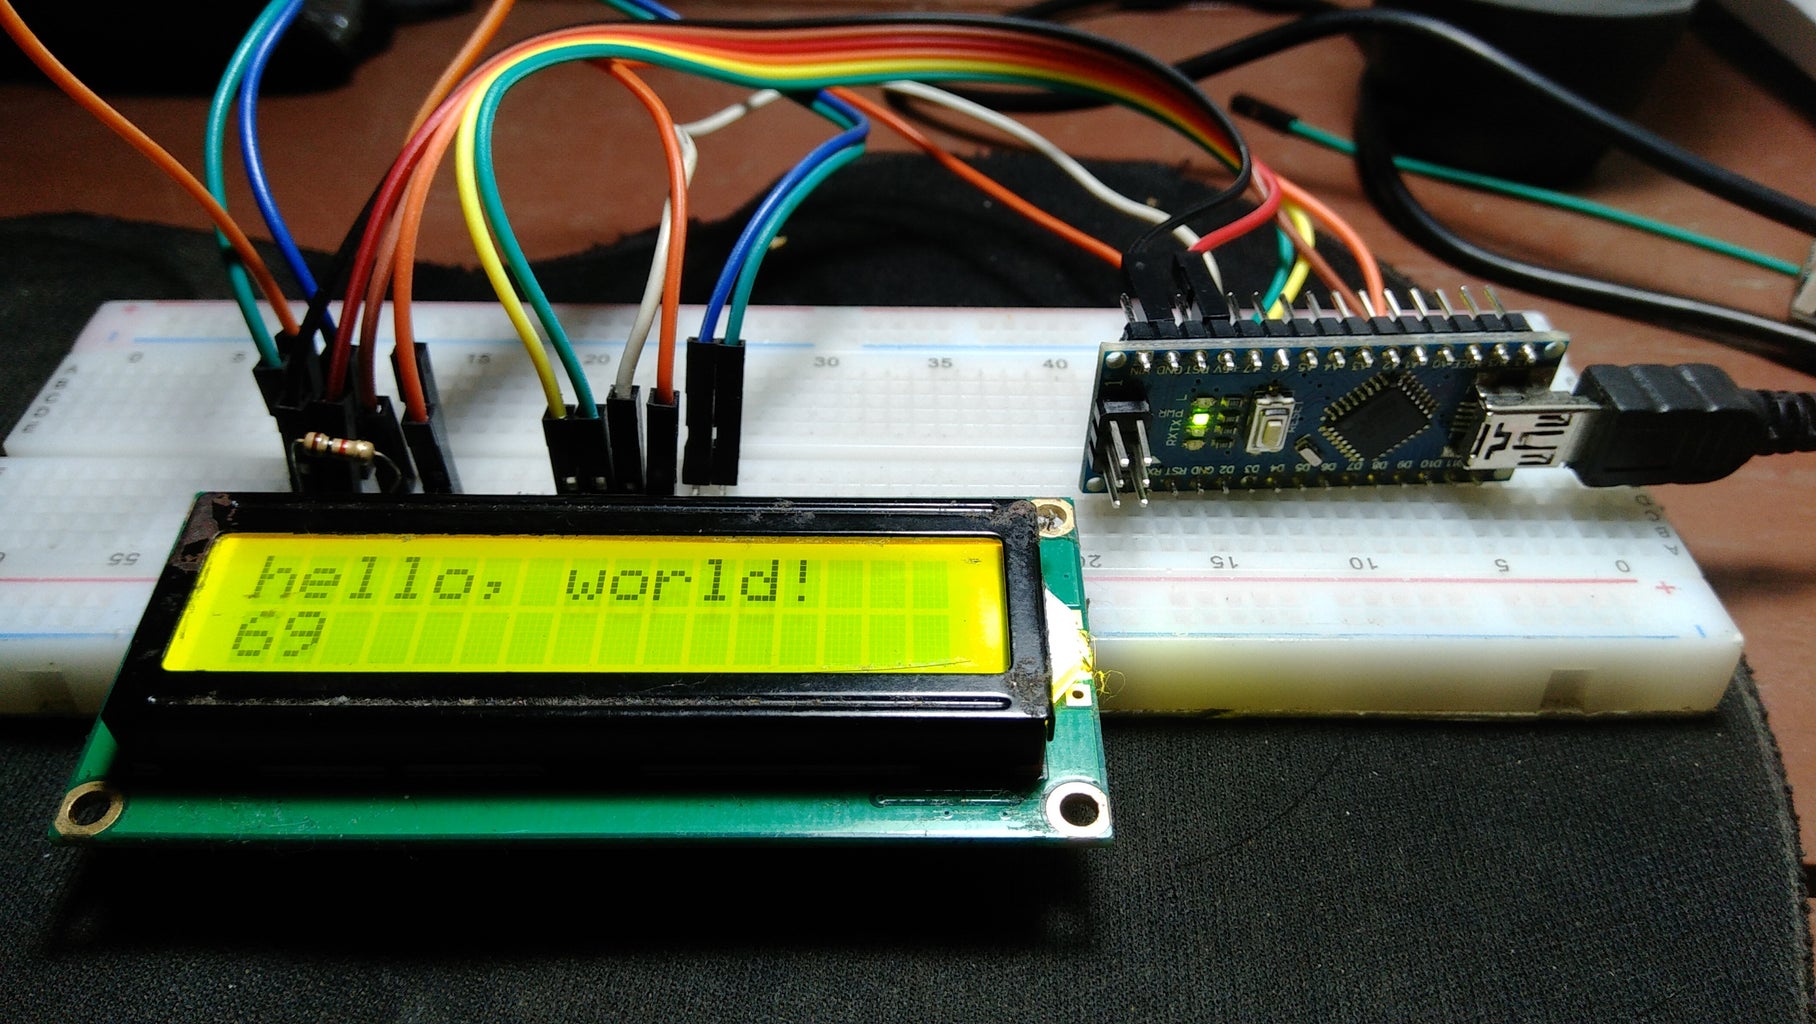
Step 4: Result

the results are as follows:
The first line appears "hello, world!"
And in the second row there is a counter.
Thanks for reading. if you have questions, just write them in the comments column.


