

Introduction: Loopback Test for Arduino Uno


The loop-back test is a sort of troubleshooting procedure to check if the serial communication between the PC and Arduino board is working in n a right order.
Actually I have tried this with my Arduino uno R3 clone but the method is same for the original board too.
Step 1: What You Need?
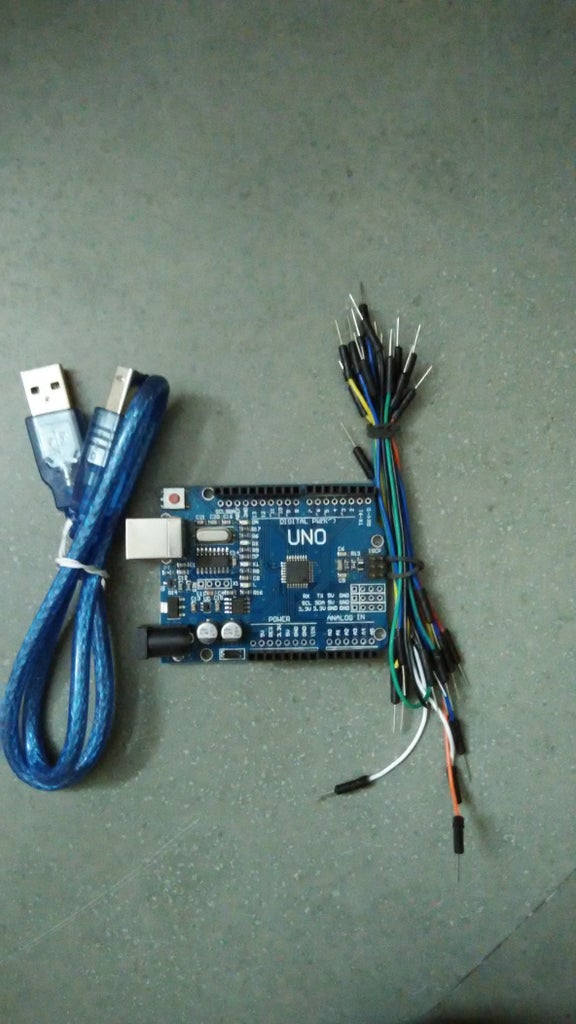
1) Arduino board(I have used my clone here)
2)USB cable
3)jumper wires
4)Arduino IDE
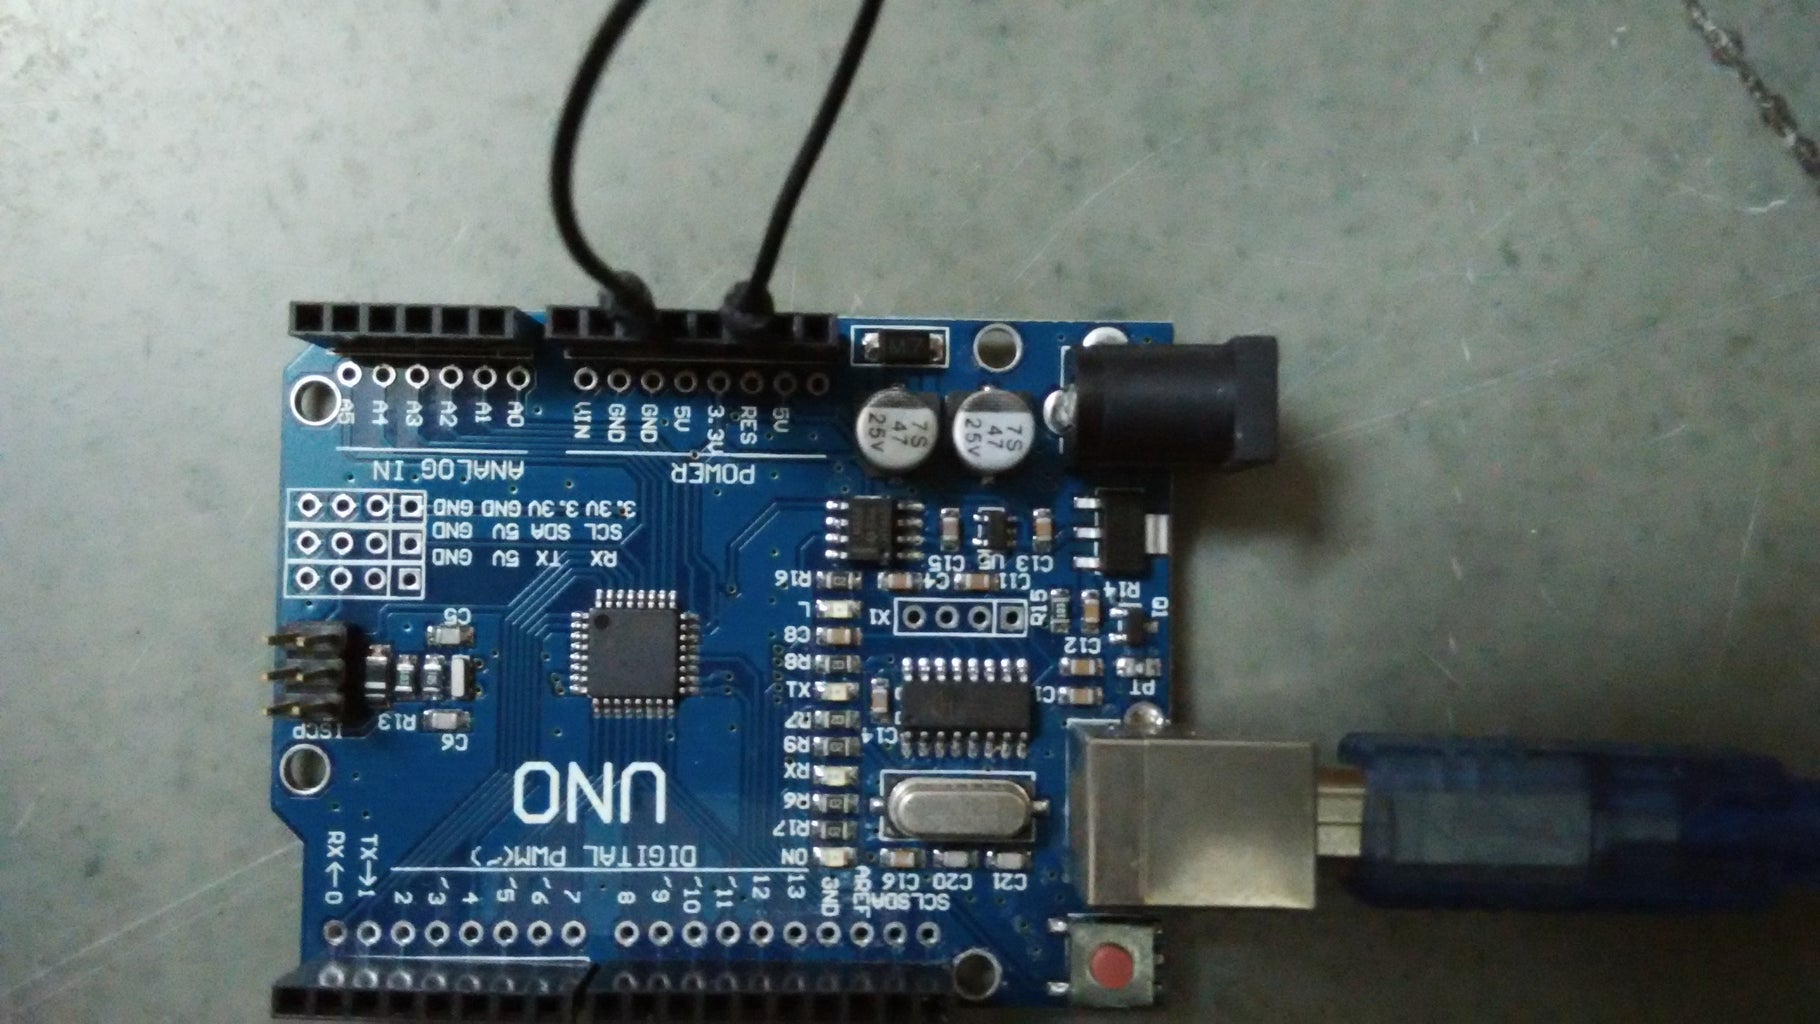
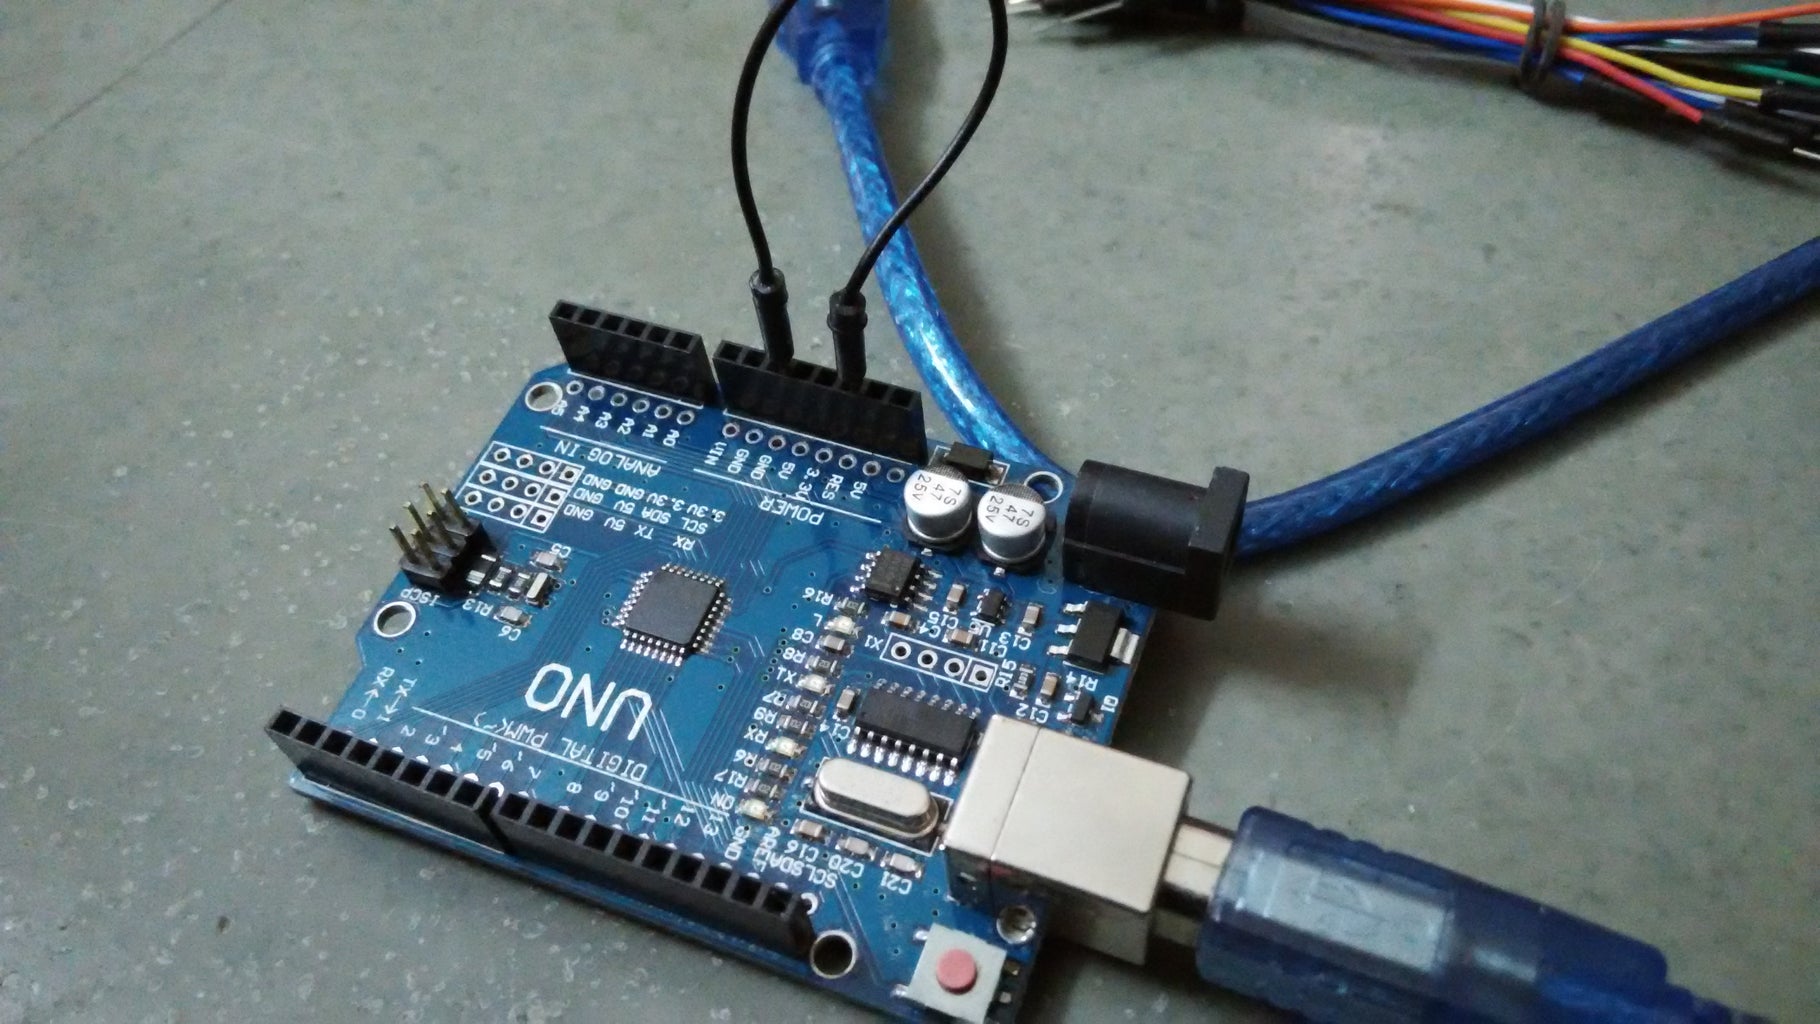
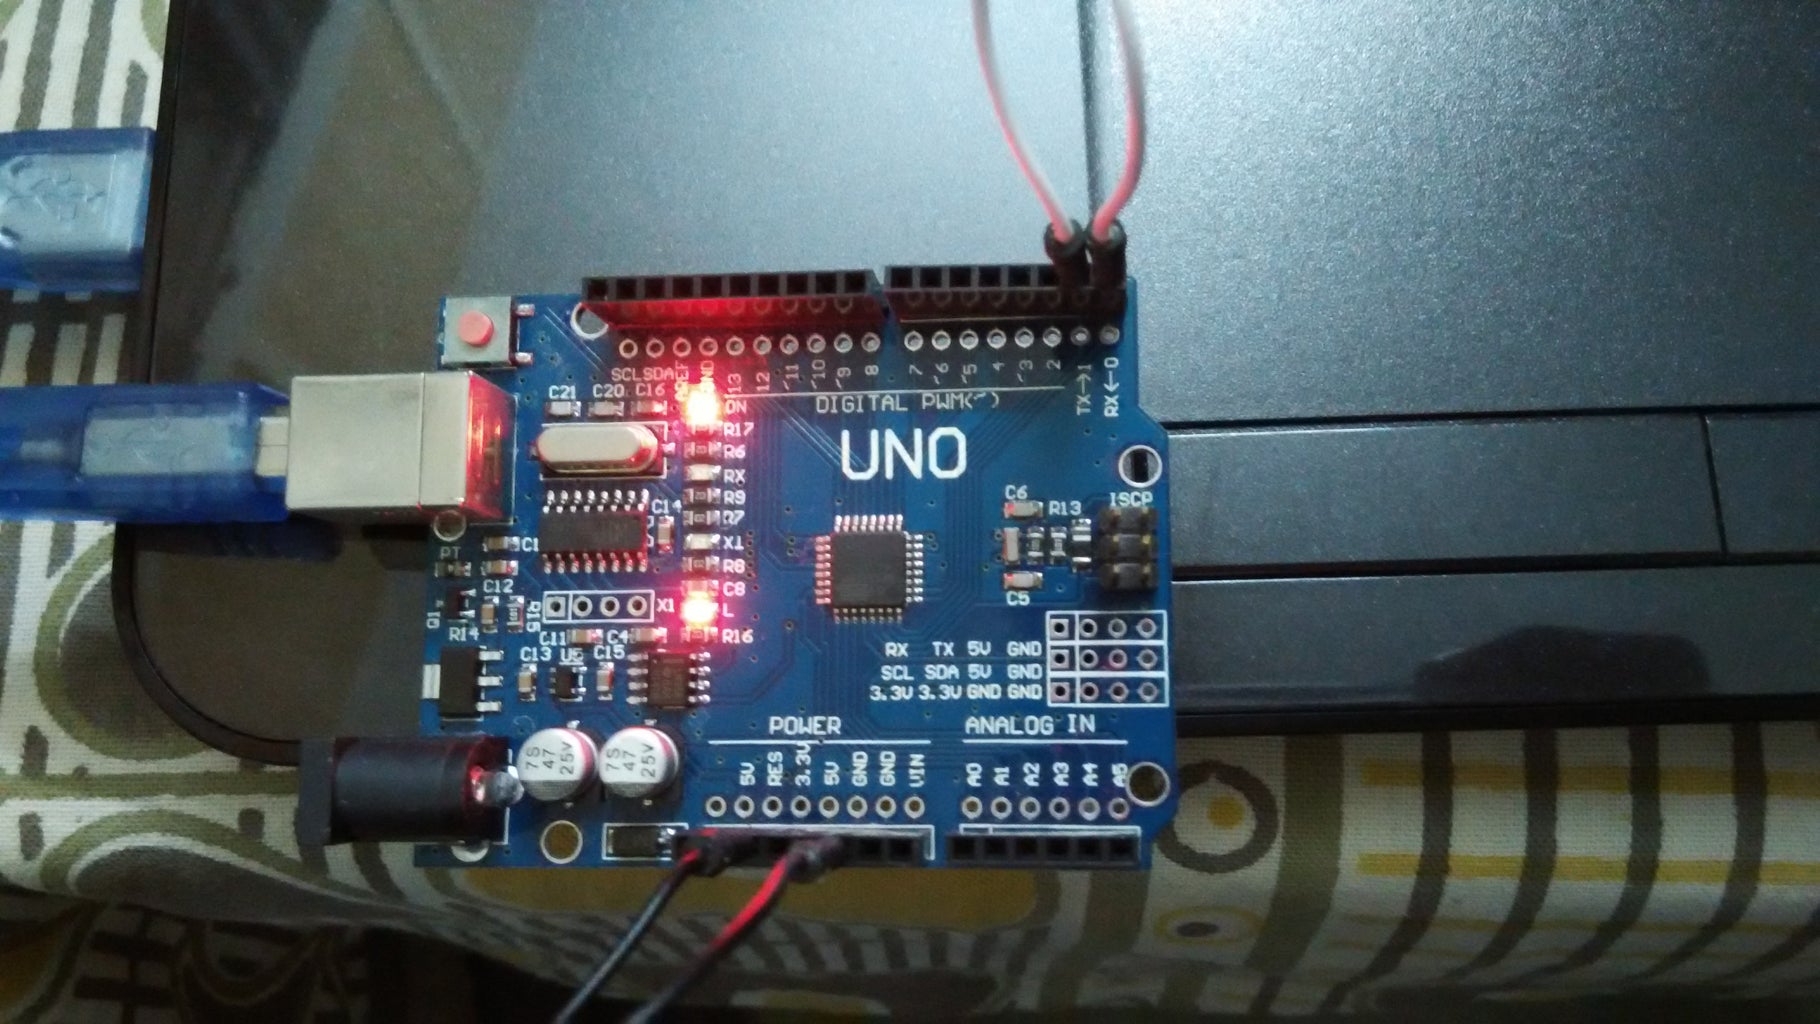
Step 2: Disconnect Power
Disconnect power from the board.
Also remove all connections and shields from the board.
Step 3: Connect Jumper Wires

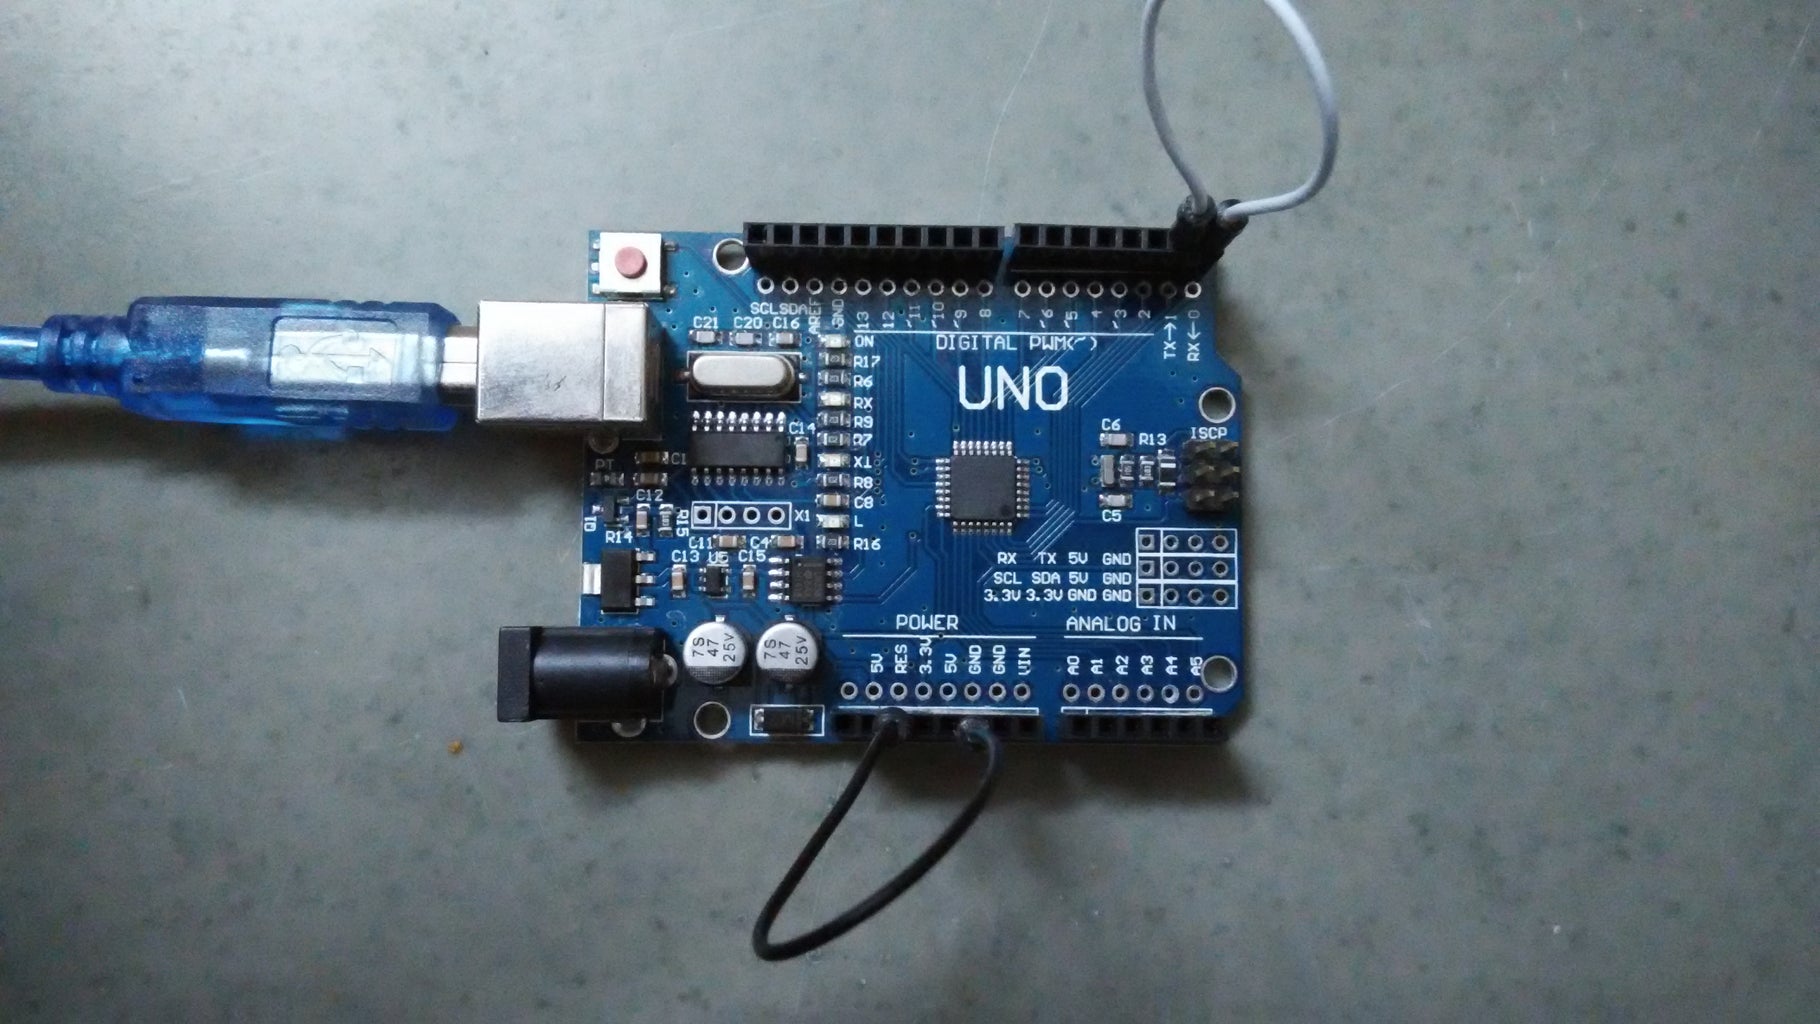

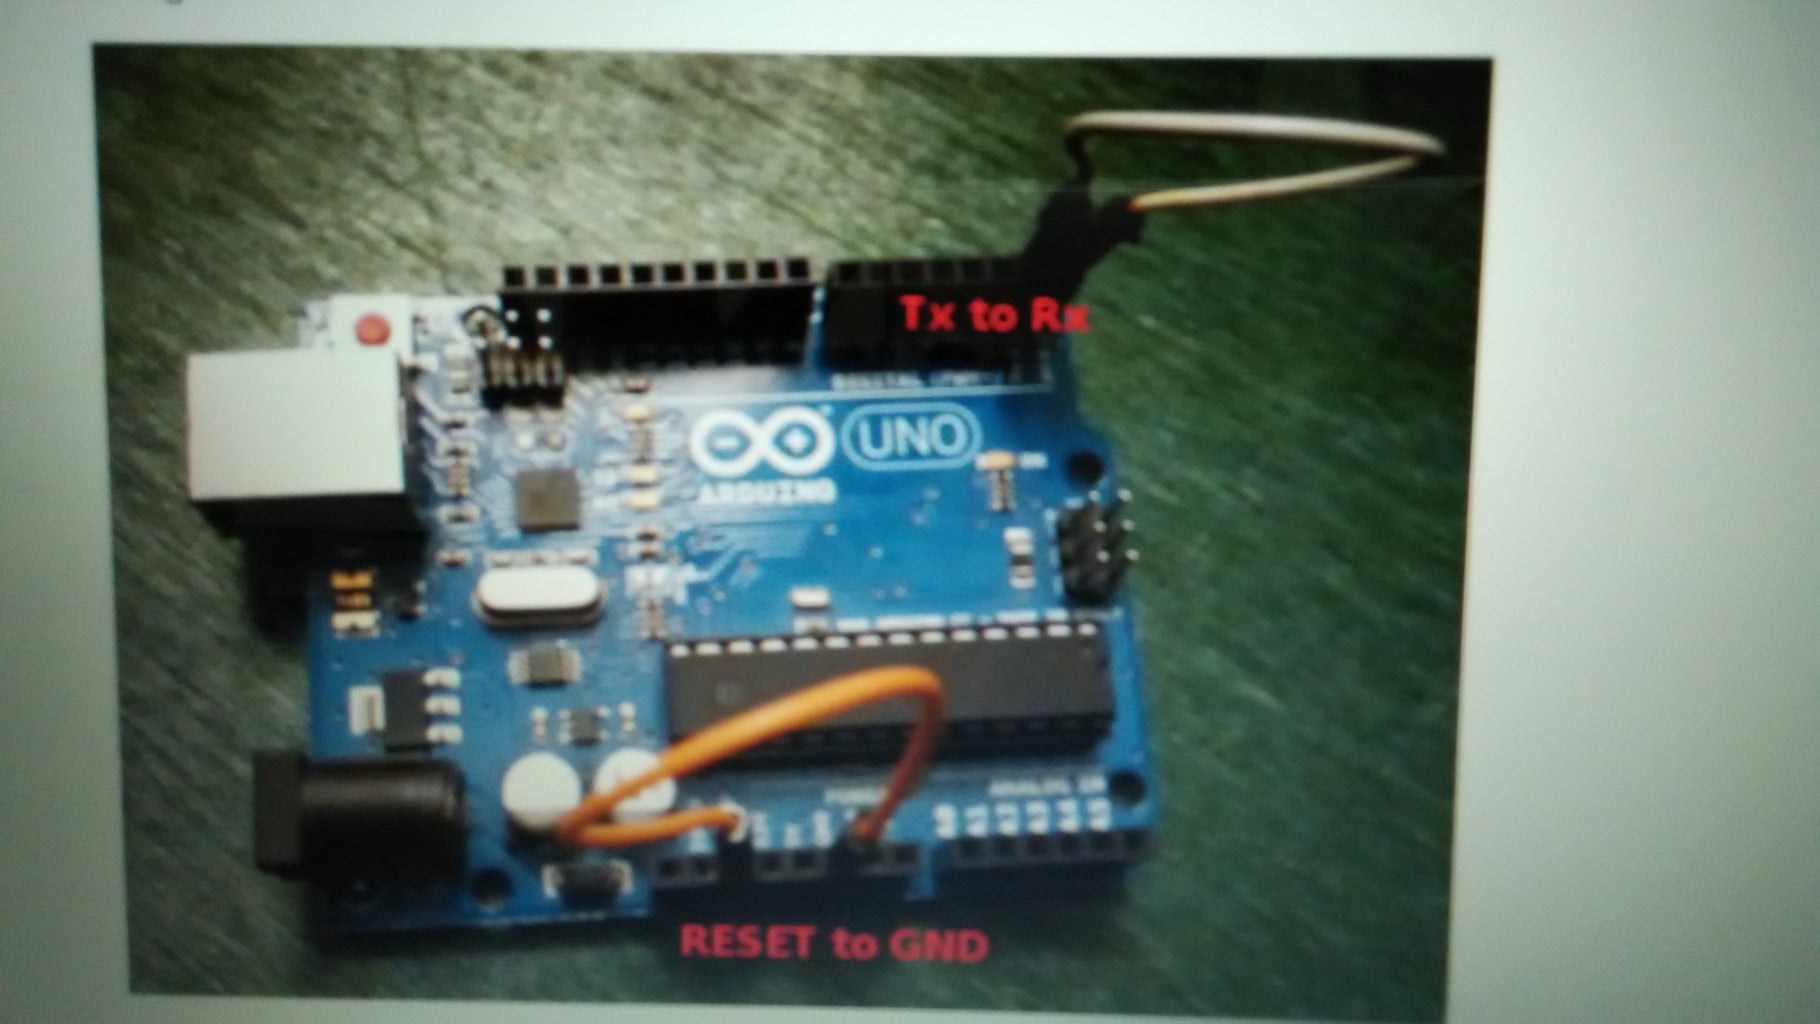
1.)Force the processor to remain in reset by connecting a jumper from RESET to GND(black wire in photo).
2.)Connect a jumper wire from TX pin(digital pin 1) to the RX pin(digital pin 0). (white wire in photo)
Step 4: Connecting Board to PC


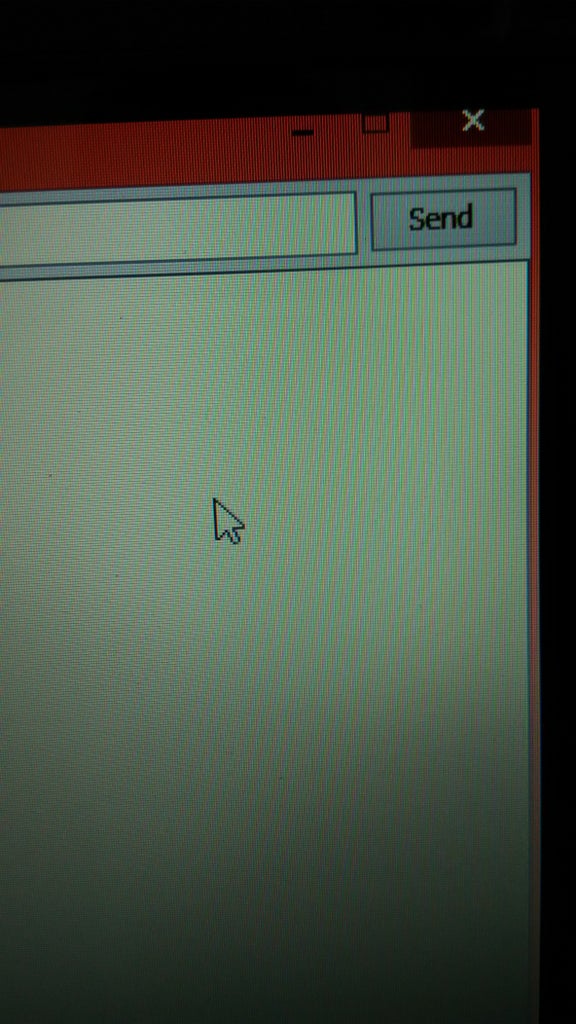
Open Arduino IDE .
Start terminal application like serial monitor after selecting your port.
Send data by typing.Whatever you write should be echoed back.
If exactly what you write is echoed back then the board passes the test.And so the host computer hardware driver,USB cable,and USB to serial converter are all working.
Step 5: If Nothing Echoes Back!
If nothing is echoed back,check:
* You have the correct com port.
* Try a different cable.Some cheap USB cables only have power wires and not data wires.
* Check the device driver for the Arduino is installed .
Step 6:
Step 7:

Participated in the
First Time Author Contest


