

Introduction: Make a Sock Monkey!


Traditional Sock Monkey's are made with brown heather socks, but there are so many really cute socks out there that can make a unique, fantastic Sock Monkey!
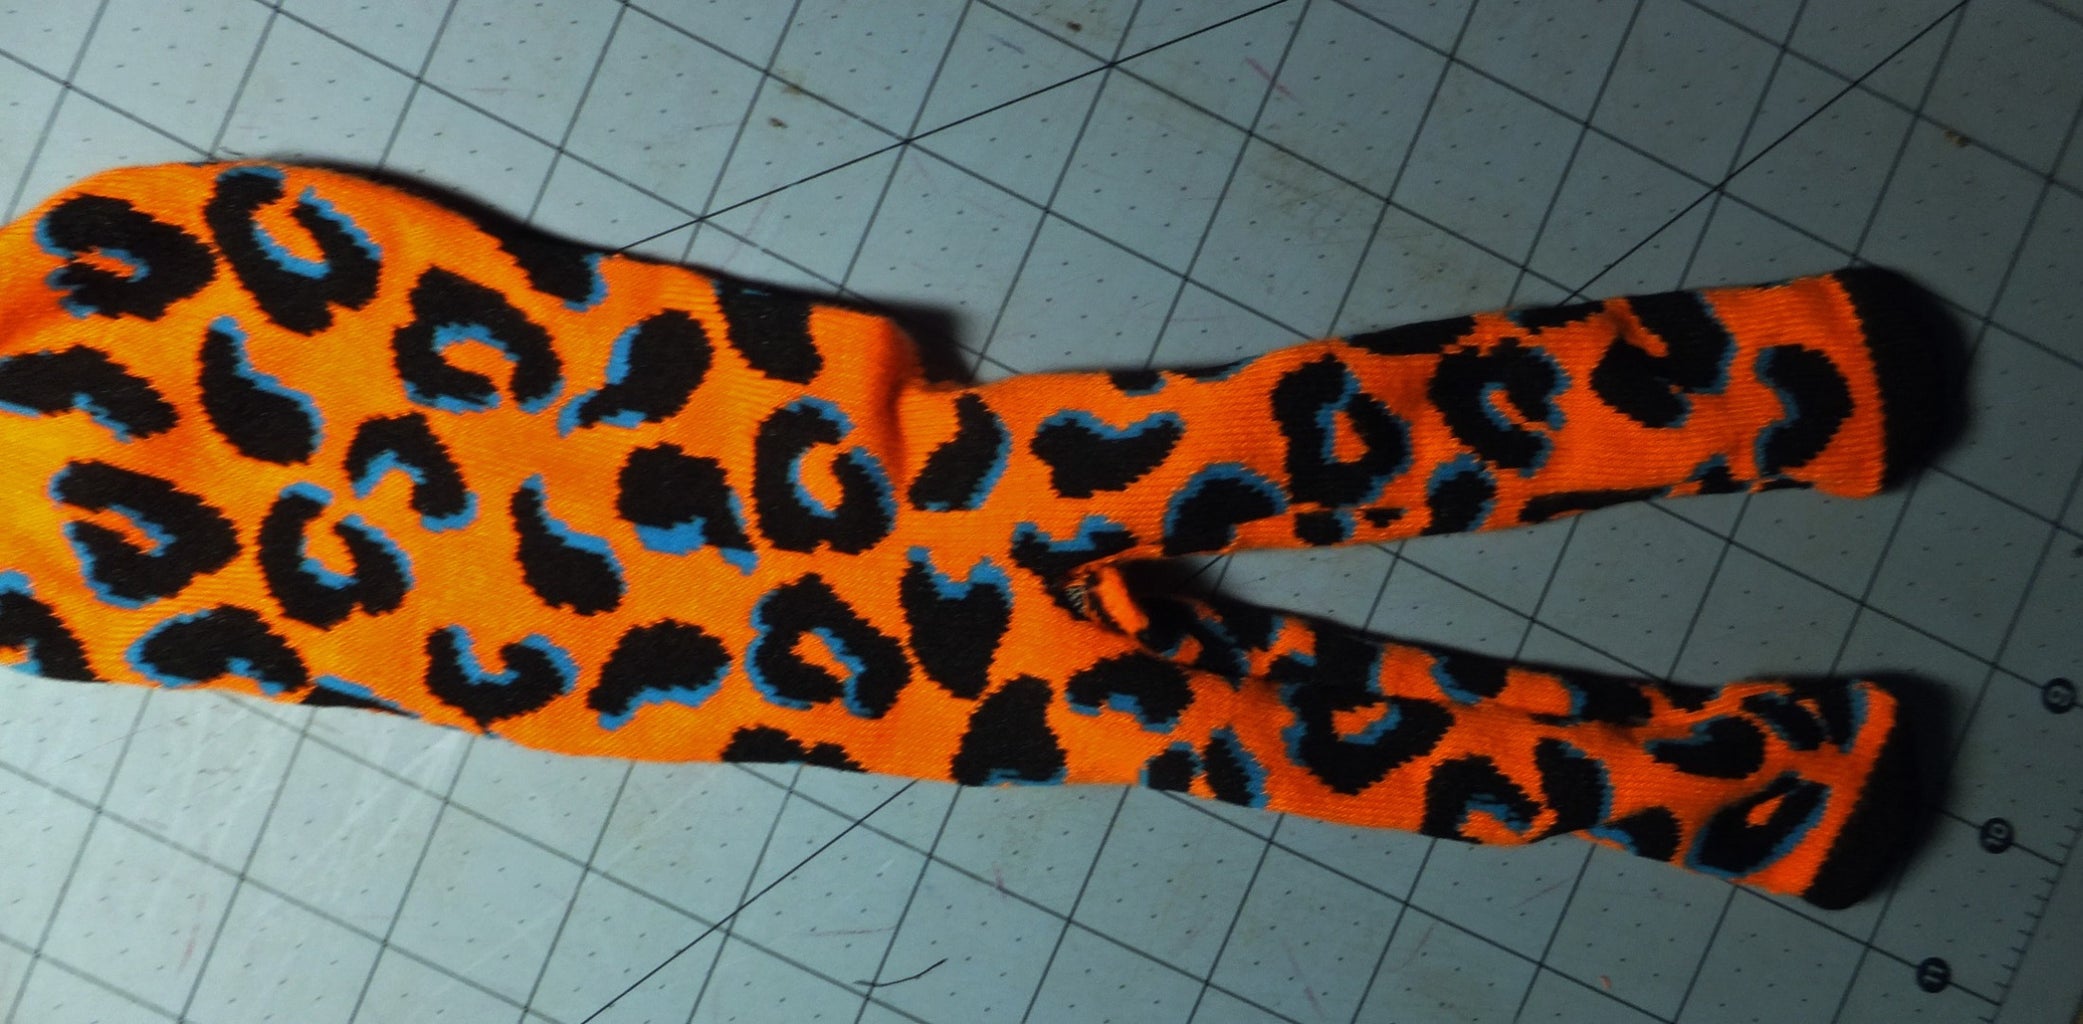
Step 1: Supplies

- 1 Pair of Ankle Socks – they should be about 6” from the heel to the top of the sock – don't use knee socks!
- Matching Sewing Thread
- Polyester Fiber Fill or Quilt Batting (stuffing a monkey takes a surprising amount – be sure you have plenty)
- Matching Embroidery Floss
- Floss in colors for eyes, nose, mouth
- Basic Sewing Supplies
- A Large Knitting Needle\
- Optional - buttons for the eyes, a heart shaped button or a piece of red felt cut in the shape of a heart
Step 2: Cut & Stitch the Body & Legs


Turn one sock inside out. Refold the sock so the heel is facing up (it'll be sort of lumpy looking). Fold the sock in half from the open end to the heel and press hard – this puts a guideline in the sock for where the seam will go to form the legs. Pin the sock together so things won't slip.
Measure the width ofthe sock opening – for my sock that measurement is 3”. Subtract 1/2” for the seam allowance – my sock left 2-1/2”. Divide that number in half, and that is where you need to stitch the seam – for my sock, that means each leg seam will be 1-1/4” from the edge of the sock. The photo above shows magenta lines where the seams need to be.
Stitch up to about 1” from the heel to form the monkey's crotch. Backstitch a few stitches to lock the seam, then stitch up the second leg.
Step 3: Cut the Legs Apart

Carefully cut straight up between the two seams, and cut about 1/4” - 1/2” farther than the stitching. The magenta circle shows how far to cut (you'll close this up by hand after stuffing the monkey).
Being careful not to overstretch the opening, turn the sock right side out. This is the monkey's body and legs.
Step 4: Stuff the Monkey

Using the opening in the crotch, stuff small pieces of batting or polyfil stuffing to fill your monkey. Fill the legs first, then fill the body. A large knitting needle will help you push the batting down into the toes. Use the capped end to prevent the needle from pushing through the sock!
As I'm stuffing the body, I like to add a heart-shaped button or charm – everyone needs a heart! (Note – if this will be given to a very young child, use a felt heart to prevent a possible choking hazard)
Note: don't use cotton or wool fill, especially if this monkey's going to be well-loved but your favorite little one! Wool and cotton can get lumpy and shrink when the toy is laundered.
Step 5: Close Up the Body

Once the monkey is stugffed to your liking, it's time to close him up. Thread a needle with thread that matches your sock and whip stitch the opening in the body closed.
Step 6: Cut the Remaining Body Parts

From the second sock, cut pieces as described in the photo. This includes 2 Ears, 2 Arms, the Nose and the Tail.
Tip: To make the ears the same size, cut one, then lay it on top of the sock pin in place, and cut the second ear.
Step 7: Sew the Ears

Turn the ears inside out and sew a seam about 1/4” almost all the way around. Leave a small opening (about 1/2” long) so you can turn the ears right side out. The ears don't need stuffing, so I top stitch around to stiffen them slightly, and to close up the opening. Sew very close to the edge of each ear. Set them aside for now.
Step 8: Sew & Stuff the Arms & Tail


Turn the arms and tail inside out and pin them flat just like you did the legs. Sew the side seams with a 1/4” seam allowance.
Using the knitting needle, just like you stuffed monkey's legs, stuff the arms and tail. Try to use a similar amount of stuffing; all of the appendages should 'feel' similarly stuffed. Set them aside while you add the nose.
Note: I usually overstuff the tail a bit. The machine stitching that closed up the tail is tight, and the overstuffing will make the tail curve somewhat.
Step 9: Sew on the Nose


Sewing the monkey's nose is the trickiest part of this project. All the raw edges need to be tucked under to make him look 'finished' and it needs to be centered on the face. To get the placement right, I loosely pin the ears to the head and move around the nose until it's placed where I like it. Place a couple of pins in the nose to hole it. Using a whipstitch with matching thread, start to sew the nose on the monkey's face. For my monkey's nose, I stitched right along the heel edge. This gives a good contrast from the head to the nose. Leave about 1/2” open for stuffing.
Note: Because the nose is formed from the heel of the sock, in most cases it is a contrasting color from the body of the sock. I try to tuck all of the contrasting color inside as I sew on the nose, as you can see in the third photo above.
Stuff the nose, and finish by whipstitching the nose closed.
Step 10: Sew on the Ears


To make the ears more life-like, fold them in half at the base and whipstitch about 1/3 of the center of the ear together (see photo). Sew them in place from the 'face' side, then sew across the back of the ear, securing the 'pinch' in place too.
Position the ears where you'd like them. Usually, monkey's ears are straight out to the sides. If you want your critter to look more like a different animal, say a teddy bear, you can move the ears higher on the head. If you want him to look like a bunny, make longer, floppier ears and sew them pointing up. Sew them in place using a whipstitch.
Step 11: Form the Neck


Using either contrasting or matching embroidery floss, cut a piece of all 6 strands about 15”-18” long. Wrap around the place where you want the neck to be and pull tight to form the neck. Secure the floss with a square knot, and trim off any excess floss.
Note: This doesn't really show after you've pulled it tight, but you can add a ribbon or bow tie over it to dress up your monkey.
Step 12: Sew on the Arms & Tail

Rearrange the stuffing to make 'shoulders' on the body before adding the arms. Tuck the raw edges of the arms inside as you pin them in place. Whipstitch the arms in place. I usually stitch around the arms twice – monkeys are frequently carried by their arms, legs or tails!
Determine where the tail should be placed and sew it on.
Step 13: Now It's Time for the Monkey Face!

Now that your monkey's put together, it's time to add features. You can make his face by embroidering on eyes , nose and a mouth, or you can use buttons for the eyes and embroider the mouth and nose. Don't use buttons for a monkey that will be played with by very small children. Buttons can be a choking hazard if your little one chews on it and bites it off.
Step 14: Making the Eyes


The easiest eyes are two buttons. I'm making this little guy for a six month old, so I'm going to embroider all of the features, but look at the eye options I pinned in place. The size and position will determine how your little guy looks. Fun shaped buttons can give your monkey a different look. Stars, hearts, X's, circles, squares, will all change him drastically.
By now, he's starting to develop a personality, and you're in control of how he behaves (just like raising a newborn!). Because I used a sock with a solid black toe (which became the top of his head), I made white circles and added an iris to each eye. I also added some turquoise eyebrows too, to give his face more expression.
Step 15: Making the Nose & Mouth

Embroider on a mouth using a stem stitch – don't forget to add curves at each side of the mouth to make the smile more appealing. Add two little dashes for the nose, and his face is complete.
Once you've made one of these cute little guys, you're going to want to make more! There are lots of variations you can make by changing the sock color and pattern, how you make the features, the list goes on and on!


