

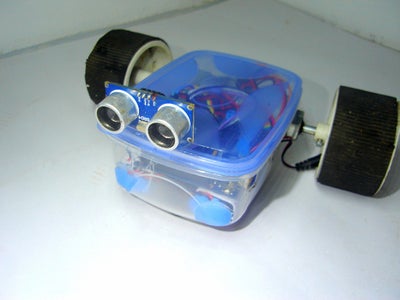
Introduction: Make Your First Arduino Robot - the Best Tutorial!
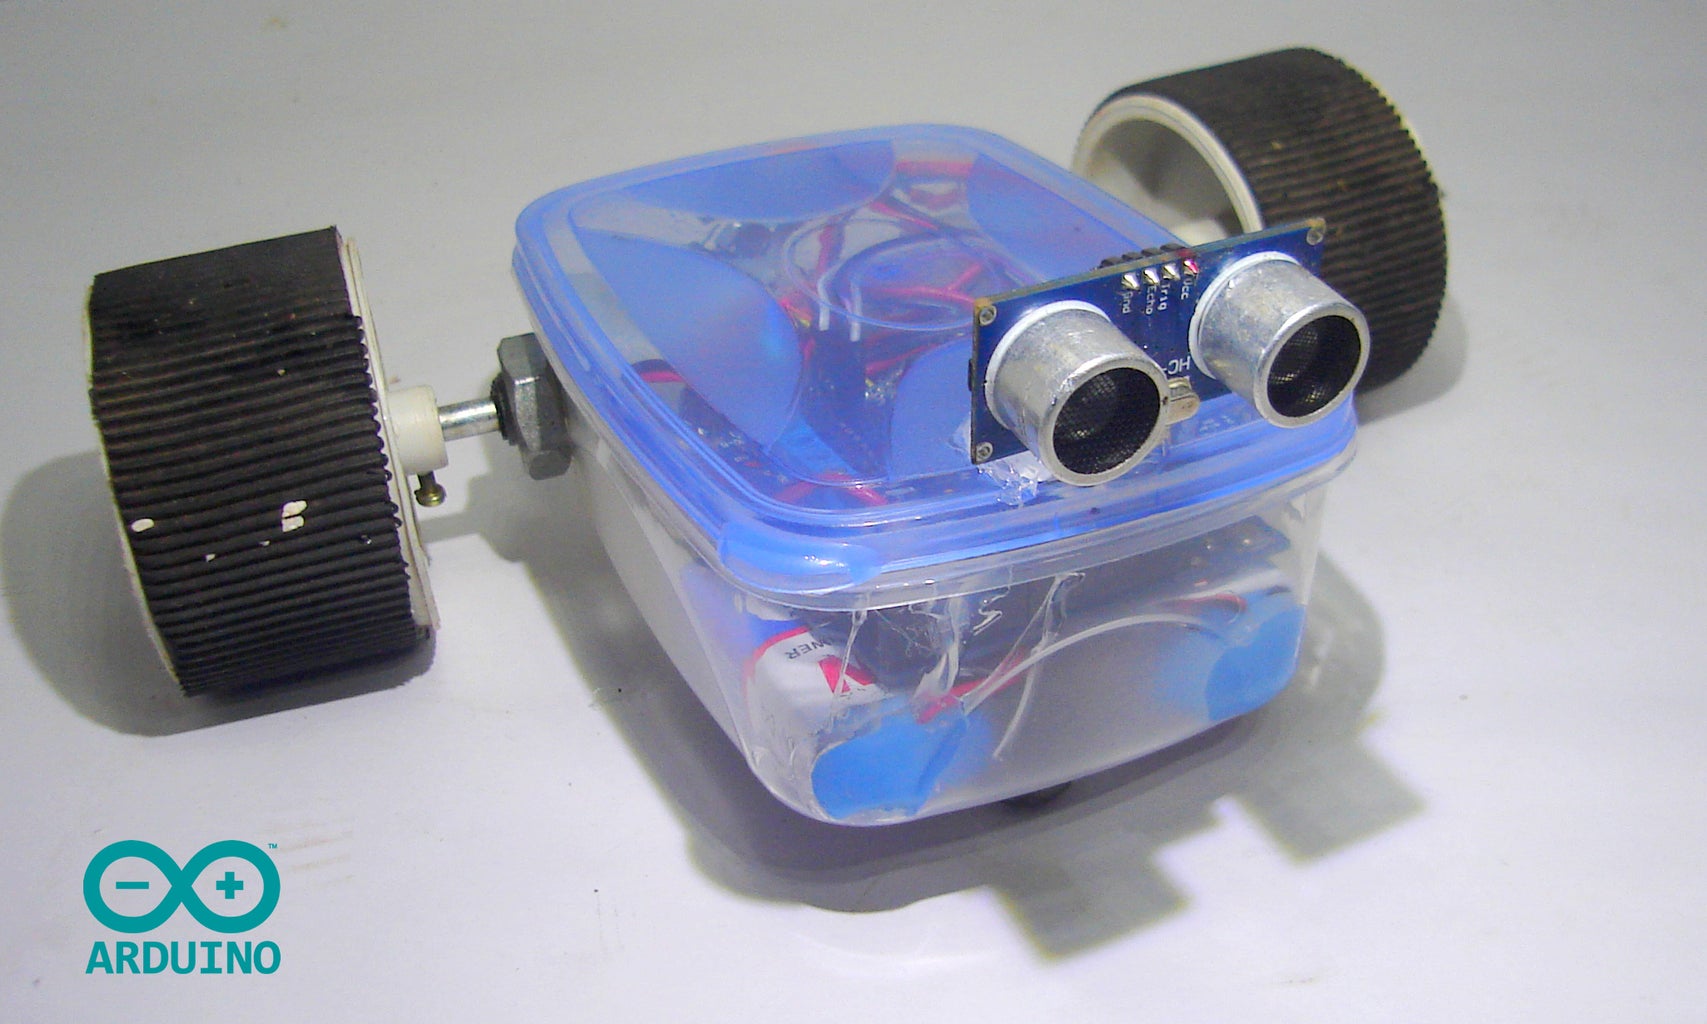


Smartphone controlled , obstacle avoiding and wall follower robot.
Are you a beginner in arduino and have a plan to make your first robot then follow this instructbles.
Are you not yet used an arduino then-have a familiar of this by feeling it.
What about making your own robots. It's really cool thing?.But don't know where to start. Then this instructable is (best) for you. In this tutorial I am going to show how to make an arduino robot with different functionalities. We can learn the use of different programs for different functions, mainly a smart phone controlled robot with Obstacle avoid er, wall follower or maze solver robot etc or You can also make it for a single function.
Watch this video to see it's final working.
Watch this video to see it's autonomous function.
Visit last step to learn editing the Bluetooth app - 'Bluetooth Electronics'
Download the Bluetooth app from here
Here download all the files - Arduino codes and circuit diagram.
Attachments

Step 1: Materials and Tools.


Meterials-
- Arduino uno - Buy here
- L293D motor shield - Buy here. "If you are not using the shield but using the l293d IC or module then visit my blog post's last section for the circuit and program."
- Hc-sro4 ultra sonic sensor - Buy here
- Hc-05 bluetooth module - Buy here
- 2 x Gear motor - Buy here
- 2 x Wheel - Buy here
- Caster wheel - Buy here
- 3 x 9 volt battery
- 3 x battery clip - Buy here
- DC male jack - Buy here
- 8 x Female to female jumper wire - Buy here
- Plastic box (size - 14 cm x 10 cm)
Why choosing the l293d motor shield?
It's low cost device and easy to use, using commonly available motor shield which does not require any previous skills . It can be also programmed easily using adafruit library.
Tools-
- Screw driver
- Soldering iron
- Hot glue gun
- Driller
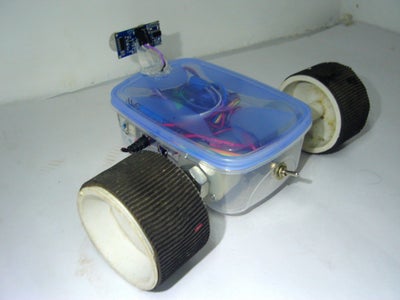
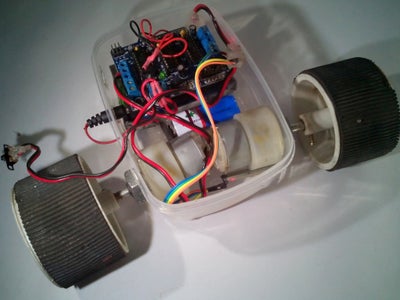
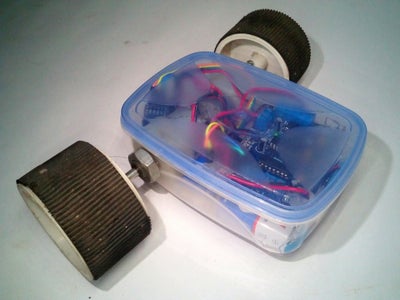
Step 2: Making the Chasis.


Make two holes on either side of the box for connecting the motors and three holes on the down side for connecting the caster wheel after measuring and marking the correct diameter. Then connect the motor after soldering the wire to motor shield and connect the caster wheel.
Step 3: Connecting Battery


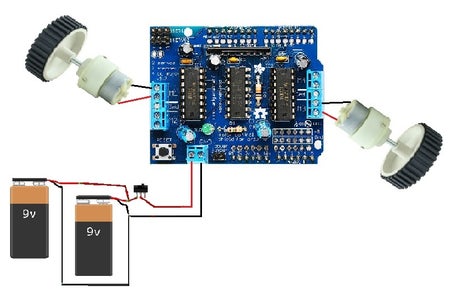
Then place two 9 volt battery inside the box above the caster wheel. Then wire this battery in parallel mode and connect a switch as shown in above diagram . This is the batteries that giving power to motor shield.
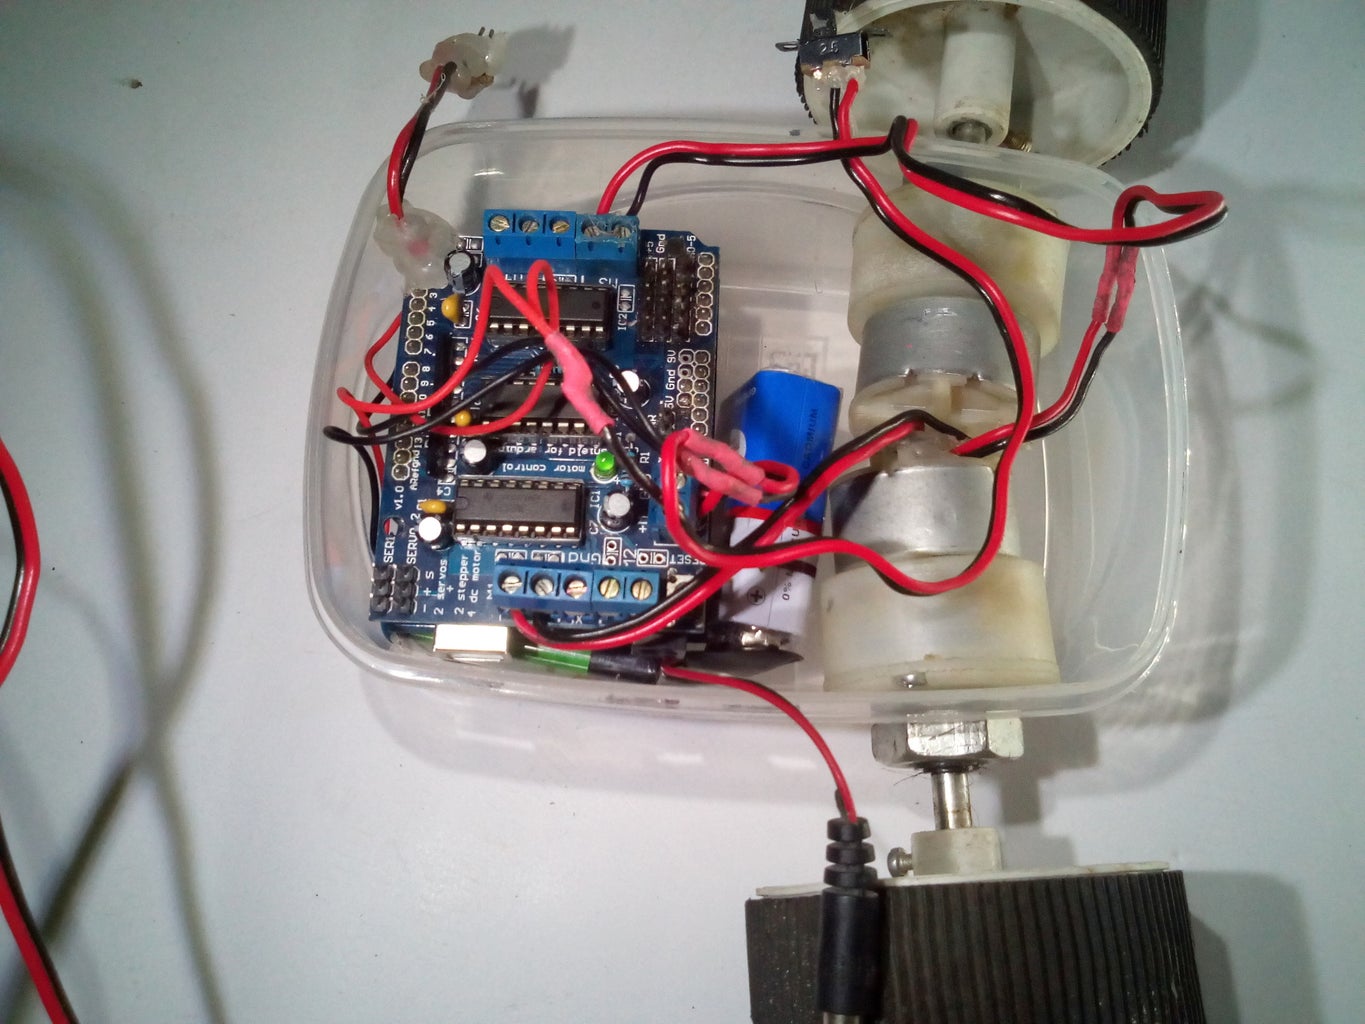
Step 4: Connecting the Arduino and Motor Shield


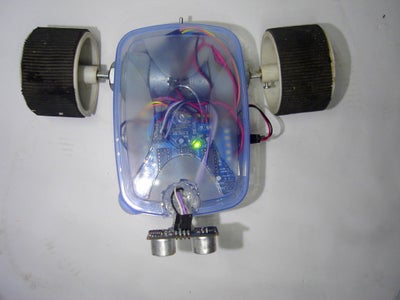
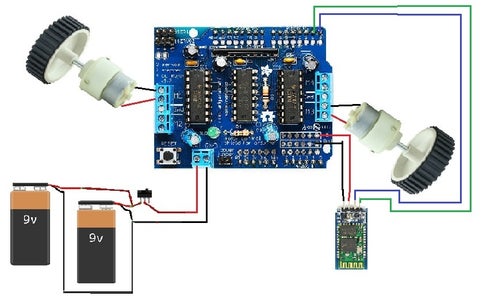
Connect the motor shield above the arduino and place it above the battery. Then connect the wires from the motors and battery to the motor shield. Look out the connection diagram before connecting, as it is very important .
Wiring Instructions -
- Connect the left motor to "M1" of motor shield
- Connect the right motor to "M3" of motor shield
- Connect the the wire from battery to "ext pwr " of motor shield
Don't forget to remove the jumper from the "pwr" of motor shield
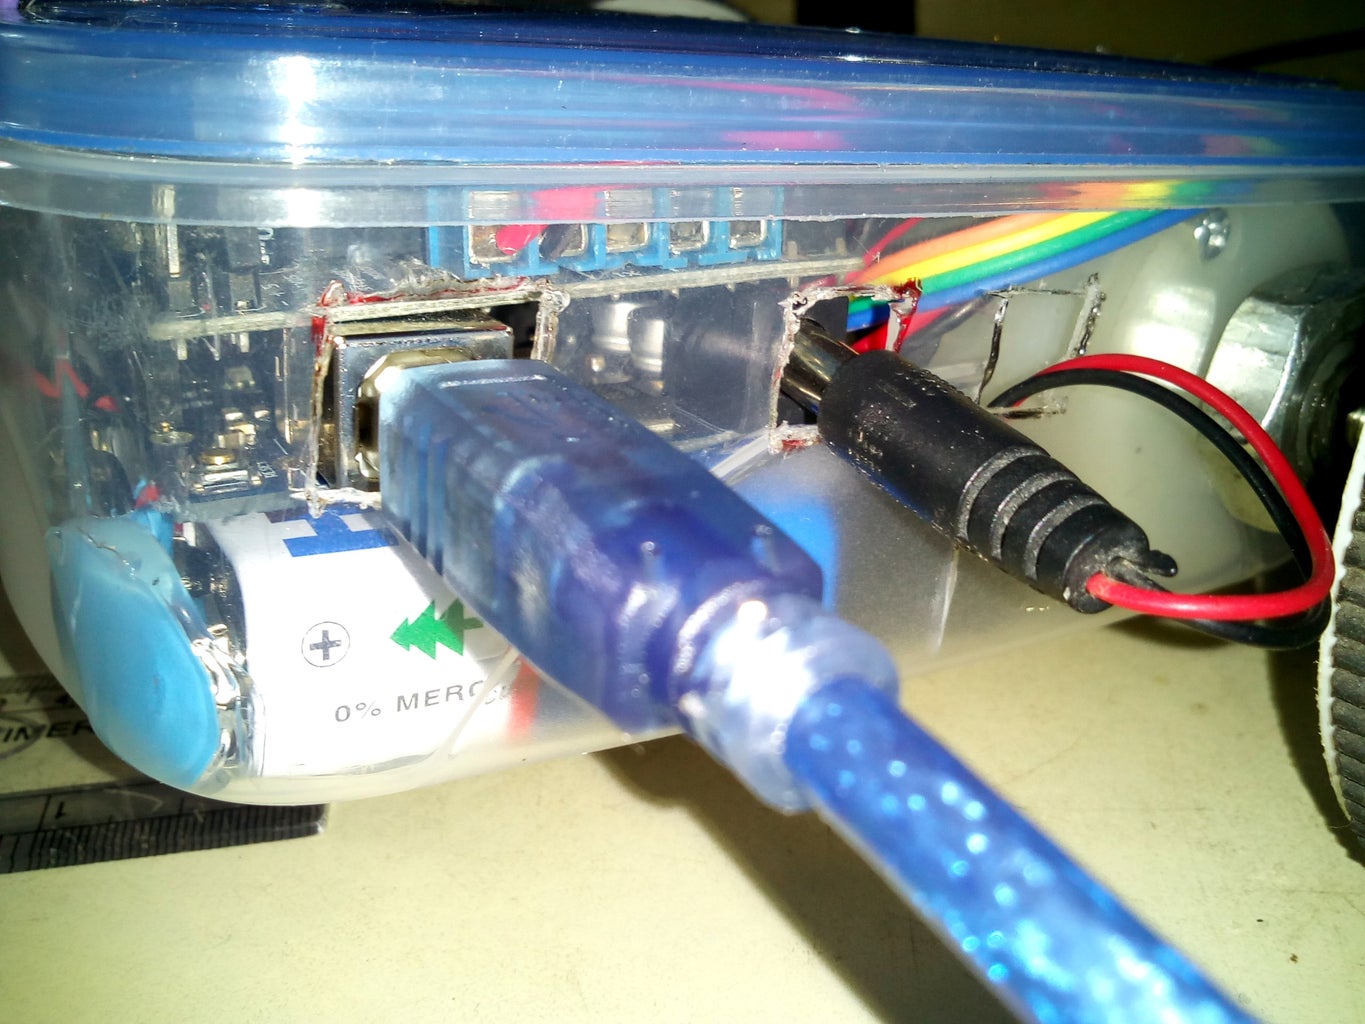
Step 5: Make Two Holes and Power the Arduino.
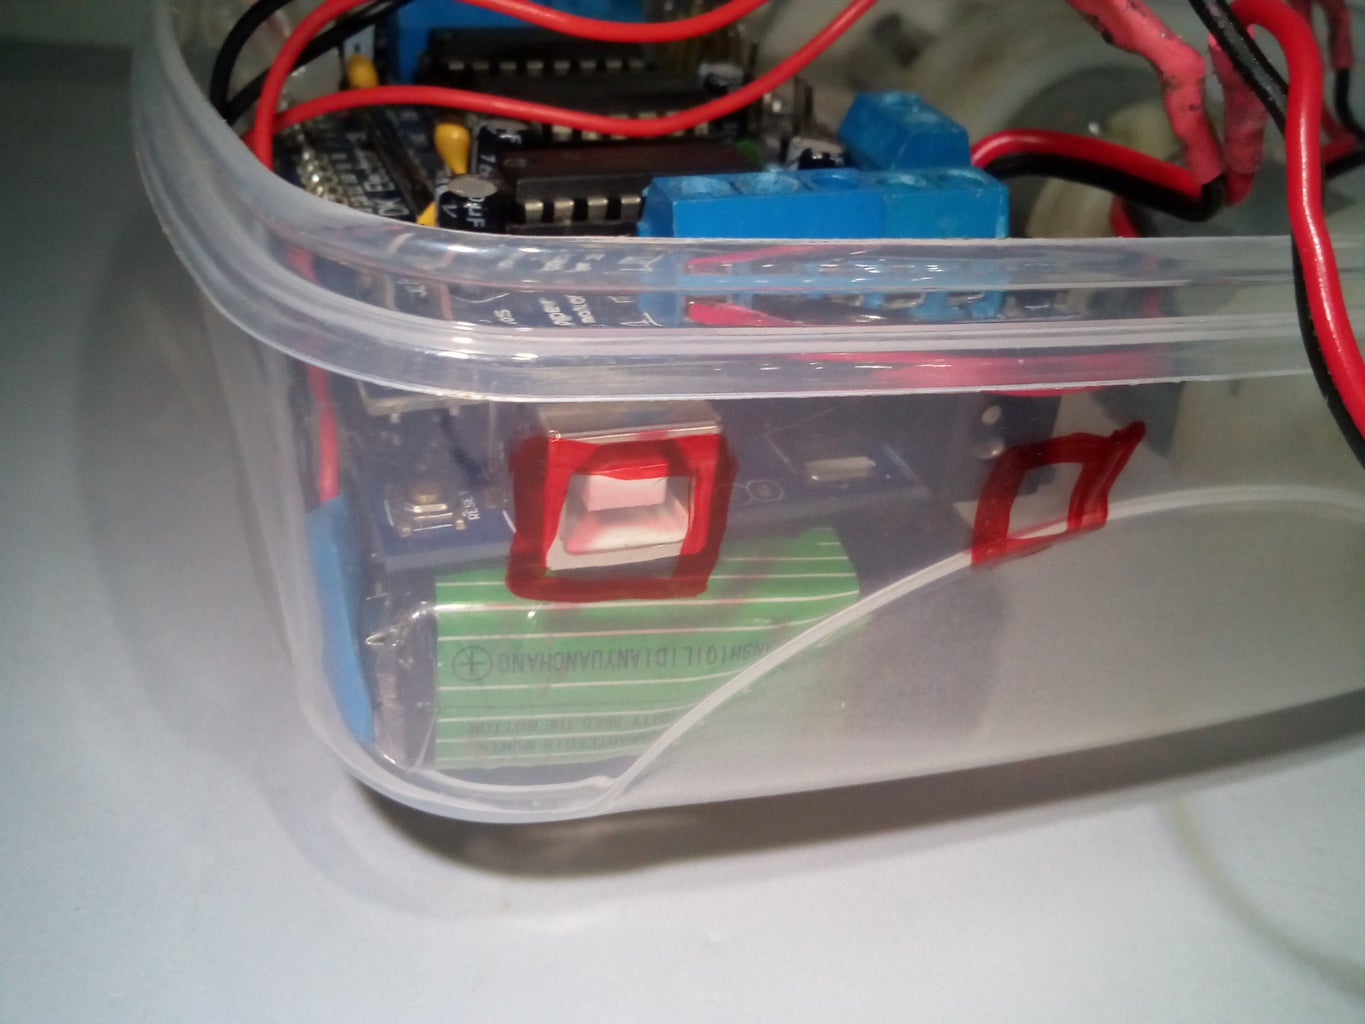
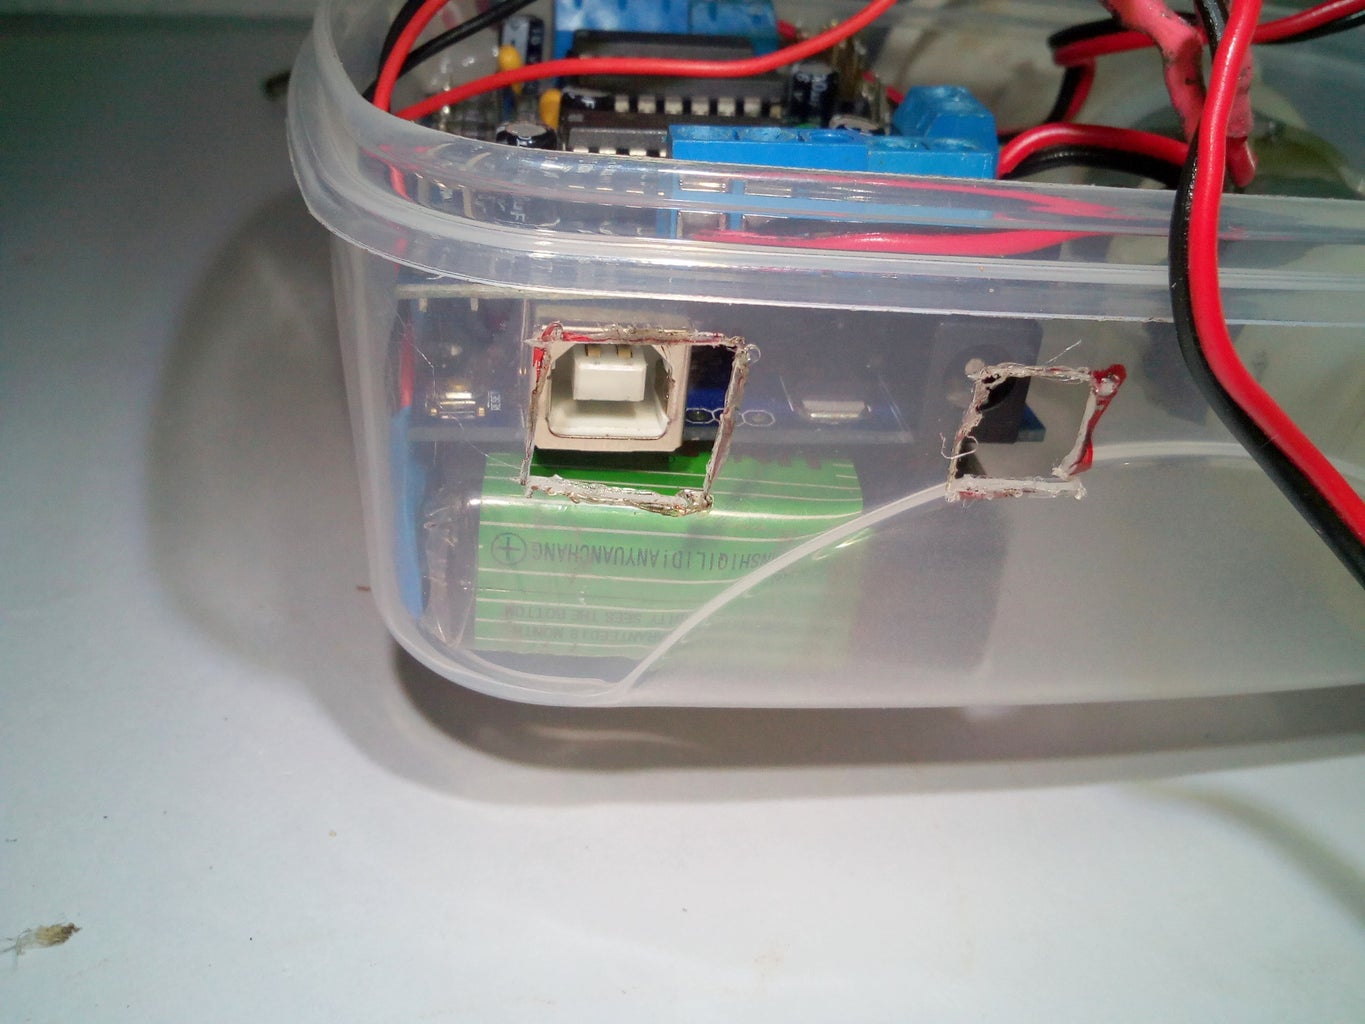
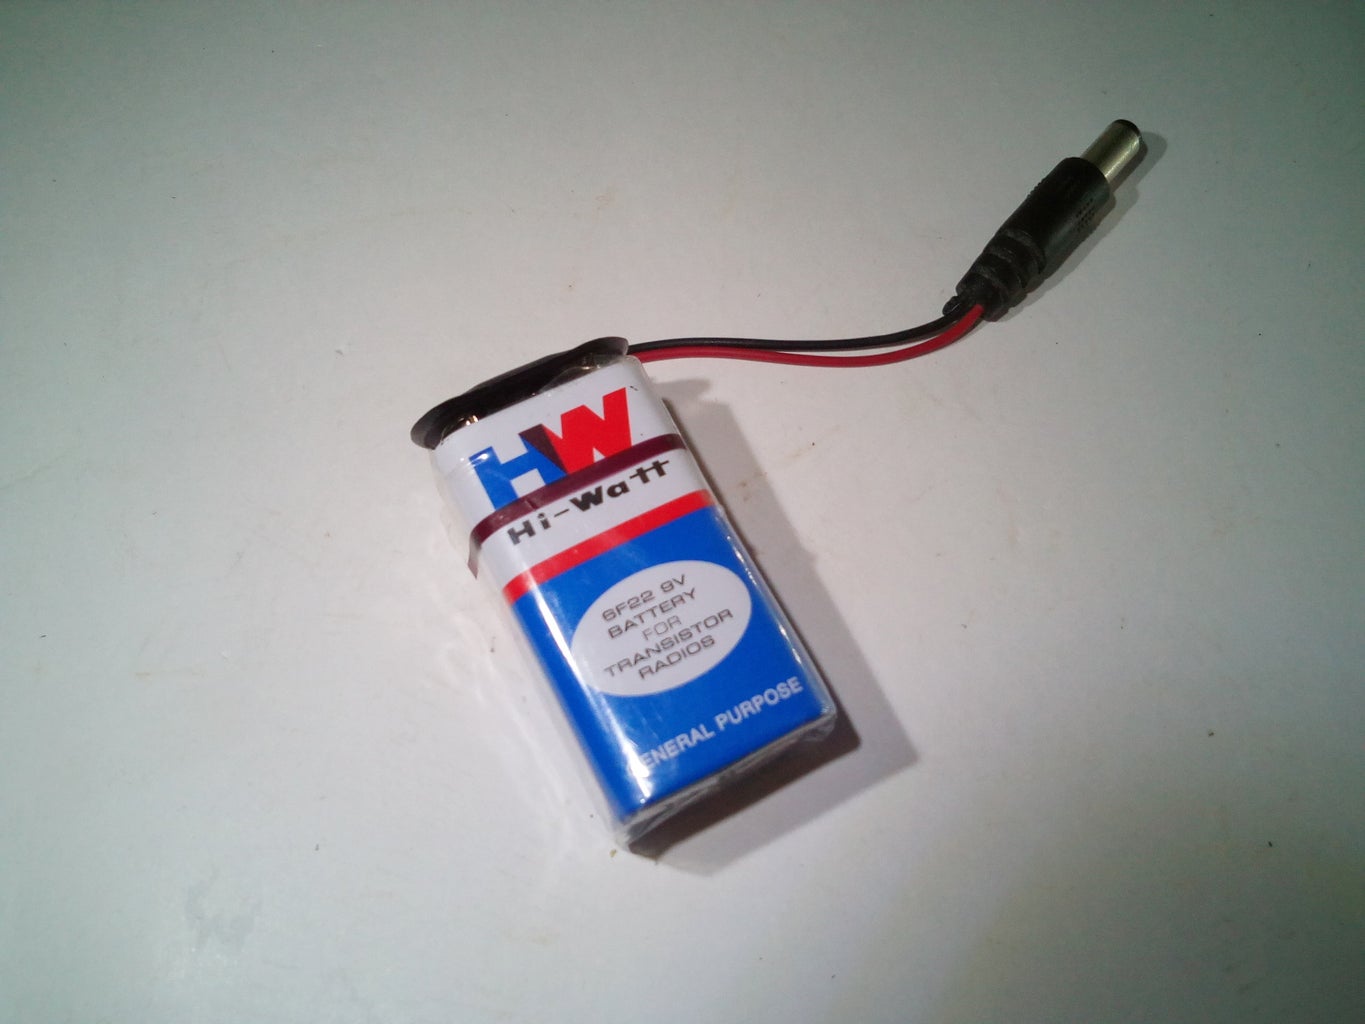

Make two holes for accessing the USB port and DC input port of arduino. Take another 9 volt battery and connect battery clip to dc male jack adaptor ,then connect the DC male jack to arduino DC input port, to power the arduino. Then place the battery between the motors and arduino inside the box.
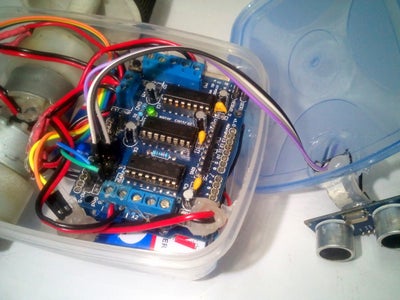
Step 6: Connecting Bluetooth Module and Switch.
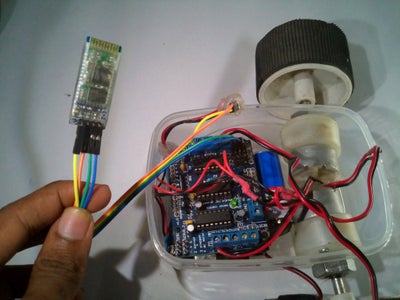
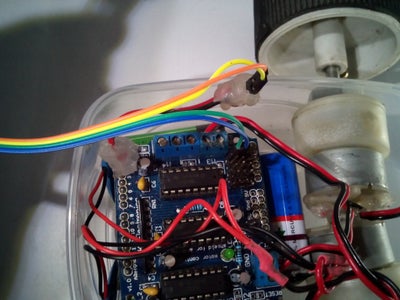


Connect the Bluetooth module to arduino as shown in the connection diagram and place it inside the box. Then make hole to connect the switch on the back side of the box and connect the switch (here I have changed the switch which is used earlier because of some soldering problem).
Wiring Instruction of bluetooth module -
- "TX of Bluetooth Module" goes to "RX of Arduino"
- "RX of Bluetooth Module" goes to "TXof Arduino"
- "VCC of Bluetooth Module" goes to "5v of Arduino"
- "GND of Bluetooth Module" goes to "GND of Arduino"
- The State & Key pins of the BT modules are kept unused.
Step 7: Circuit Diagram. Connecting Ultrasonic Sensor and Finishing.

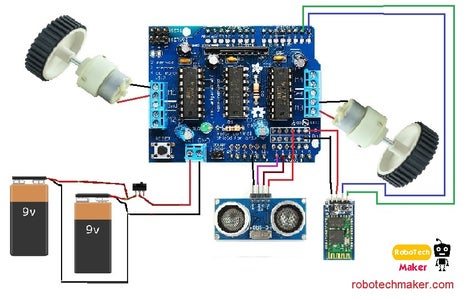


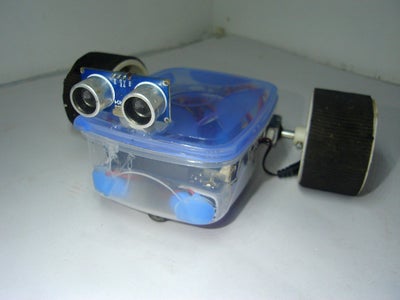
Take the ultrasonic sensor and glue a small 'L' shaped plastic piece to it and glue it over the plastic box(or if not having a glue stick use double sided tape ). Then connect the jumper wires to as shown in the circuit diagram above.
Wiring Instruction of ultrasonic sensor -
- "VCC of Ultra sonic sensor" goes to "5 volt of Arduino"
- "GND of Ultra sonic sensor" goes to "GND of Arduino"
- "Trig pin of Ultra sonic sensor" goes to "Analog pin 1 volt of Arduino"
- "Echo pin of Ultra sonic sensor" goes to "Analog pin 0 of Arduino"
Now we finished the all the connections and it's the time to program.
Step 8: Last Step - Arduino Codes and Bluetooth App Editing
First download the ARDUINO IDE from arduino.cc(here) and install on your PC. Download the above files and Upload it. thus we learned how to program a Arduino easily. I have shown here some programs to work this robot as a obstacle avoiding robot, Wall follower, and Bluetooth controlled. and at last i have combined this three functions together. Watch the video for more details and information
You can use the wall follower robot code to function it as a maze solver robot.
Install the 'AFmotor' library before compiling the program. Copy paste the AFmotor folder to to arduino libraries folder.Download from here.
Autonomous robot - Obstacle avoiding robot and Wall follower robot code - Video
The Final code- Video
Editing Bluetooth electronics app for the robot - Video
If you have any doubts or any suggestions please comment below.

Participated in the
Maker Olympics Contest 2016


