

Introduction: Make Your Own Climbing Traverse Board.

In this instructable, I will be teaching you how to make your very own traverse board, after looking on line at hangboards/fingerboards, and seeing that they cost £50-80, I decided to make my own, it all came to just under £40 however it could've been alot less.
Step 1: Equipment.
For this build, you will need:
MDF (cut to required size)
6x2 timber (cut to required length)
2x2 timber (cut to required length)
2x joist hangers
Climbing holds
Basic tools - Drill, screwdrivers, saw etc.
Step 2: Wall Fittings.
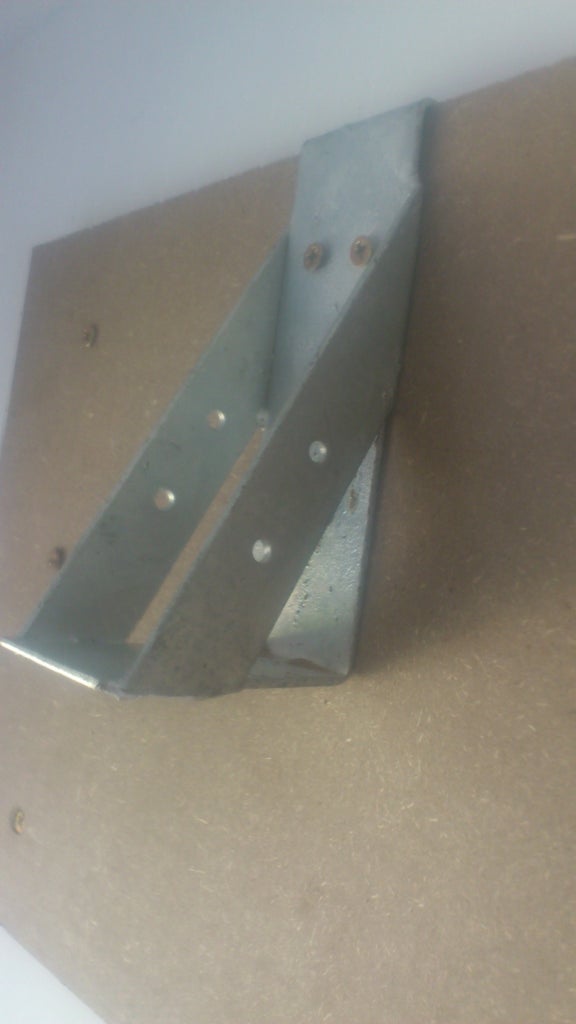

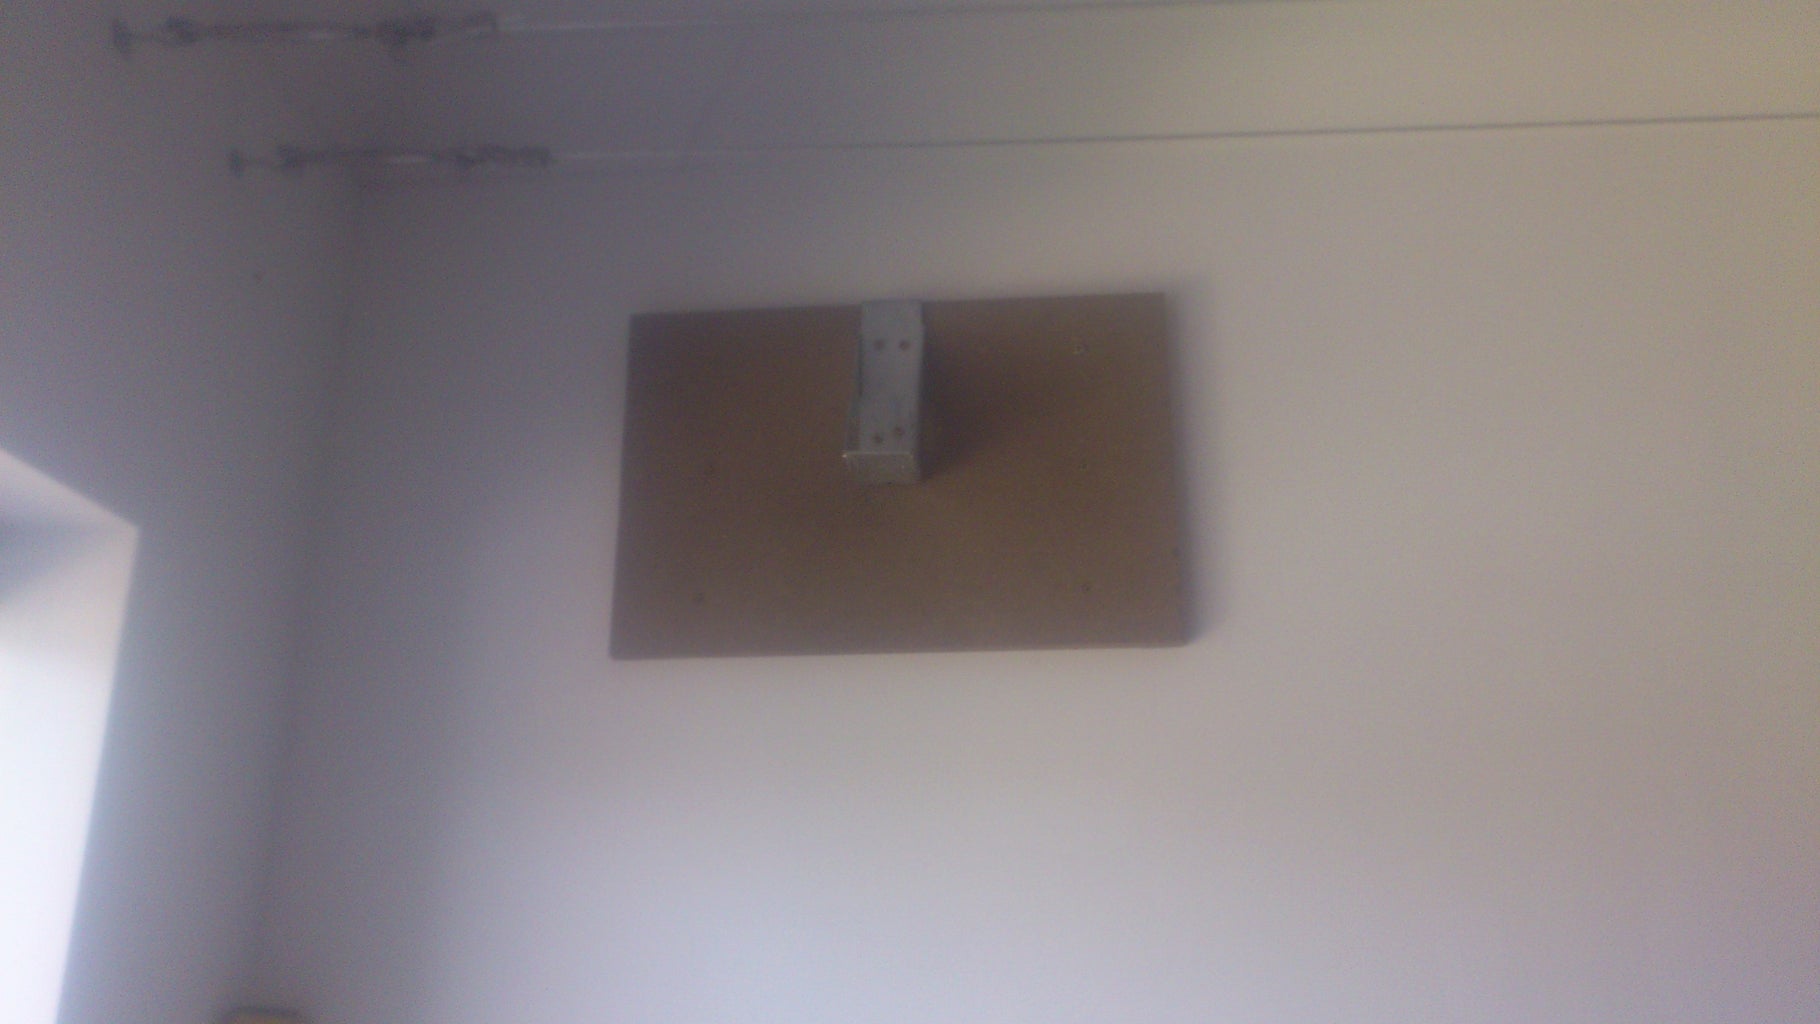
The first thing you'll have to do is find two solid walls to attach your wall fittings to.
After you have done this, cut your MDF to the size you like (it differs from house to house due to the amount of timber in the wall, if it is an exterior wall etc.) and attach it to each wall making sure they are parallel to each other.
Then attach the joist hangers to the MDF by screwing them on, making sure that they are again parallel.
Step 3: Back Support.
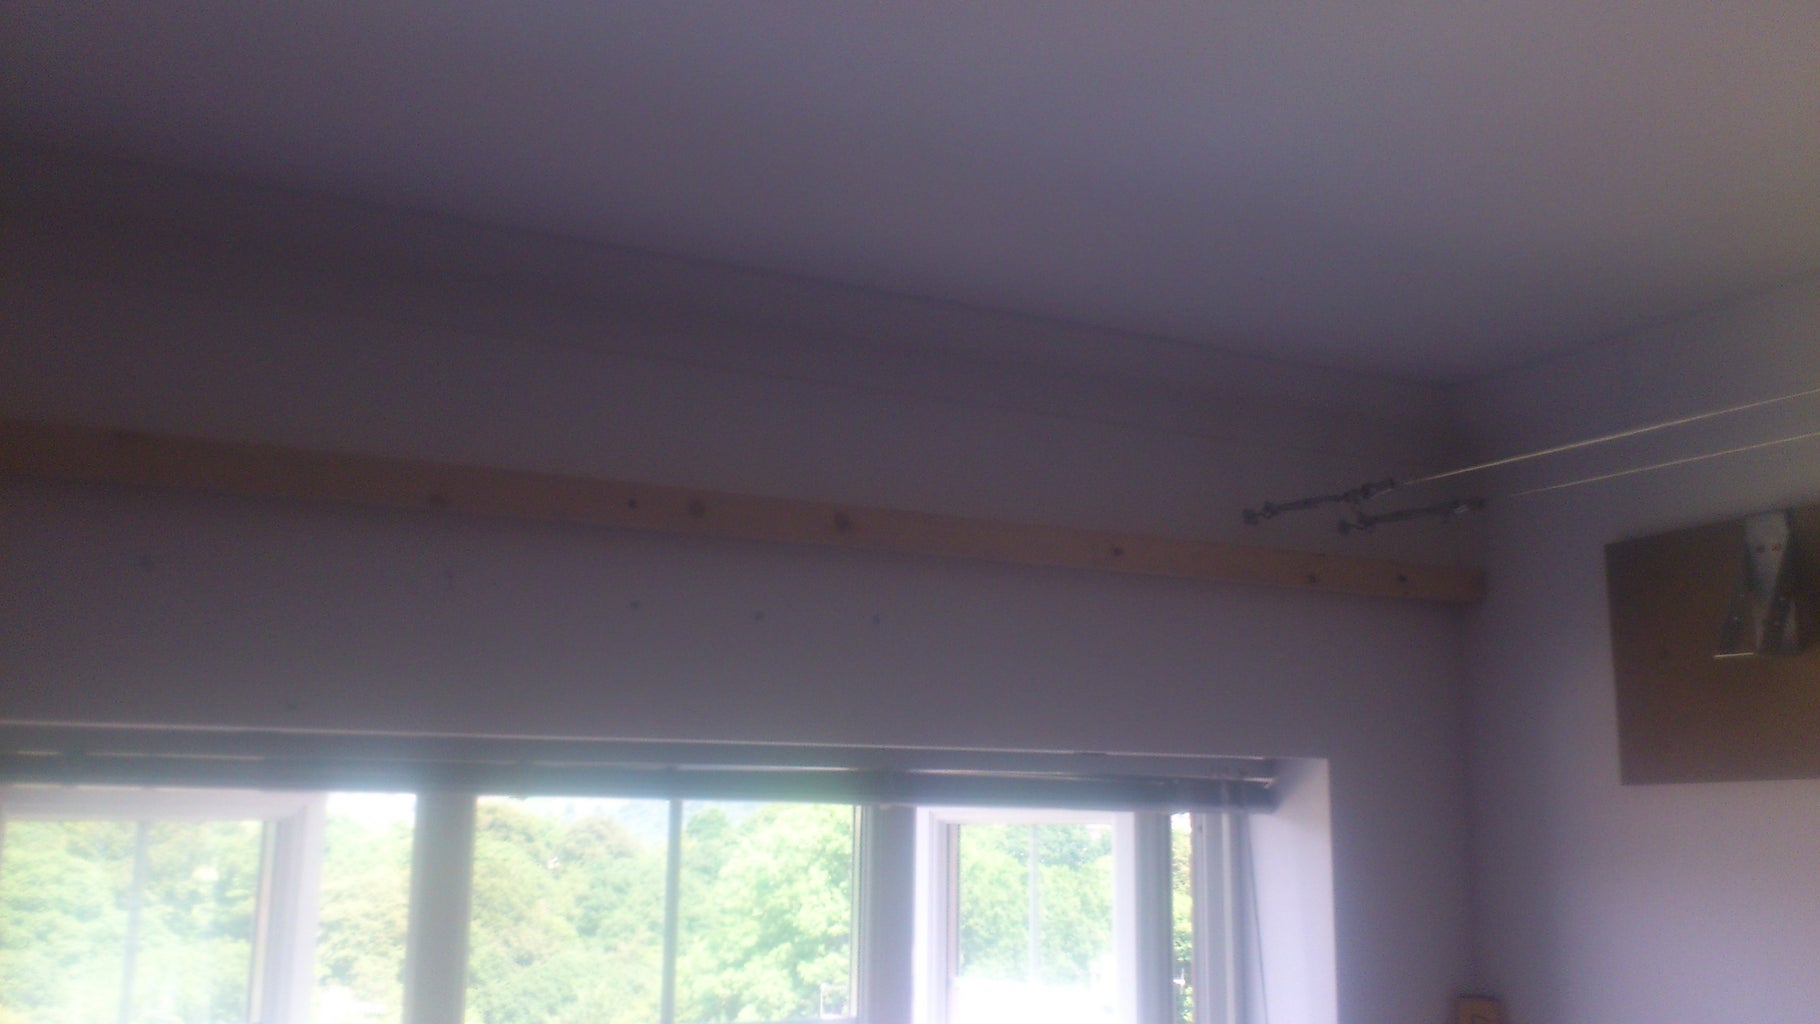
Next, you need to fit the 2x2 to the back wall so you can later add the main support to it.
During this step, you must make sure that the top of the 2x2 is parallel with where the top of the 6x2 will be.
this step isn't necessary but it really helps, the traverse board might flex if this step isn't taken.
Step 4: Main Board Fitting.


Now, you place the main 6x2 in the joist hangers, making sure it is very secured, then screw it into place.
Step 5: Main Support.

The MDF is also used as a main support, this spans across the gap between the 6x2 and 2x2 timber pieces.
just simply, cut it to length and then screw it on top of them.
Step 6: Climbing Holds.


Now plan out and screw on your climbing holds, I used holds that i bought on line but they can really be made out of anything that's grippable!
when screwing in professional holds, start with a drill and finish off with a screwdriver, making sure not to screw them in too tightly, as they may break.
Step 7: Finished.

Now just screw on any other attachments you want and it's done, thanks for reading this instructable, I hope it's helped !


