

Introduction: Making Backs for Shelves From Boxes


I had these shelves that came without a backing, because of this these shelves were wobbly and unstable. Also items would fall off behind them. So, I created my own with some cardboard boxes and wrapping paper.
This is a tutorial to provide tips and inspiration on how to add a backing to your own shelves.
Supplies
Large cardboard boxes. Enough for the size of your project.
Either duct tape or packing tape.
Several rolls of double sided tape.
Brown Wrapping paper.
Decorative wrapping paper of your choice.
Upholstery stapler.
0.5” (12mm) Staples.
Rubber roller.
Clear wax top coat.
Step 1: Getting Started


There are several items to collect and Have ready to get this project started. The quantities needed are highly dependant on your own project so, I give only estimates in quantities.
Here is a list of what you need and possible places that you can find these items. Brands don’t really matter, just use what you have or your favourite brand. What is shown here is what I had around the house.
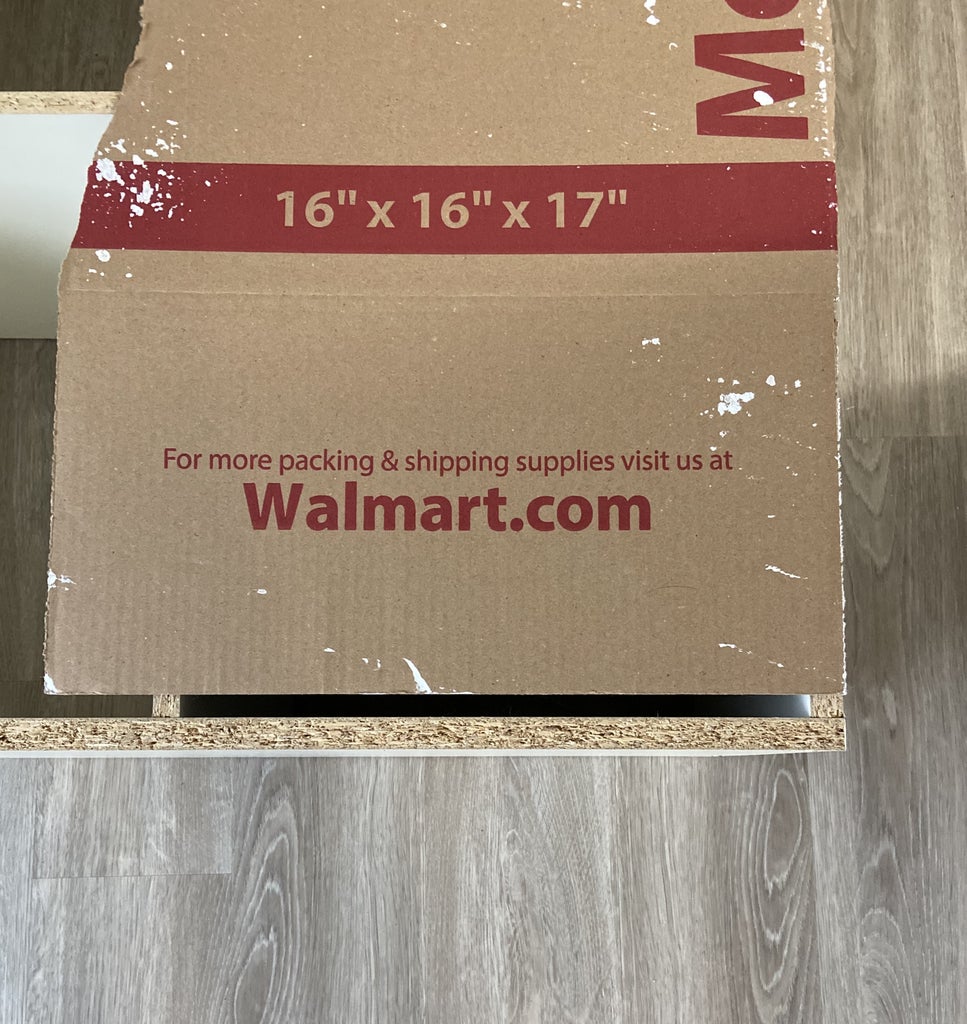
1. Some cardboard boxes. I just happened to have some large boxes around that I had been using for protection from spills. Instead of throwing them away after painting, I reused them for this project.
2. A roll or two of brown wrapping paper. I get mine from my local dollar store. Of course how many rolls you need will depend on the size of your own project.
4. A roll or two of your choice in a decorative wrapping paper. I ended up choosing to use the brown paper with the stars. It is a good idea to pick a heavier paper for this project for durability.
5. A rubber roller (optional). It is nice to have but you can still use your hands. I found mine at an art supply store. Usually found in the areas for ink printing.
6. An upholstery stapler or the like. It needs to be a stapler that can use heavy duty staples.
7. Heavy duty staples. 0.5 inches (12mm) is a decent length to secure the backing.
8. Several rolls of double sided tape. This is for applying the decorative paper. I found it to be the nicest and flattest way to apply the paper.
9. I used a clear wax topcoat for my paper as an extra layer of protection and durability. I am using my shelves for groceries and wanted to protect the surface a little more. This is an optional step.
Step 2: Assembling the Back


1. Place the cardboard on the back of the shelves to determine the layout.
2. Mark where you need to cut to remove any crooked edges and to match the length and/or width of your shelves.
A. For my shelves there is a centre spine, and my box is not wide enough to cover the entire shelf. I chose to split the distance in half along the centre spine. This way both halves of the backing can be attached along the centre.
B. My cardboard also is not long enough so I cut more cardboard to extend the length of the back.
3. Cut out all the need pieces first before assembling them with tape.
A. I needed 4 pieces of cardboard cut out for my shelves. Two longer pieces and two shorter pieces.
B. Lay out the pieces on the floor and begin taping them together.
4. Tape all of the pieces together.
A. Use packing tape or duct tape, you choose.
B. Tape all of the seams on both sides. Along with taping all of the places where the boxes have folds (both sides). This is for stability and sturdiness.
5. Place the assembled backing onto the shelf.
A. Make certain that the length and width are accurate.
B. Trim off any excess around the edges. You want all edges of the backing to be flush with the shelves.
Step 3: Attaching the Plain Brown Paper


I chose to have two layers of paper for this project, for durability and looks. This first layer of plain brown paper covers up the imperfections of the cardboard. Such as the folds and tape lines. It makes the final decorative paper look smoother and more finished.
The double stick tape makes for a smooth non-wrinkled application of the each layer of paper.
1. Do a dry run of brown paper placement on the cardboard.
A. It helps you get aligned, which prevents a crooked placement.
B. One can see that in the last photo I was a little crooked, but since this was the first layer I was not concerned. Though, for the decorative layer, I would not want to have this happen.
2. Apply a strip of double sided tape across the top of the cardboard and about an inch on each side (see the 3rd photo).
A. Each row of tape will be added one at a time at about 1 inch intervals.
B. Apply one section of double stick tape at a time, then apply the brown paper.
3. Take your roll of brown paper and realign onto the cardboard with the double stick tape.
A. Press the paper onto the tape.
B. Roll up the brown paper and apply the next row of double sided tape across the width and the 1 inch strips on the sides.
C. Only unroll a little bit of the paper at a time. Smooth it onto the cardboard, then apply another row of tape.
a. It is easier to control the paper by unrolling a portion of it at a time.
4. Use the roller or your hands to make certain the paper has adhered to the double sided tape.
5. If your paper is wider and/or longer than the cardboard, wrap the ends around to the other side and tape down.
Step 4: Attaching the Decorative Paper


1. Attaching the decorative paper will follow the same process as the application of the plain brown paper.
2. Use the same double sided tape and apply it at the same intervals. In rows about 1 inch apart.
3. Wrap the paper around the sides if it is longer and/or wider than your cardboard and tape them down.
4. This is the time to seal the paper with a clear topcoat of your choice.
Step 5: Staple on the Backing


1. After painting your backing it is time to attach it to your shelving unit. (I didn’t wait for the topcoat to dry, as seen in last photo, the paper is a little darker because it is still drying.)
2. Place your backing onto the shelving unit and align all sides before stapling.
3. Place staples along all of the boarders and don’t skimp on staples.
A. Get all the corners.
B. The entire perimeter.
C. Any center spines, etc.
Making this backing has saved these shelves for me. They no longer wobble and the items placed on the shelves do not fall off behind it. This is a good option to repair a shelving unit that has a backing that is coming apart or has no backing at all. With some easily accessible items I kept these shelves out of the dumpster and in my home.

Participated in the
Shelving Contest


