

Introduction: Making and Using VarOil Finish


Finishing is one thing many experienced and amateur woodworkers hate. Here is a finish that allows the wood like accents of an oil finish but is a tougher and dries faster. It is applied with a rag and is quickly wiped off. Because of this, it is a finish tolerant of a dusty shop. It is a finish easy to repair or refresh on a piece. Best of all it is inexpensive and can easily be made with stuff found in the home center.
Step 1: Ingredients

The standard mixture is 1/3 Oil, 1/3 varnish, and 1/3 solvent. An advantage to mixing your own is that have total control over the finishes properties. Adding more oil gives a more natural wood look. Adding more varnish make the finish tougher, while adding more solvent makes it penetrate better and easier to apply.
Step 2: Oil

There are many different oils you can use. Linseed oils is the traditional choice and has been used for thousands of years. Linseed oil is made from pressing flaxseed. It is a drying oil which means it dries when exposed to air. However, it dries very very slowly. When the oil is heated (boiled) , it undergoes a chemical alteration (polymerization?) which allow it is dry faster. Presently this process is duplicated with chemicals but the end product is called boiled. Many folks use tung oil but is a lot more expensive. Some use walnut oil. Any oil pressed from seed will work.
I like to mix in a 8 oz squirt bottle. The one I use has graduations on the side to help with measuring.
A quart of linseed oil can be found at the home center for less than $10.
I start by pouring 2.5 oz of the oil in the bottle. This will make 7.5 oz total. The extra space gives you space to modify your mix for your specific requirements.
Step 3: Varnish

Varnish is a transparent, protective finish or film that is traditionally a combination of drying oil, resin and solvent. There are many different types of varnishes. Urethane and Polyurethane are just varnishes with the resins being esters of carbamic acid They are naturally glossy but can be modified to be satin of semi gloss with the addition of chemicals. So stir before adding to the mixture. Buy the cheapest varnish you can find. I paid about $10 for a quart.
Add 2.5 oz to the squirt bottle.
Step 4: Solvent


There are many choices for solvent. Paint thinner is common. Mineral spirits is better refined mineral spirits so it doesn't smell so bad. Some use turpentine. Other use naphtha because is evaporates faster.
A quart of mineral spirits cost be less than $10 per quart which means the cost of this finish is about $10 a quart.
Add 2.5 oz to the squeeze bottle, screw on the top, and you are ready to finish.
Step 5: Apply Finish


Your piece need to be sanded to at least 120 grit. Squirt finish on a clean cloth and rub on the surface to be finished. Apply liberally as the wood will really soak it up. Let it sit for 5 to 10 minutes and move on the next step. Please set use the rags aside to dry. The drying process for drying oils generates heat and a pile of such rags can retain the heat and spontaneously combust and I can guarantee any bonus points you would get by finishing a project for you wife are wiped out when you burn down the house.
An interesting fact is that King Tut's body was wrapped in linen and then coated with linseed oil before burial. For some reason he was buried in haste and the oil did not cure properly. When placed in his sarcophagus the heat built up till he caught fire. Poor boy king, dies at 17 from a tooth infection and enters the afterlife as a roasty toasty. But at least he became the first recorded case of spontaneous human combustion. Top that Steve Martin.
Step 6: Wipe Off Excess and Repeat

Wipe off the excess. Let sit overnight before applying second coat. Again wait overnight to apply a third coat. I like to:
Mix the finish with extra thinner for the first coat. (Fill rest of bottle with thinner)
Use standard mixture for second the coat.
Add a bit more oil for the third coat.
You are now done.
Step 7: Adding Color to Your Finish
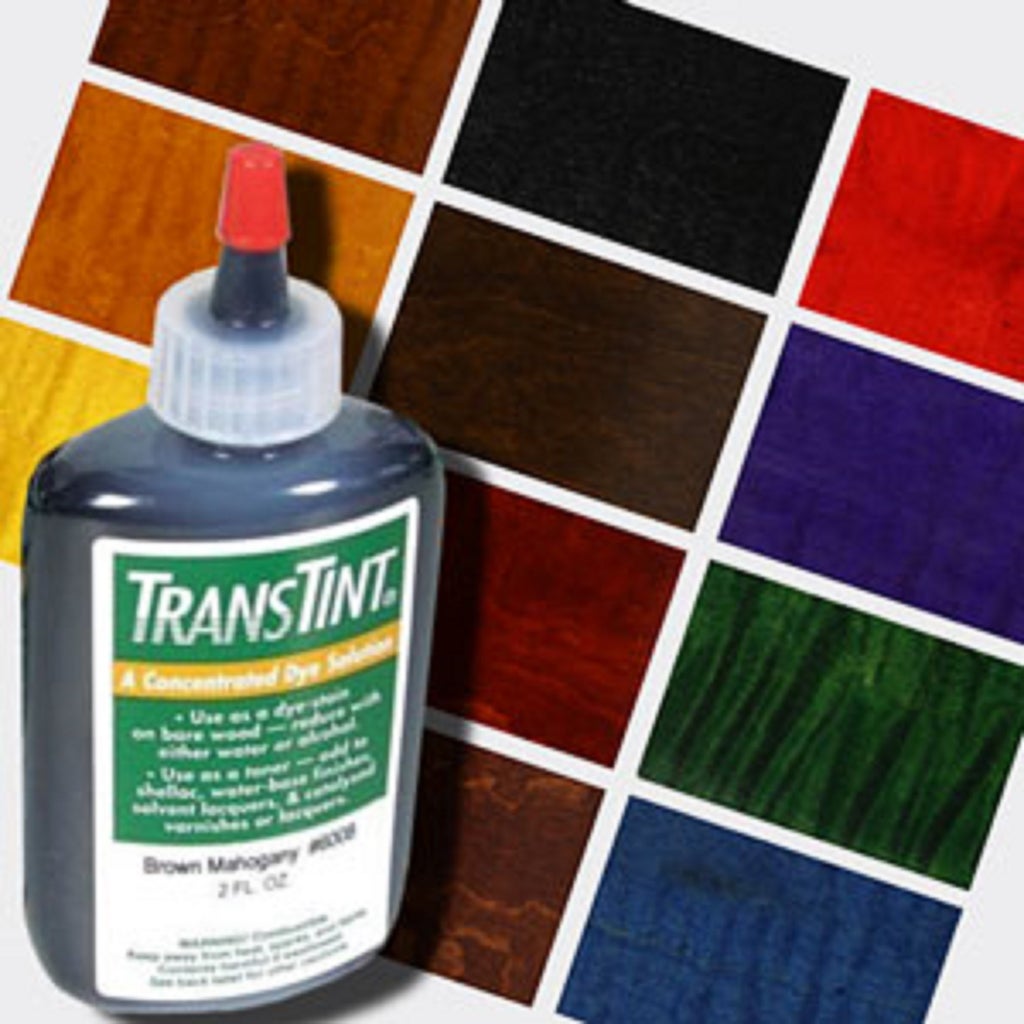
Somethings it is nice to add some tone to your finish. TransTint dye is a single component concentrated metalized acid dyestuff dissolved in a glycol ether carrier. This means the dye will dissolve in to most any solvent including this finish. Just add a few drops and try it out. If it is too light then just add more drops. If too dark then un-add them. (Actually, just add more finish:-)


