

Introduction: Measure Temperature With Arduino Ethernet + DS18B20 + Thingspeak


Hi all,
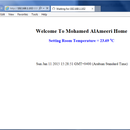
Here I will let you know how to read temperature using DS180B20 sensor and Arduino Ethernet, and send the data to Thingspeak. You can access my Thingspeak page here:
https://thingspeak.com/channels/25037
I have utilized my old instructable arduino with the same temperature sensor, and I could read the temperature by accessing the arduino web. You may refer to my old instructable at the following link:
https://www.instructables.com/id/Measure-temperatur...
Now I have integrated my Arduino Ethernet board with thingspeak so it can transmit the temperature data to my thingspeak account and chart the data as well. Moreover, I changed the way of displaying the temperature from number to a google gauge (as you see in the picture).
So lets explain how to do that.
Step 1: Arduino+Temperature Sensor Wiring


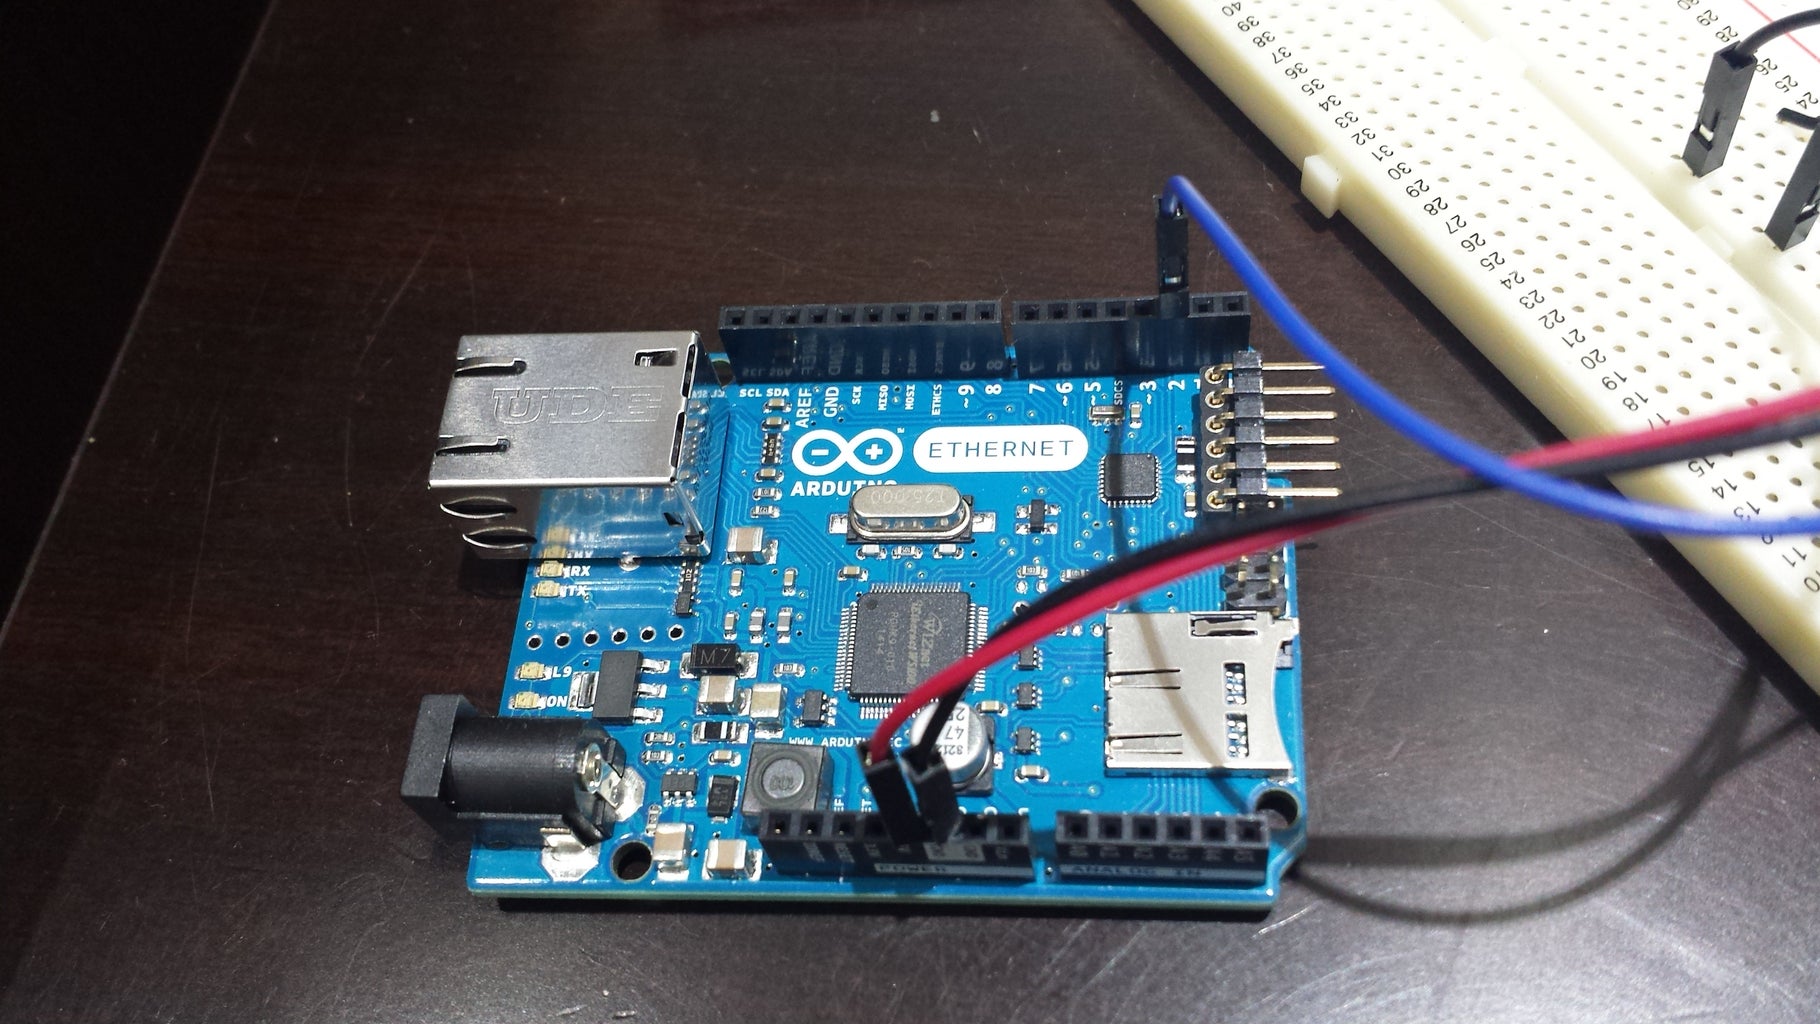
Follow the photo (sketch) for wiring your Arduino Ethernet with the temperature sensor. The sketch was prepared by Hans (http://www.tweaking4all.com/hardware/arduino/arduino-ds18b20-temperature-sensor/) . You can see the other two photos are for my breadboard during the test and my arduino ethernet board.
Step 2: Setting Up Thinkspeak Account


First you need to sign up for a new account. It is very easy process.
Then, go the channel page and click on new channel. Here you can customize your Y-axis labeling and other information. But the most important thing is to know your channel ID number.
After noting down your channel ID, go to the API key column and write down you key. I will let you know where to put those details in the next step.
Step 3: Add a Google Gauge Plugins
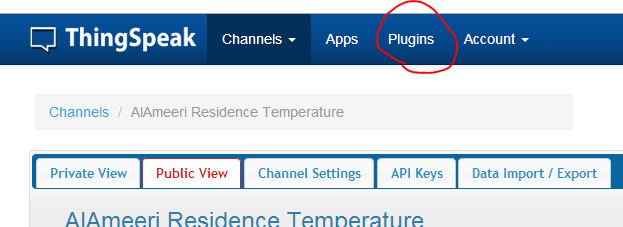
To add a google gauge plugins to your Thingspeak page. Click on Plugins tap as shown in the picture. Next, click on New plugins.
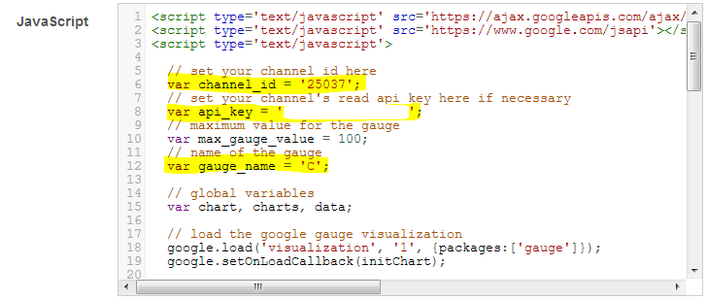
Then you will be entered to a coding page. Go to Javascript coding (the last one).
First few lines, you will see a place where you can put your channel ID and API key which you noted down in the previous step. Save the changes.
You need to add the plugin window to your channel page. You will find a grey tap in the main channel page, and you will be able to add a new window for charts or plugins.
Step 4: Preparing Your Sketch and Upload It to Arduino
You may refer to the attached sketch for your arduino. Edit the code and put your Arduino address, API code ... etc.
Once done, upload the code and power up your board.
Attachments

Step 5: Here We Go :)


Now, power up your arduino and establish an ethernet connection. Thingspeak will be updated periodically.
Any questions or suggestion for improvement you are welcome. But, sorry to tell you this "I am not a programmer".


