

Introduction: Measuring Distance With Lasers


In this project I made a simple device which can measure the distance between itself and any physical object. The device works best at a distance of around 2-4 meters and is fairly accurate.
Step 1: Watch the YouTube Video
This video contains all he information you may need as well as some manufacturing steps I took for making this project. Off course you need not follow the exact same steps. Be creative and come up with something better. If you do so, don't forget to share it or at least message me .
Step 2: Make the Physical Structure
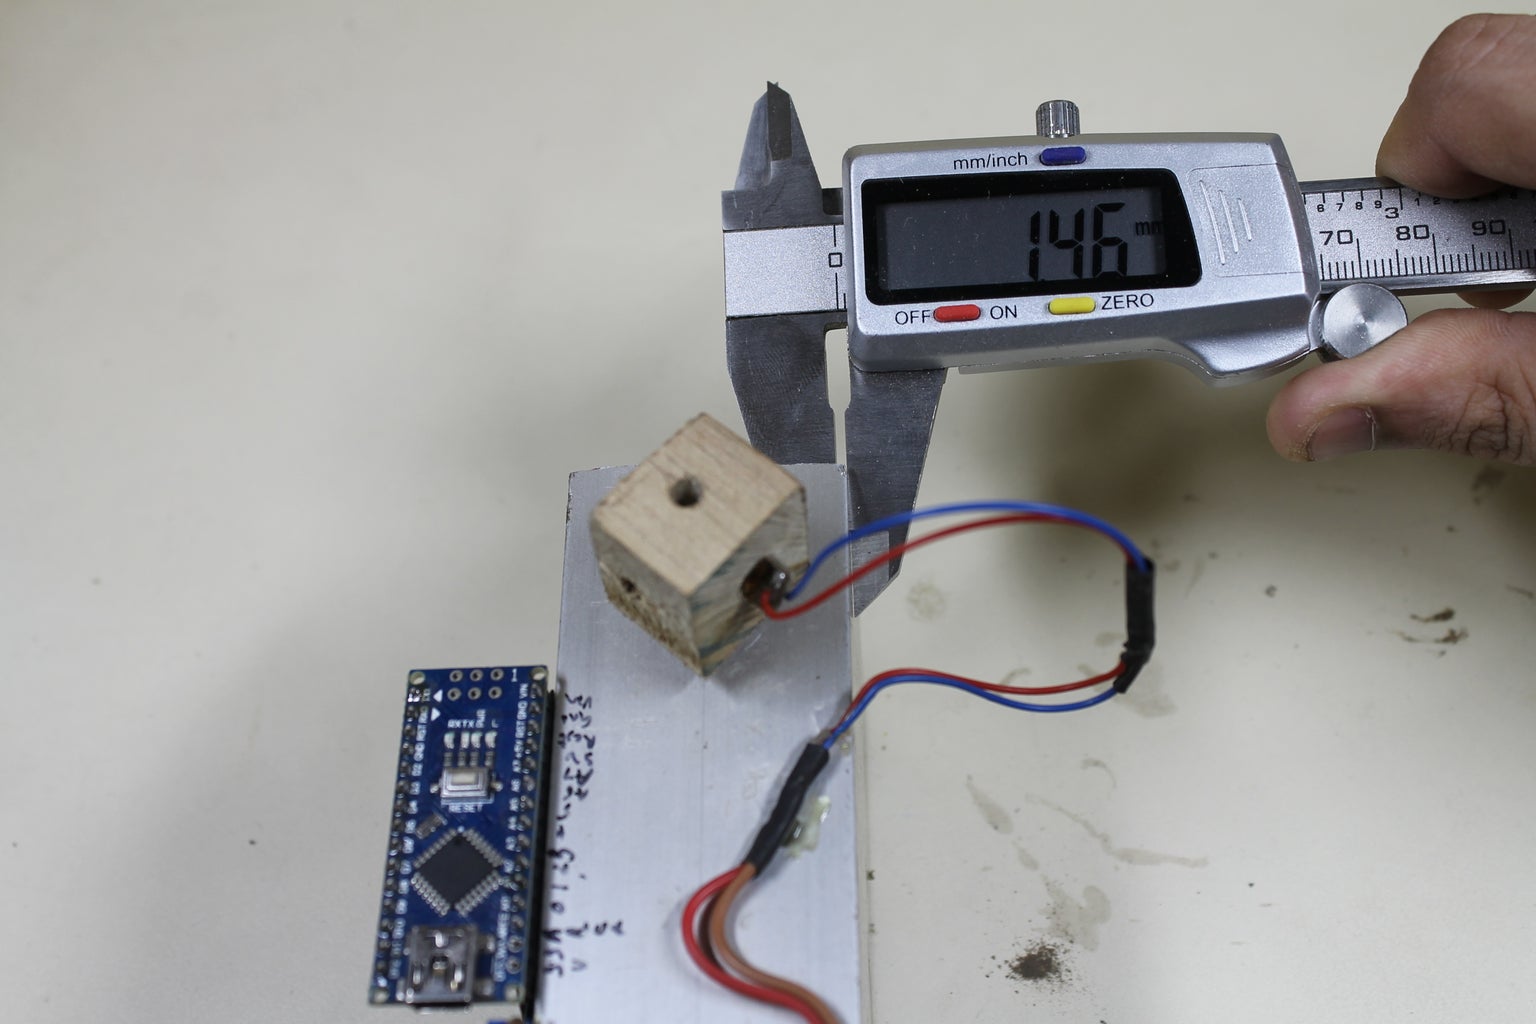

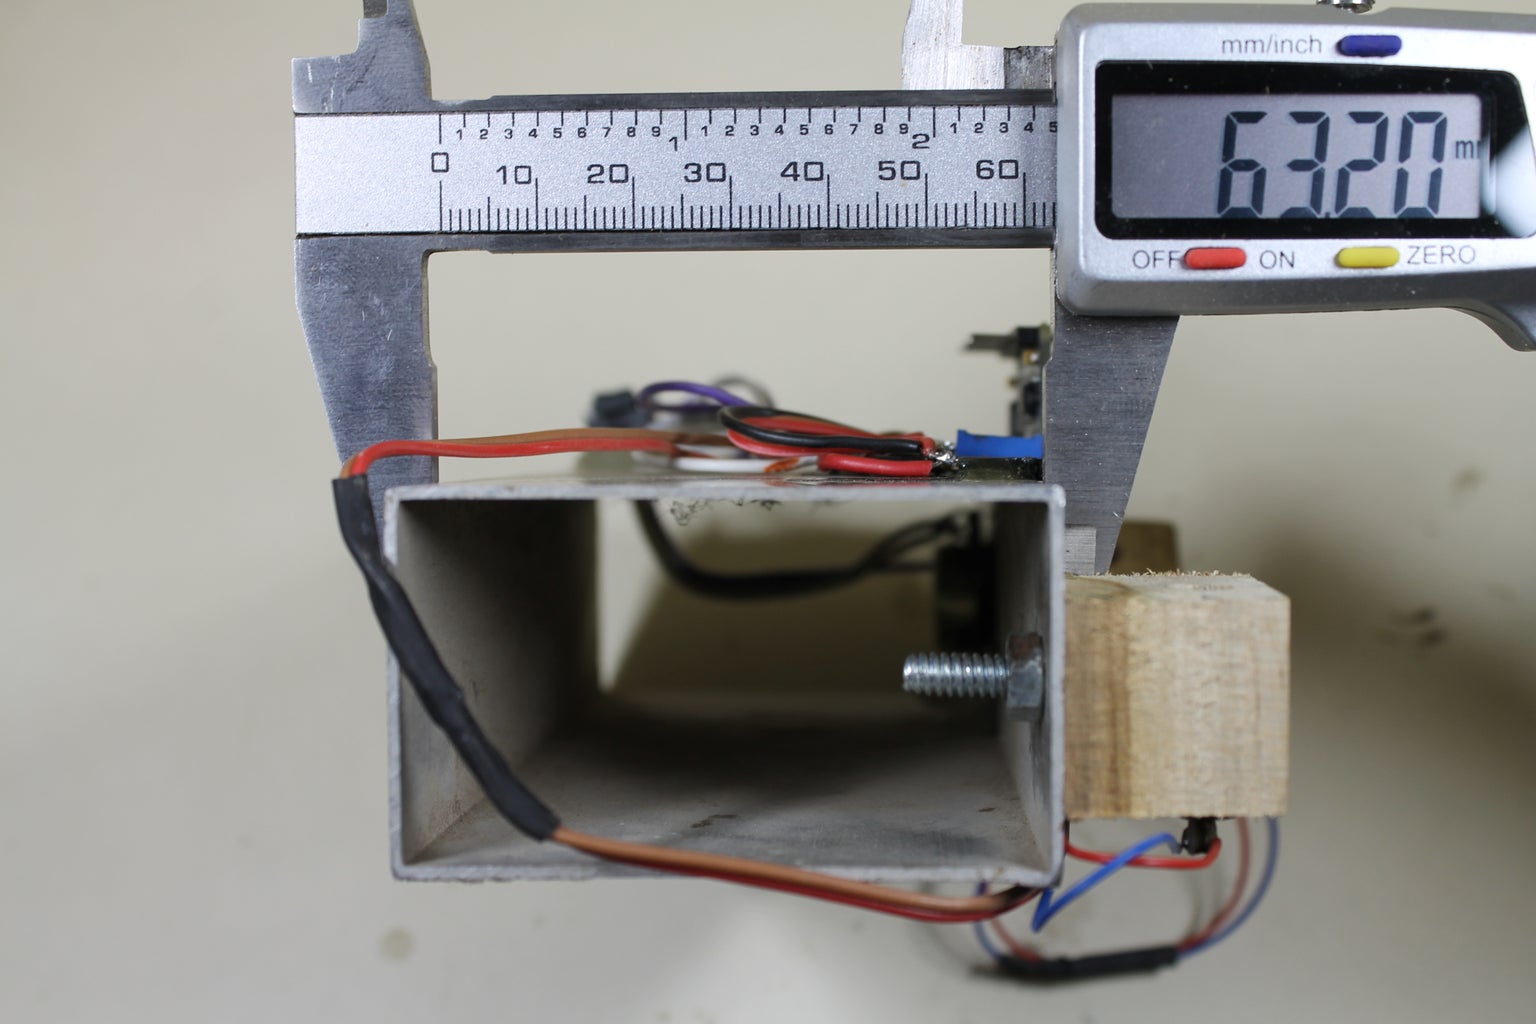


I used a hollow rectangular cross section with the above dimensions. The material I used was aluminum but this does creates some minor problems and if you have access, use some non conductive material. This will save you some trouble as metals can short our power supply and cause problems. With plastic we are completely safe.
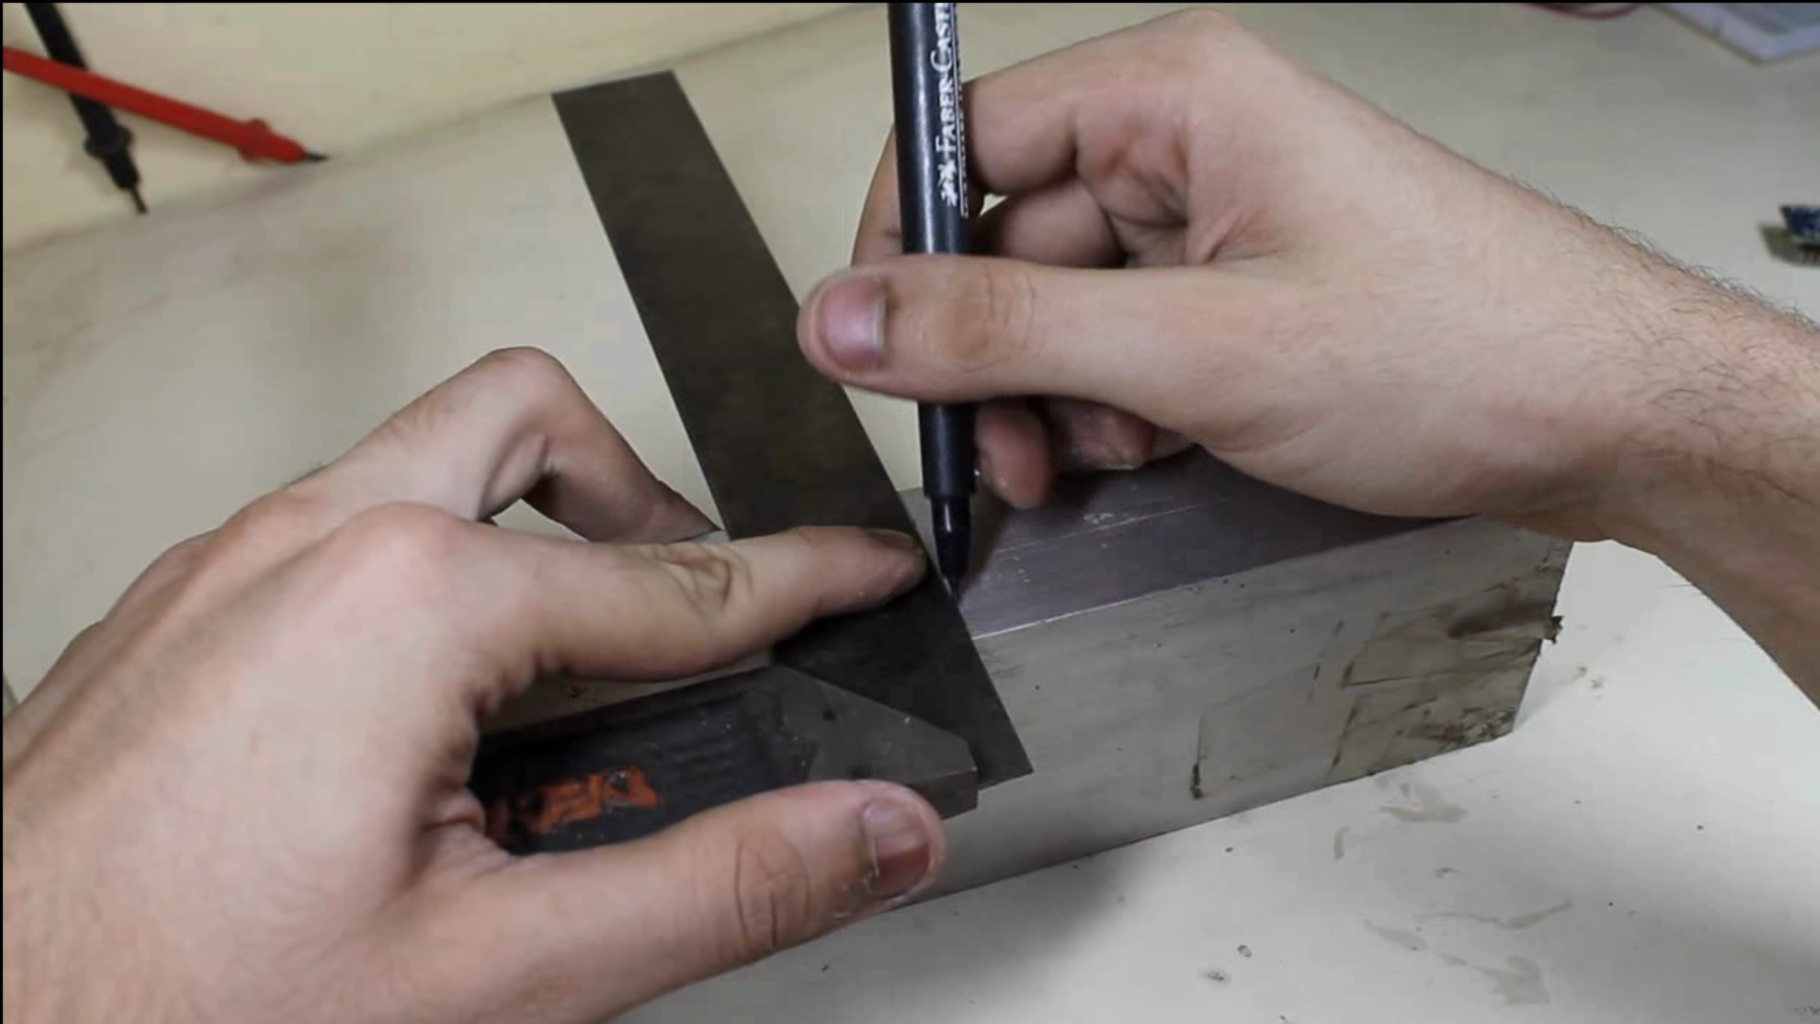
I used a length of 12 cm with 10 cm between the two lasers. I also used some fancy instruments to make some near prefect cuts.
Lastly I drilled the holes for the potentiomenter. I was exceptionally pleased with the drill quality.
Step 3: The Circuitry


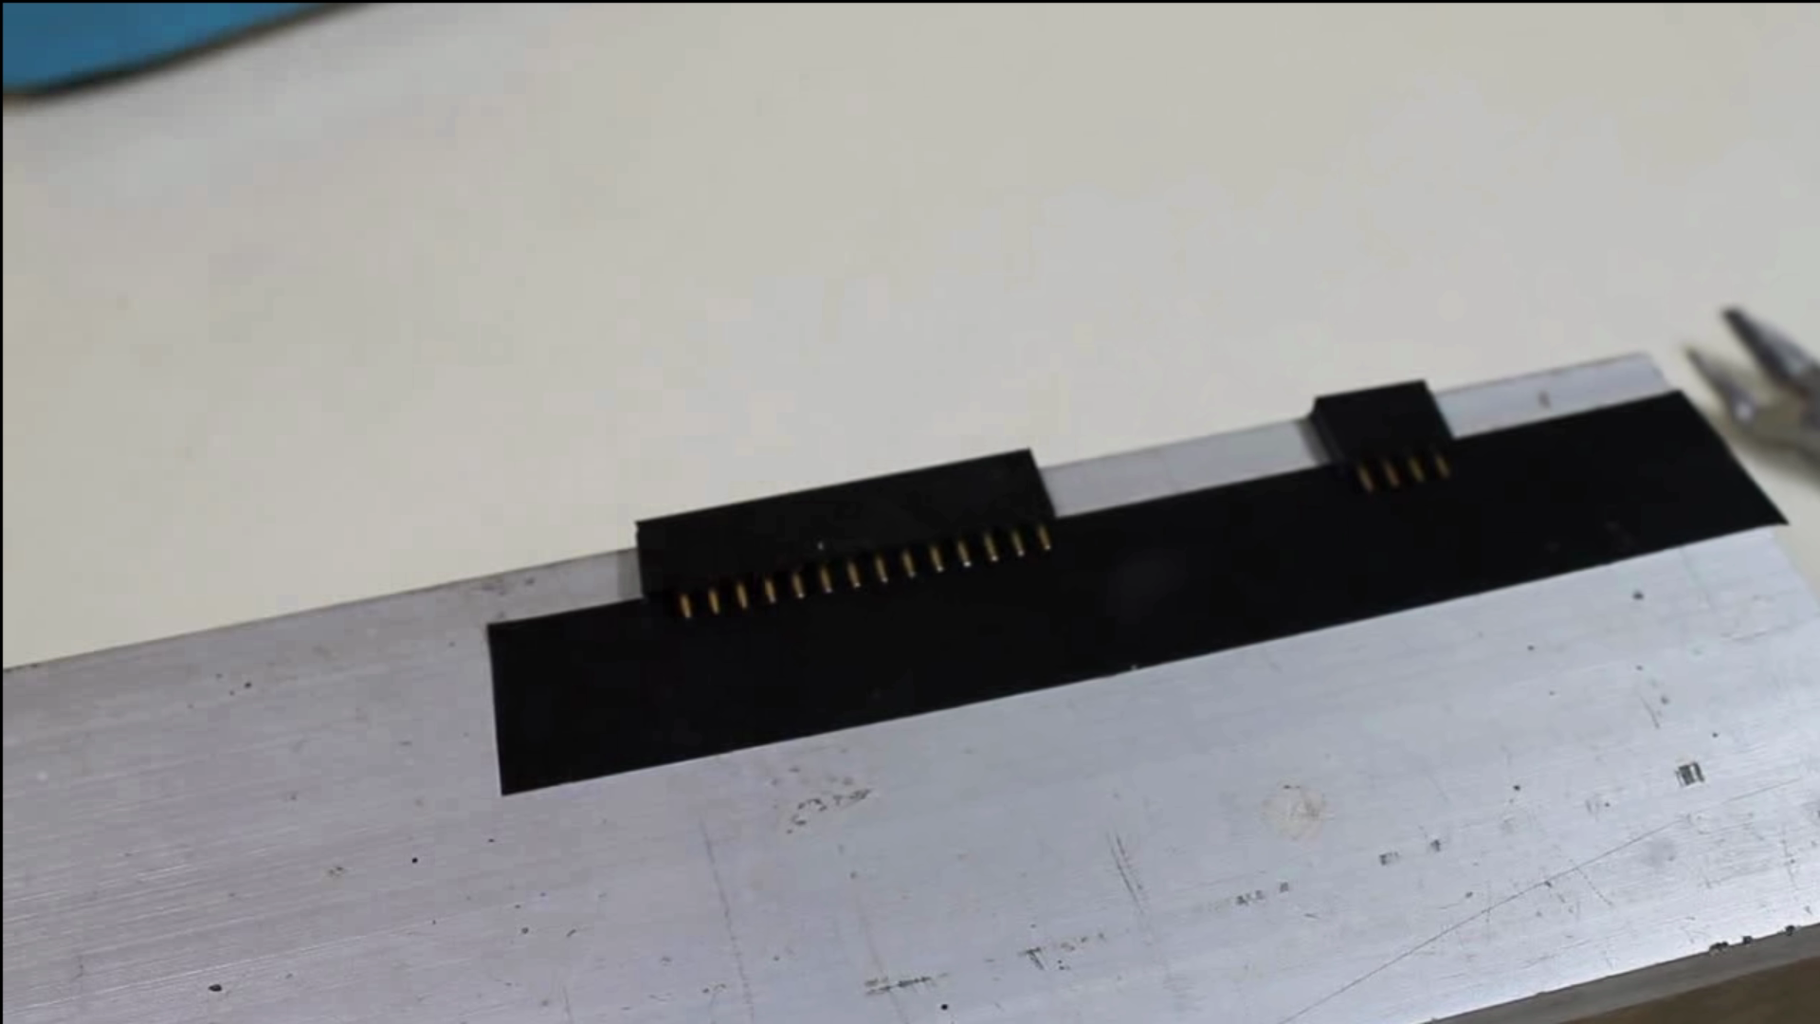

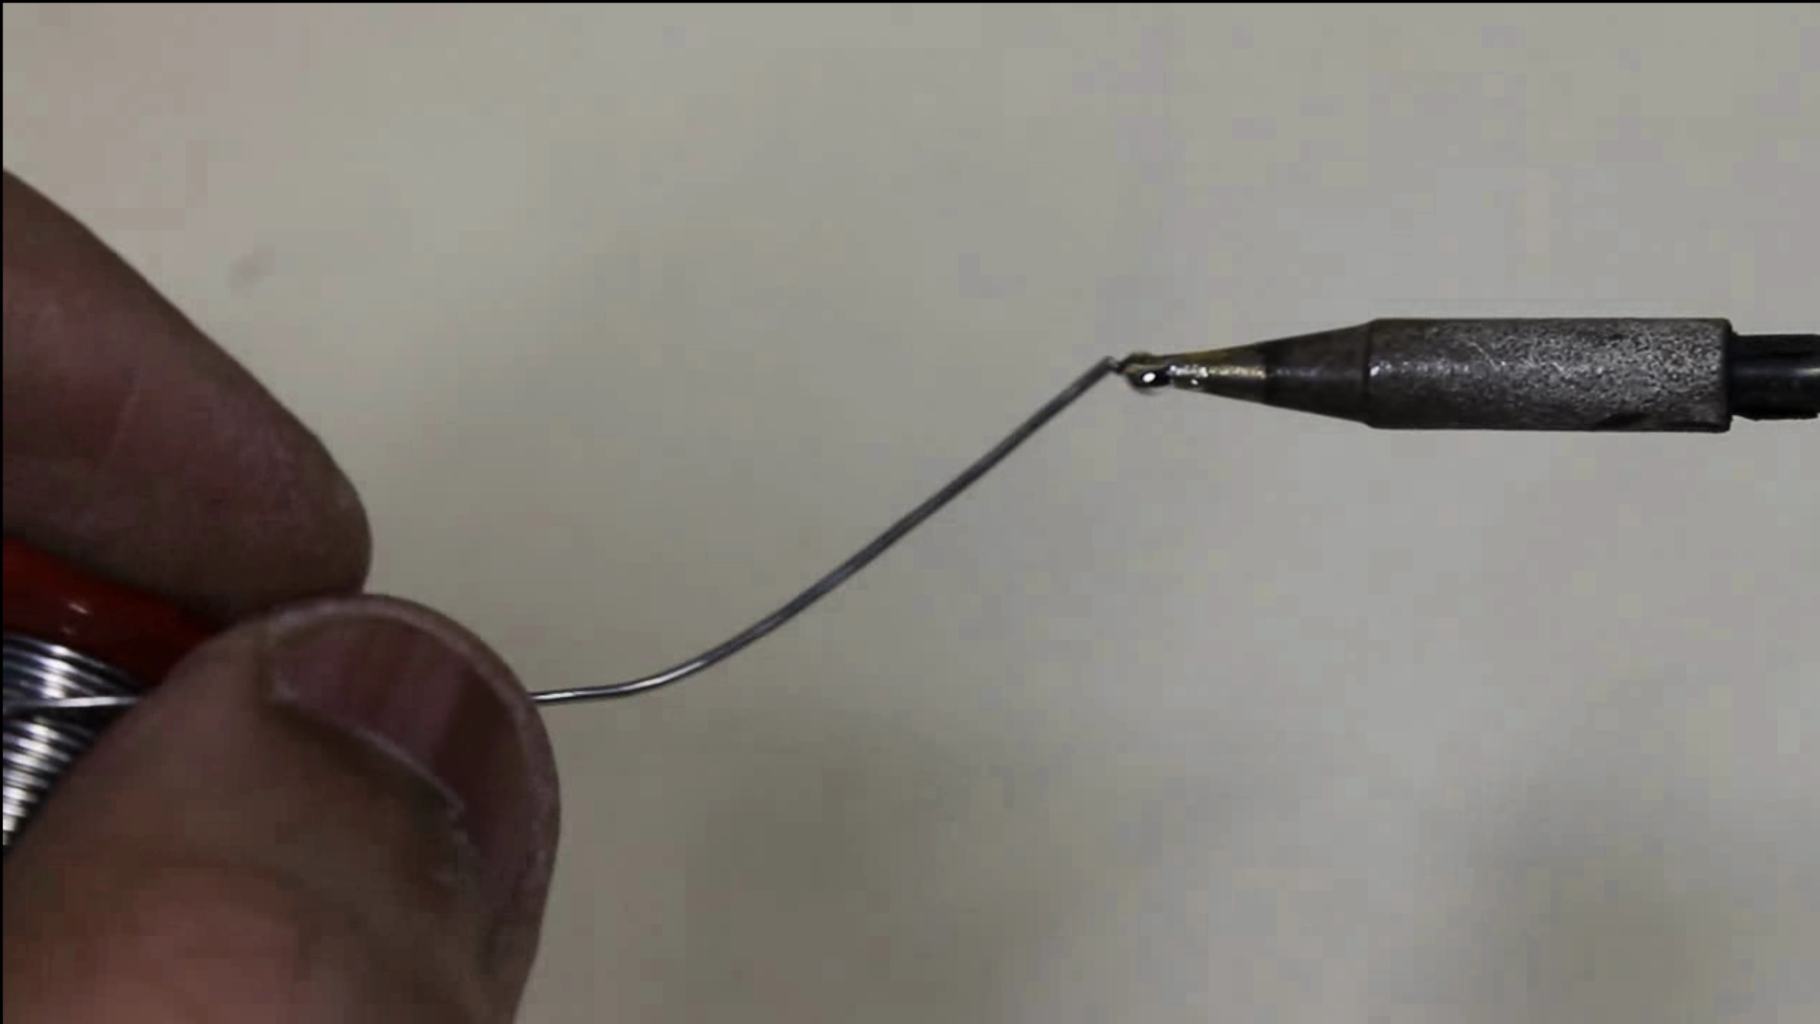

There was nothing great to design in this circuit. Just simple wiring as mentioned in the first image. As mentioned earlier, I had to add a piece of electric tape to prevent any wires touching the metal surface. I then cut female headers of appropriate size for Arduino and the oled display, added some two part glue to it and pasted them on the aluminum.
The only thing that was left to do was add the wiring connections which is peaty much self explanatory.
Just make sure, there are no unwanted shorts at the end.
Step 4: Calibration


Arduino is not going to give the correct values form the very first time. I first programmed the arduino to output the analog values and then I compared the analog values to the actual values.
I then took dozens of readings imported them all in Geogebra and adjusted some tangent function to give more or less accurate values. This process was tedious and time consuming.
At the end I came up with this large function and it worked out just fine.
Step 5: Upload the Code and Enjoy.
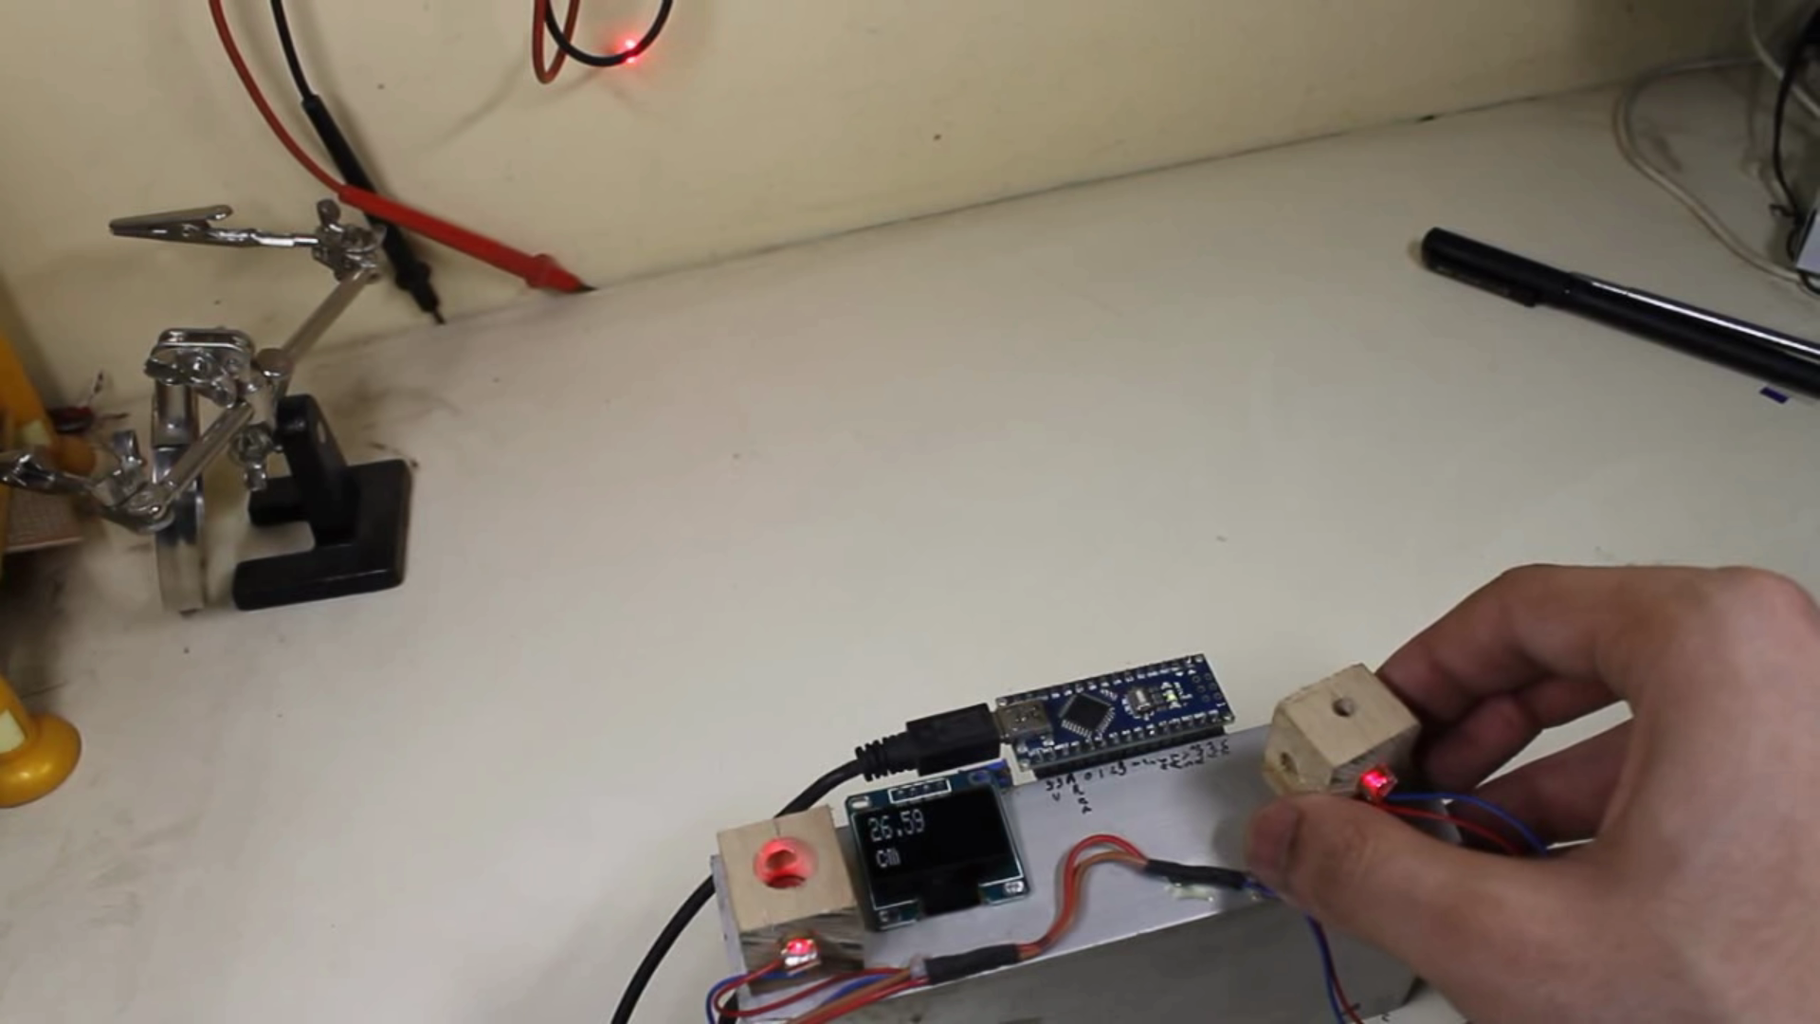

As a last step I added the function to my arduino code and this time the device stared displaying the distance.
If you use similar dimentions the code should work for you as well. If not, try re calibrating the nano
HAPPY DOING IT YOURSELF..............
Attachments


Participated in the
Build a Tool Contest


