

Introduction: Mini Airport Runway: Starting With Arduino and LEDs


I've had a lot of time lately to mess around with the Arduino Uno I've had sitting around, and I've become fascinated with LED lines. The basic code to make patterns isn't actually that complicated, and I've picked it up pretty well. With that said, I decided to incorporate my newly acquired skill into a project, and came up with an idea for a new place for my siblings' toys to start their grand adventures, complete with a lighted runway so they don't get lost!
For people wondering how hard this project is, it's for beginners, written by a beginner. I've never had any real experience in this area, except a bit of reading, and this instructable is fairly straightforward and makes a pretty solid starter project. A bit of tweaking, and this makes a great group project!
Supplies
To build this, you'll need:
- LED lights
- Cardstock (I'm partial to black for a sleek look, but you can have a fuchia candy-land airport if you like)
- Conductive tape (Copper tape is okay, but I used BrownDogGadget's maker tape. It's way more effective with backwards connections!)
- An Arduino Uno
- Jumper wires
- Scotch tape
- Scissors
- A ruler
Step 1: Slots


Take the paper, and mark where you want each LED to be with a pencil. Each LED needs two holes, one for its positive lead (The long one) and one for its negative lead (The short one). Now, punch out holes for the lights to fit into (I've discovered that jumper wires are rather effective at punching small holes)! I made 10 LED slots. Now, stick the LEDs in. The important part is making sure that you put all of the positive leads facing the same side, and REMEMBER that direction! Mine were facing left, so I wrote an arrow pointing left on the cardstock to remember. Trust me, you don't want to pull out a bunch of lights because they're facing the wrong way. Flatten the leads into the paper, locking the LEDs into the holes.
Step 2: Tape! (Again!)


Now, grab the Scotch tape. Cover up the areas shown in the picture with it. Now, to finish the LED line, take one long piece of conductive tape, and bring it all the way across the paper, connecting all of the negative pieces of tape together!
Step 3: Tape!


This is basically the the main "wiring" part of our project. Cut out a piece of conductive tape as long as the width of your paper. Now, take that piece of tape and tape it across the back of the paper, over 2 positive leads like so. We do this because by connecting the 2 leads together, we're merging the 2 LEDs into one pin (more on that later). Repeat this with all of the other pairs of positive leads.
Now, if we're mushing the LEDs into one circuit, what else do we need to connect?...
The negative leads! Just connect those together like so, and our connecting is almost complete!
Step 4: Beep Boop


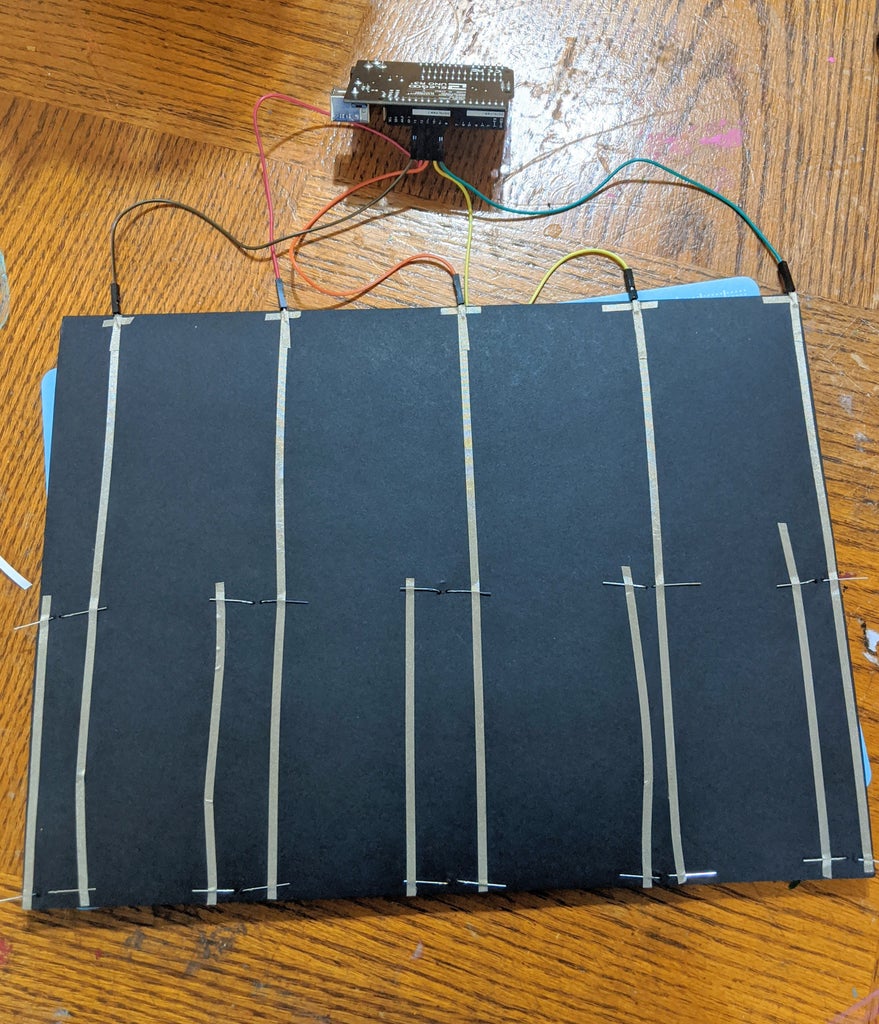
Take the jumper wires, and connect them to digital pins 1,2,3,4, and 5 (or more if you need more). Connect the corresponding pieces of tape to the other end of the wires and use conductive tape to stick them down.
Step 5: Ground


Take the negative tape marked in the picture, and connect it to a new jumper wire. This wire will go into the pin labeled GND, or ground.
Step 6: Code

Plug in the runway to the computer and open up the Arduino IDE. Copy and paste this code in:
#define LED01 1
#define LED02 2
#define LED03 3
#define LED04 4
#define LED05 5
void setup()
{
pinMode(LED01, OUTPUT);
pinMode(LED02, OUTPUT);
pinMode(LED03, OUTPUT);
pinMode(LED04, OUTPUT);
pinMode(LED05, OUTPUT);
}
void loop()
{
digitalWrite(LED05, LOW);
delay(100);
digitalWrite(LED01, HIGH);
delay(100);
digitalWrite(LED02, HIGH);
delay(100);
digitalWrite(LED01, LOW);
delay(100);
digitalWrite(LED03, HIGH);
delay(100);
digitalWrite(LED02, LOW);
delay(100);
digitalWrite(LED04, HIGH);
delay(100);
digitalWrite(LED03, LOW);
delay(100);
digitalWrite(LED05, HIGH);
delay(100);
digitalWrite(LED04, LOW);
delay(100);
digitalWrite(LED05, LOW);
delay(100);
Upload the code. If you've done everything right up to this point, it should look like the attached GIF. Ok, now for the fun part!
Step 7: Build!

The main idea of this step is to fill in the empty space on the "pavement" (the paper).
This is the part where you can pick what you do! Go crazy!
This is what I did:
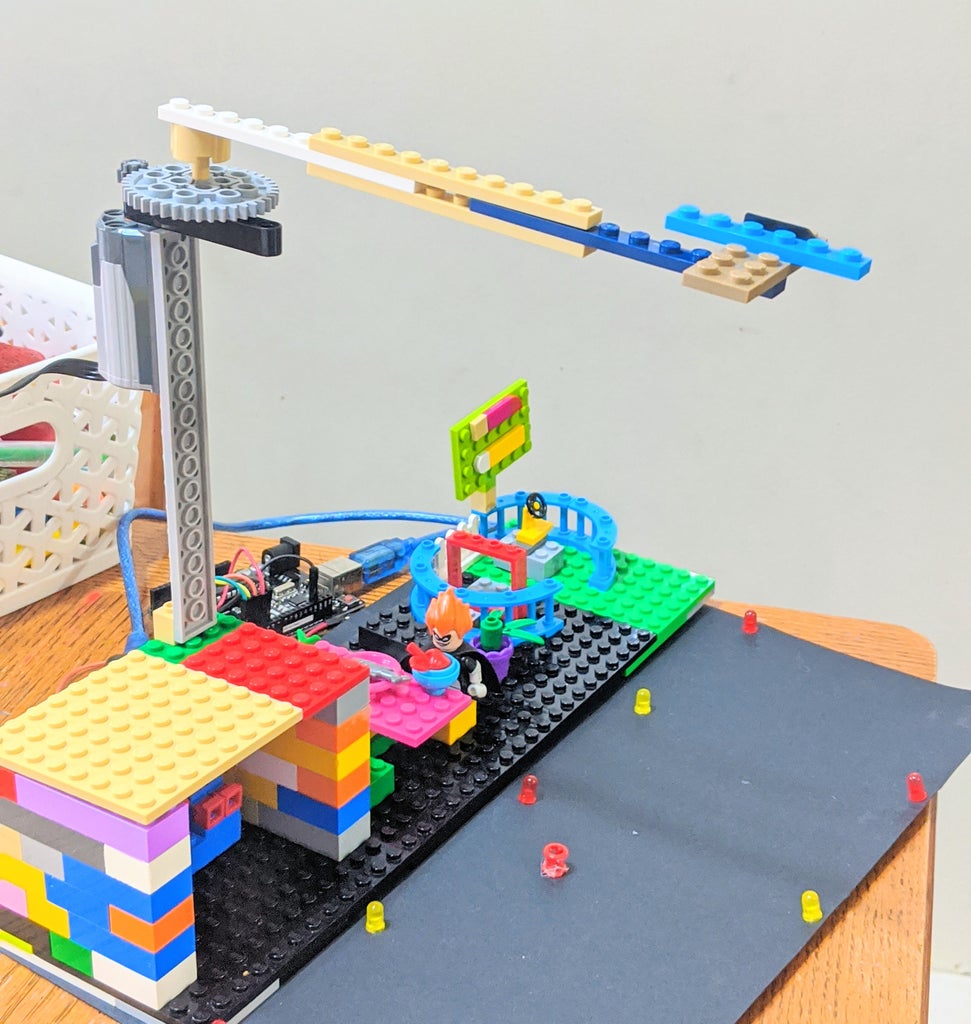
I was making it for my siblings, so why not let my 8-year-old sister do the actual important part? I mounted a LEGO base onto the paper, and I gotta say, she's built my dream airport to get stuck overnight at. The LEGO base allows for rebuilding the airport again, one of my favorite features of anything I make.
Step 8: (BONUS!) Alternate Ideas
I made this project really easy to modify on purpose. Other things I've done with this project:
- I added an extra motor. As you can see, I've attached it to a tall (Well actually this is a model so you could call it short) tower, and added a little plane to make this model a nifty kinetic structure!
- I modified the code to instead make the lights pulse gently in unison. It makes a really nice night-light for when playtime's over!
- The airport doesn't have to be Lego. It can be any other material you choose!
- (Group): Make multiple runways, have individual group members design airports around them, and connect them together!
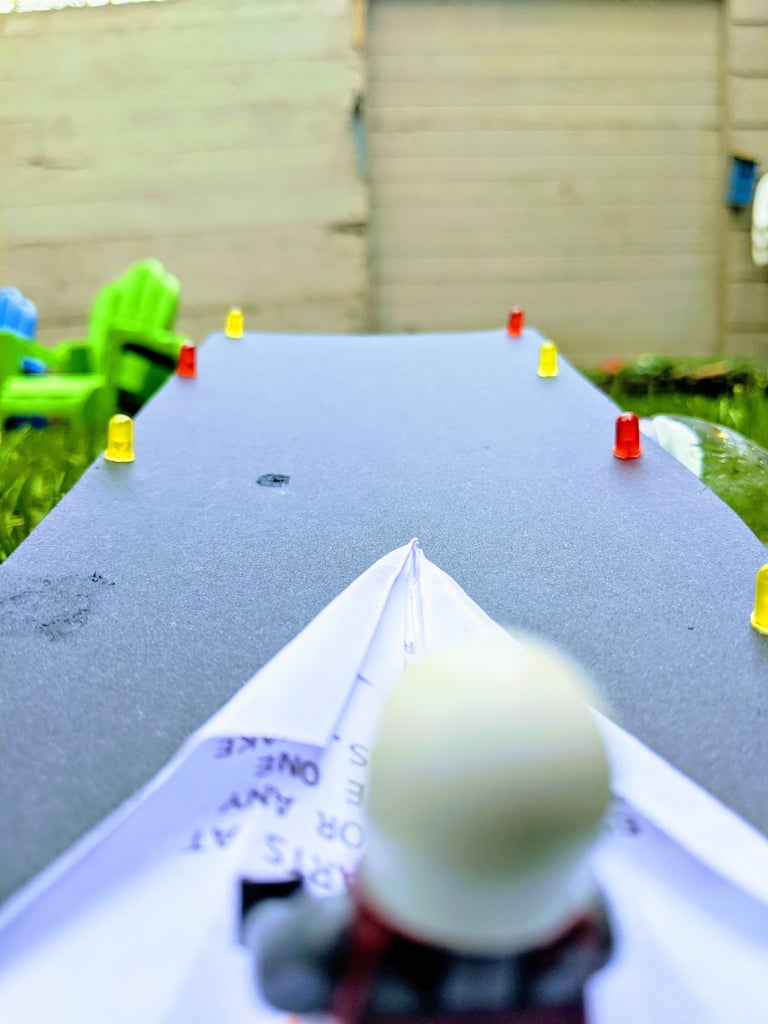
- Something I have yet to do: Attach a paper airplane launcher to the runway and program the Arduino to launch it in sync with the lights.
Step 9: Finished
It's all done! Flights at Arduino Airport never get cancelled, so have a safe trip!
Like I said before, you choose how you use this thing. Don't just stick to my ideas!
This instructable is entered in the Tiny Speed Challenge. Votes are appreciated, and I love feedback! It's been fun adding a FUNctional aspect to a small model :D
Stay safe and keep making!

Participated in the
Tiny Speed Challenge


