

Introduction: OSOYOO 2WD Robot Car Starter Kit


You can purchase this car from Shopify:
OSOYOO 2WD Robot Car Starter Kit
Description:
OSOYOO 2WD Robot Car Starter Kit is designed for beginners to learn Arduino programming and get hands-on experience on robot design and assembly.
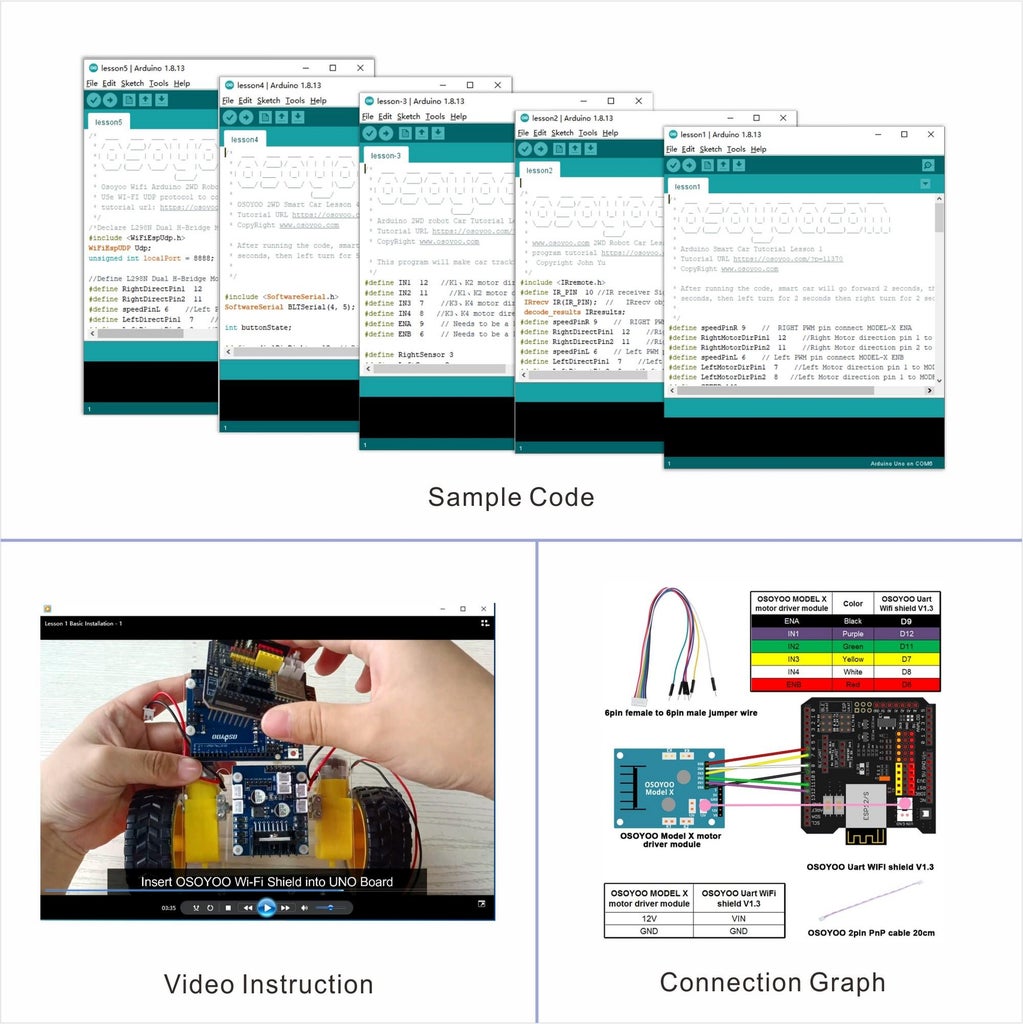
We have developed a step-by-step tutorial which evolves from a simple car without any control to a multi-function robotic car controlled by a mobile APP.
Every lesson has detailed sample code with comments, circuit graph, assembly instruction and video. Even if you have no programming experience, you can follow the step-by-step instruction and gradually become a master.
Our robotic car is 100% open source. If you are an intermediate player and have time to read our code comments, you can easily customize this robotic car to make your own project for science fair, college homework or even commercial applications.
This kit contains module parts including OSOYOO MODEL-X motor driver module(*), Tracking module, Infrared Remote Control and Sensor Shield V5.0 for Arduino UNO, etc. With these modules, the robot car can work in multiple modes such as auto-go, infrared control and line tracking. You can use our Android APP to change working mode through Bluetooth.
*OSOYOO MODEL X motor driver module is an improved L298N module which has newly designed wiring sockets and can greatly simplify the assembly procedure and wire connection stability.
Supplies

1x UNO R3 Board with USB cable
1x OSOYOO Model X Motor Driver Module
1x OSOYOO UART Wi-Fi Shield
2x Tracking Sensor Module
1x Bluetooth Module
1x IR Receiver
1x IR Remote Controller
1x Car Chassis
2x Gear Motor with Wires
2x Wheel
1x Universal Wheel
1x Box for 18650 3.7V Battery
2x 18650 Battery
1x Battery Charger for 18650 Battery
2x Metal Motor Holder
1x DC Power Connector With Wires
1x Phillips Screwdriver
1x Hex Screwdriver
1x 2pin PnP Cable 20cm
1x 6pin Male to Female Cable
1x 20pin 15cm Male to Female Cable
1x Screw Package
Step 1: The Basic Installation of OSOYOO 2WD Robot Car Chassis Video
You can refer to the installation video.
Step 2: Remove the Protective Film

REMOVE THE PROTECTIVE FILM FROM THE BACK OF THE CHASSIS.
Step 3: Assembly Motors


Accessories:
- Motor Holder Set x2
Install 2 motors on the chassis with the motor holders
Notice
Please install it on the side of the motor wires
Keep the end with the screw holes facing up
Step 4: Install Wheels


Accessories:
- M3*10 Double Pass Copper Pillar x 4
- M3*5 Hex Screw x 8
- Screws for wheels x 2
Install the wheel on the chassis with M3*10 Double Pass Copper Pillars and M3*5 Hex Screws, then install the two wheels onto the motors.
Step 5: Install OSOYOO UNO Board


Accessories:
- M3*6 Plastic Screw x 3
- M3 Plastic Nut x 4
- M3*5+6 Plastic Pillar x 4
Fixed the OSOYOO UNO board on the surface of the chassis with the M3 screws and nuts
Step 6: Install OSOYOO Model-X Motor Driver Module

Accessories:
- M3*6 Plastic Screw x 4
- M3 Plastic Nut x 4
- M3*5+6 Plastic Pillar x 4
Fixed the OSOYOO Model-X motor driver module on the surface of the chassis with the M3 screws and nuts
Step 7: Install Battery Box

Accessories:
- M3*10 Screw x 4
- M3 Nut x 4
Fixed the battery box on the surface of the chassis with the M3 screws and nuts.
Step 8: Insert Wi-Fi Shield Into UNO Board


Insert Wi-Fi Shield into UNO Board
Step 9: IR Receiver

Accessories:
- M3*6 Plastic Screw x 2
- M3 Plastic Nut x 2
- M3*5+6 Plastic Pillar x 2
Step 10: Tracking Sensor Module

Accessories:
- M3*6 Plastic Screw x 4
- M3*12 Plastic Pillar x 2
Step 11: Install Battery


Notice: Check the box instruction and make sure polar direction is correct, otherwise it can destroy your device and cause fire hazard.
Please keep the switch of the battery box to OFF.
Step 12: Connect Battery Box to Wi-Fi Shield

Step 13: Connect the OSOYOO Model-X and WiFi Shield for Arduino UNO

Step 14: Connect OSOYOO Model-X Motor Driver Module With 2 Motors

Step 15: Connect OSOYOO UART Wi-Fi Shield With IR Receiver

Step 16: Connect OSOYOO UART Wi-Fi Shield With the Tracking Sensor

Now hardware installation is almost done. Before we install 18650 batteries into the box, we need burn the sample code into Arduino first.
Step 17: Install Latest Arduino IDE

Download Arduino IDE from https://www.arduino.cc/en/software, then install the software.
(If you have Arduino IDE version after 1.1.16, you can skip this step.)
Step 18: Download Sample Code
Step 19: Open Arduino IDE, Choose Corresponding Board/port

Connect UNO R3 board to PC with USB cable, open Arduino IDE, choose corresponding board/port for your project
Step 20: Install Library Into Arduino IDE

Notice: If you want to use IR remote and the Wi-Fi app to control the car, you should Install IRremote.zip library and WifiESP-Master library into Arduino IDE first, and then upload lesson-2.zip
Open Arduino IDE, install IRremote library into Arduino IDE (If you have already installed IRremote library, please skip this step)
Download IRremote.zip and WifiESP-Master library, then import the library into Arduino IDE(Open Arduino IDE-> click Sketch->Include Library->Add .Zip Library)
Step 21: Upload the Sketch


Click file -> click Open -> choose code “lesson-1.ino”, load the code into Arduino, and then upload the sketch to the board.
Step 22: Check the Wire Connection

Please upload the code to Arduino IDE: lesson-1.zip
Disconnect Arduino from PC, put 2 fully-charged 18650 battery into battery pox (check the box instruction and make sure polar direction is correct, otherwise it can destroy your device and cause fire hazard).
Put the car on the ground, open the power switch on the battery box, open the power switch on the Wi-Fi Shield, the car should go forward 2 seconds, then go backward 2 seconds, then left turn for 2 seconds, then right turn for 2 seconds, then stop.
If the car does not move as per above-mentioned result, you should check your wire connection, battery voltage(must over 7.2v).
Step 23: IR Control
Please upload the code to Arduino IDE: lesson-2.zip, IRremote library
Press IR controller keys to control the car movements:
∧: Forward
∨: Backward
<: Turn left
>: Turn right
If the car can’t move, please check the following:
If the battery can work;
If the IR controller is too far away from the receiver;
If the connection is right.
Step 24: Line Tracking
Please upload the code to Arduino IDE: lesson-3.zip
1: Prepare a black track on white ground. (the width of the black track is more than 20mm and less than 30mm)
Please note, the bend angle of the track can’t be larger than 90 degree. If the angle is too large, the car will move out of the track.
2: Adjust the sensitivity of tracking sensor modules.
Turn on and hold the car to adjust the potentiometer on the tracking sensor with Phillips screwdriver until you
get the best sensitivity status: the signal indicates LED light will turn on when sensor is above white ground, and
the signal LED will turn off when the sensor is above black track.
Signal Indicate LED ON: White Ground
Signal Indicate LED OFF: Black Track
3: Turn on the car and put the car over the black track, then the car will move along the black track.
Use the IR controller, press “OK”, the car will along the track; press “0”, the car will stop.
If the car can’t move, please check the following:
If the battery can work;
If the IR controller is too far away from the receiver;
If the connection is right;
If adjusted well, the sensibility of the tracking sensor.
Step 25: Bluetooth BLE UART Connection

Notice: Please connect Bluetooth TX/RX ports to D4,D5 with jumper caps
Please upload the code to Arduino IDE: lesson-4.zip
Step 26: Download OSOYOO Imitation Driving APP


In Google Play Store or Apple APP store search APP name “OSOYOO imitation driving”, download the APP as following and install it in your smartphone
If you can not find the APP, please Download the APP from the following link :https://osoyoo.com/driver/v1car.apk.
Step 27: Turn on Bluetooth of Your Smart Phone

Please turn on bluetooth of your Android phone which you have installed APP and scan bluetooth (different bluetooth module will scan different bluetooth name), click connect and enter password “1234” or “0000” if no change
Step 28: Error Pop


Note: For Android device, when you click BT search button and get the following error pop, Please follow the next steps:
1. long-press the APP icon, then click “APP info”
2. click “Permissions”
3.click “Nearby device”, then change the option as “Allow” (To learn more about settings, you can visit the video: https://osoyoo.com/picture/V2.1_Arduino_Robot_Car/Lesson7/APP.mp4
Step 29: Bluetooth Control

Step 1) Put your robot car on the ground and turn on the battery switch.
Step 2) Go to your mobile phone → Settings → Bluetooth settings and search for a Bluetooth device called HC-02. Pair it with the code 1234.
Step 3) Open the OSOYOO imitation driving Robot APP, click the “BT Search” button, and find the Bluetooth device you have paired.
Step 4)Turn on the Engine toggle and click Speed+ to increase the speed of the robot car, as it is very slow at first. When you rotate your mobile phone, the car will change direction.
Step 30: Wi-Fi ESP UART Connection

You need to connect the two ESP_TX to D4 and ESP_RX to D5 through the jumper caps showed in the red jumper cap icon in following picture:
(Note: Our OSOYOO Uart WiFi shield V1.3 are connected BLE URAT TX/RX ports to D4,D5 with jumper caps by default. If you find the BLE URAT TX/RX ports are connected, you need to remove these jumper caps and change to connect ESP URAT E-TX to D4 and E-RX to D5)
Please upload the code to Arduino IDE: lesson-5.zip, WifiESP-Master library
Note: You need to change the code in line 71,72
char ssid[] = “***”; // replace *** with your router wifi SSID
char pass[] = “***”; // replace *** your wifi password
Step 31: IP Address


Arduino IDE: Click the Serial monitor window in upper right corner of Arduino IDE, you will see following result shown as the picture.
Step 32: Download OSOYOO Wi-Fi UDP Robot Car Control APP


In Google Play or Apple Store, please search keywords “OSOYOO IoT UDP Robot Car”, you will find a red icon APP as following
Note: If you can not find this APP in Google Play, you can directly download the APP from following link: https://osoyoo.com/driver/udp-app.apk
Step 33: Wi-Fi Control
Keep your phone connect the same Wi-Fi, set the IP address of the APP.


