

Introduction: Object Detection Using LDR


This is the second part in Smart (automatic) street light intensity control . Here the object is being detected with the help of ldr .
Step 1: Connection


The connections are same as the previous instructable :https://www.instructables.com/id/LED-Intensity-Con...
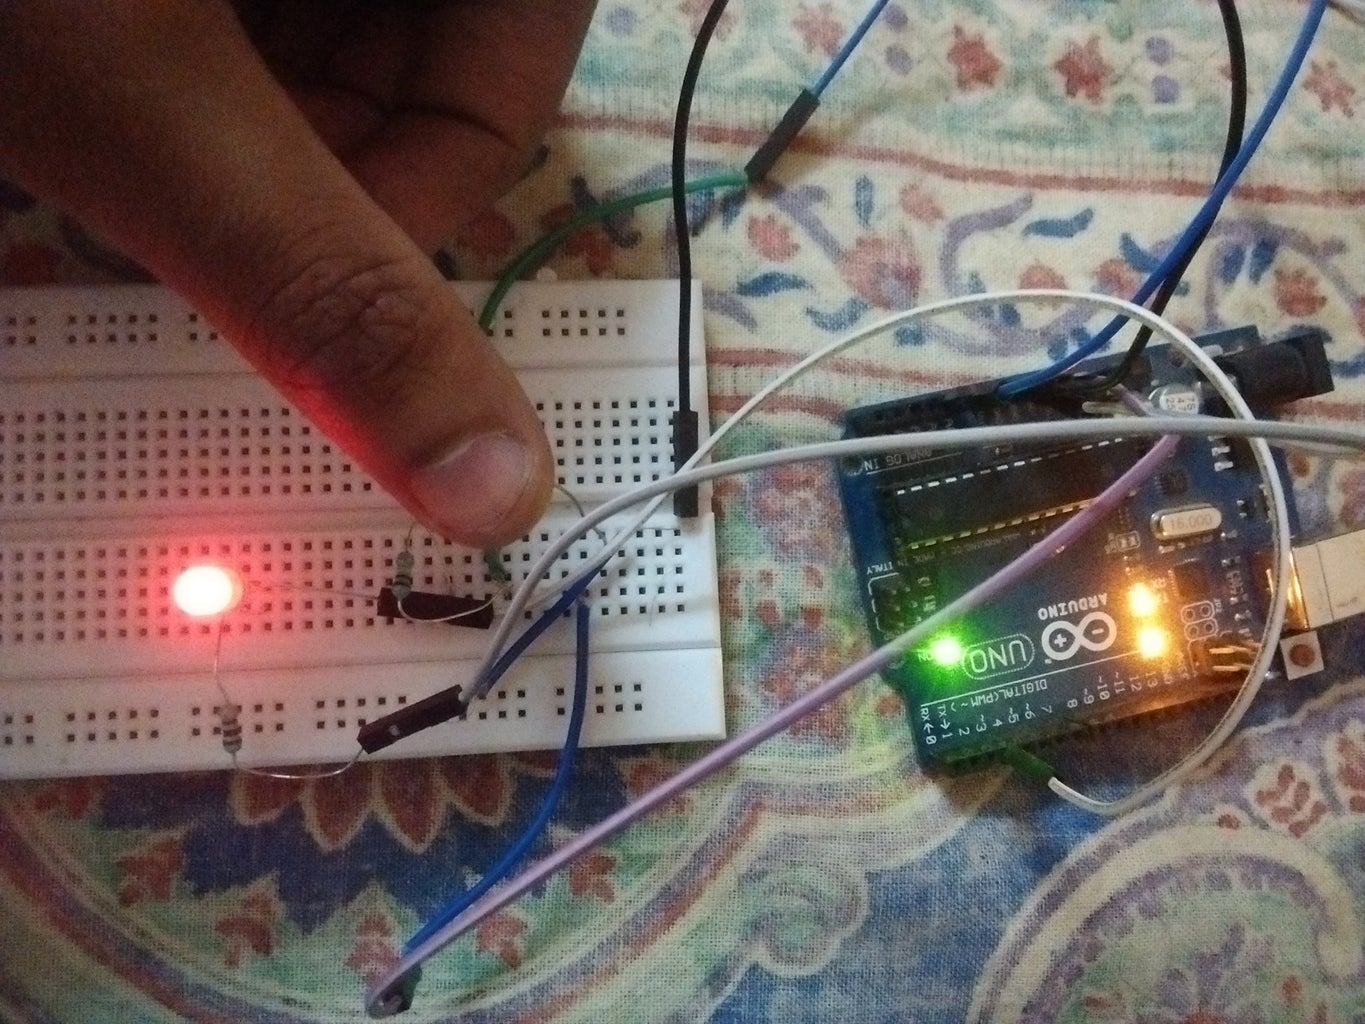
Here the objective is to detect the vehicle(object) with ldr ....to glow the street lights later on .... here we will just detect the object and provide the high and low signal respectively upon detection.
[here i have also connected the ground pin of arduino to the 100k resistor`s grounded pin to get decreased set of value range from 0-280 that can be viewed in the serial monitor as i was detecting some issues with previous connection].
Step 2: Code
The object is detected using the ldr .
I have again constrained the values between 0- 250 to stop the unwanted flickering of led you can check in serial monitor to find your optimized value range.
The condition is checked such that when the output value from ldr pin(A1) goes below the preset value(200)
the led pin(4) is provided a high (1) else it will be low and hence no object is detected.You can change the preset value as you like.200 makes it quite sensitive for detection of vehicles crossing over.
Attachments

Step 3: Working
[If you want more intensity for the led try connecting the pin to pwm pin (3...) of the arduino and use the following command when providing the signal to the led pin
analogWrite (ledpin,255)
as done in my previous instructable.]
thank you!
{it will all be combined for the smart street light intensity control system so stay tuned}


