

Introduction: One-inch Scale Mitsubishi Zero-sen


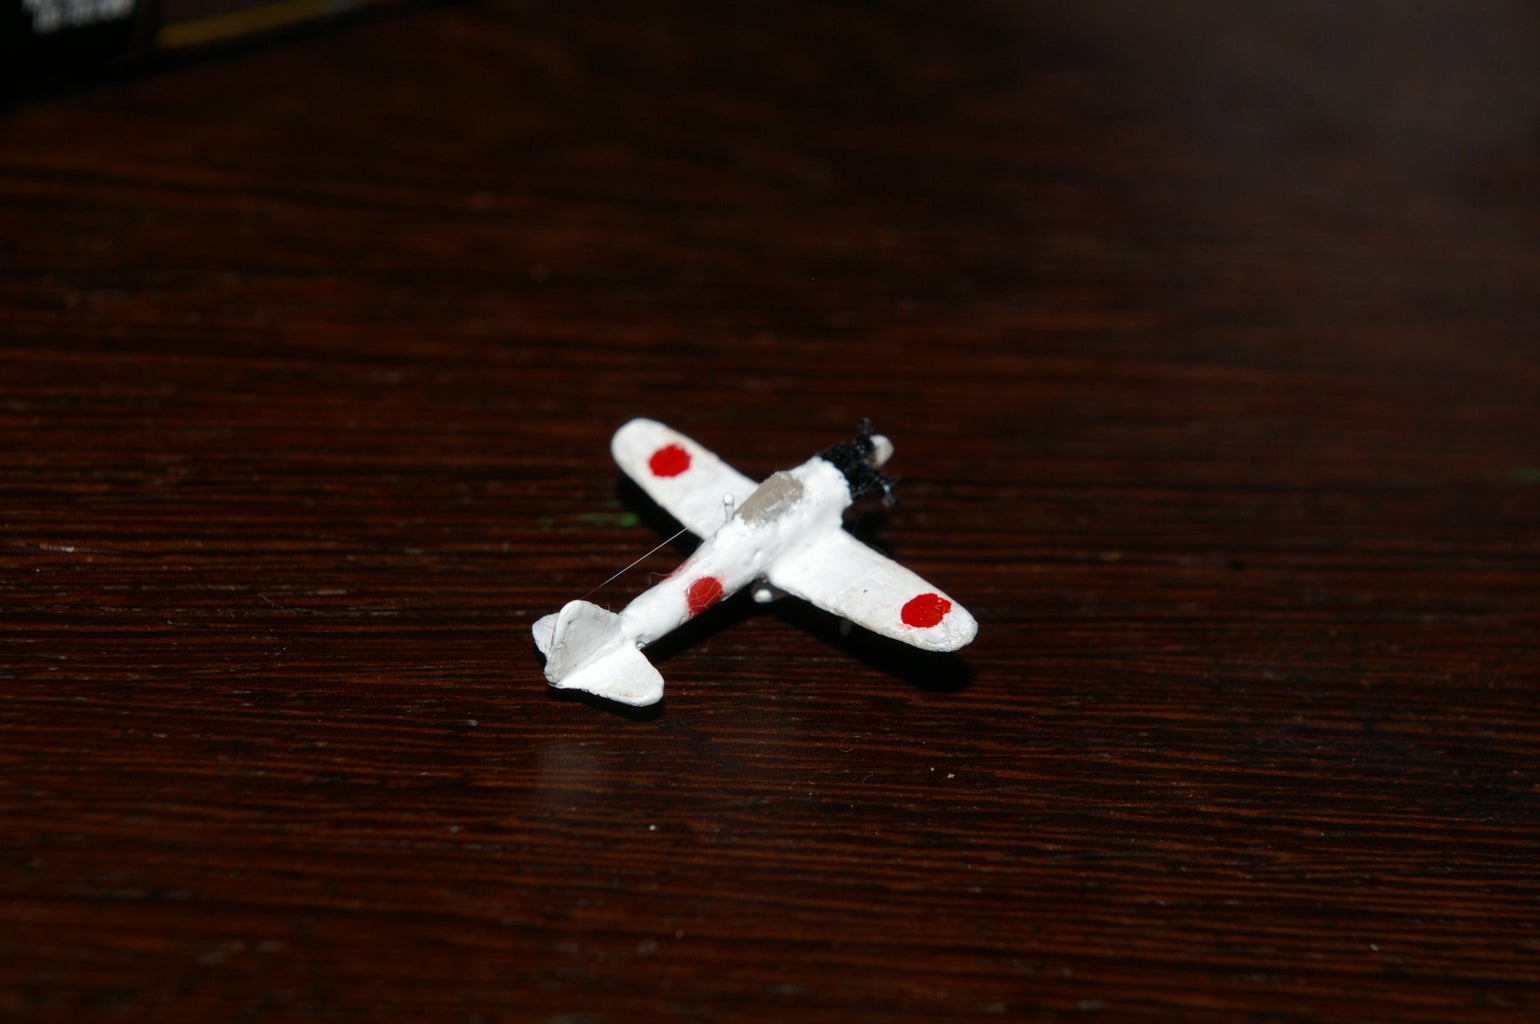


First, I would like to apologise for the terribly blurry photographs. My camera doesn't focus on anything, so a tiny aeroplane like this can only be blurry.
My inspiration to make this Zero in this scale was the tiny black bead which I used as the engine cowl. Complete, this model's wingspan measures a total length of 25 mm. 25.6 mm is one inch. This is approximately one two-hundredth the size of an original A6M5.
In total this model took me three and a half days to complete.
To build it you will need:
Balsa wood about 6mm thick
Copper electrical wire (the thinnest wire I could find)
A black bead about 2.5mm in diameter
A scalpel
Sandpaper/grinder
Model paint, Red, White, Black (I used Tamiya paints which you could find at any hobby shop)
Some clear plastic about 2mm thick
Pliers
Toothpicks to paint it with
Superglue
LOTS AND LOTS OF PATIENCE...
Step 1: The Basic Parts


I started off with the wings, out of a 6mm thick balsa sheet offcut, cut a strip about 1mm wide. Then sand or grind it down to the correct thickness, about 0.4mm. Cut and sand the leading and trailing edges to the correct angles and sand the wingtips round. ENSURE that both wings are equal.
Next, the fuselage...
Out of the same wood offcut, cut a rectangular prism out of it. It should be as tall as it is wide (6mm) and 3 quarters of the length of the wing.
Then sand it into a sort of cylinder. Sand one end into a cone from about half way along the cylinder. Then blend the cylinder into the cone with a bit more sanding. It should now look like an elongated bullet.
I did the same for the tail surfaces as I did for the wings. The horizontal tailplane should be 3/8 of the length of the wing. The vertical tailplane is about 3.5 mm tall.
Also illustrated in this step, the propeller. For each blade, I used small balsa fibres. Cut them as small as possible because paint will thicken them greatly. Glue all 3 at the base and make sure they are evenly spaced. Cut the end of a toothpick off and glue it to the front of the set of prop blades.
Step 2: Painting the Base Colour


Painting is the most time consuming step not only because the paint takes long to dry, but also because you will make many mistakes throughout the process.
Paint the fuselage, wings, and tail surfaces with white paint. Apply it in thin coats.I used toothpicks to paint it because they work better than brushes for such small models.
Paint the propeller blades black and the spinner (toothpick piece) white.
Step 3: Painting Details and Cockpit


To paint each Japanese rising sun on the wings and fuselage, clip a toothpick and sand it to make a sort of circular stamp. Dip it into a little bit of red paint and gently apply it onto the right places.
Also cut a slit in the fuselage from the back in which to glue the horizontal tailplane. Glue it in.
To make the cockpit canopy I had some clear 1.7mm thick clear plastic which I first cut to form a 45 degree angle bevel along the edge and I pinched it with pliers to give the canopy that "framework" look. I then cut the bevelled, pinched edge off and cut it in half. I then glued these two together to form the canopy. To further shape it and blend the 2 pieces together, I just sanded it.
Cut a groove in the top of the fuselage and one underneath to glue the canopy and wings into. Glue the canopy on now. To finish the furthest-back part of the canopy I cut a small piece of balsa and glued it in behind the canopy, after which I painted it ti make it look like part of the fuselage.
Step 4: The Wheels


To make the main landing gear I bent a piece of copper wire into a " I_I " shape and bent the 2 ends into flat coils.
Paint these coils black. After the black paint is dry, paint the rest of the wire white and also paint the top half of the outside facing part of the coils white. Glue this to the underside of the wing, almost on the leading edge of the wing. Make sure it is in the centre and that both landing gear legs are the same size, or the model will sit skew. Use paint to blend the wire into the wing.
Also, one of the propeller blades broke earlier so I had to make half a new one, glue it on and paint it. I had to redo this several times.
Step 5: The External Fuel Tank/bomb


To make this small piece which is optional just cut and sand a small piece of wood into a cylinder with pointed ends. Then cut another tiny strip of balsa wood and glue it to the top. Paint the whole thing white and glue it centrally in between the wheels.
Also shown here, glue the bead to the front of the fuselage and the propeller hub to the front of that.
Step 6: Put It Together!


The tailwheel is a piece of copper which is glued under the tail, painted white and then just the tip painted black.
This model is almost done, glue the wings into the groove in the fuselage you made earlier. To blend the top of the wing to the fuselage cut 2 small strips of wood and glue them onto the wing as close to the fuselage as you can. Then paint over it until it looks right. Also paint the base of the tail surfaces to do the same thing there.
Step 7: Finishing Touches


To complete this model paint a little bit of the back end of the bead white to make it flow nicely into the fuselage.
Glue an upright piece of copper wire just behind the cockpit and paint it white. This is the mast.
The most frustrating part of building this model was the thick paint. I didn't have any thinners to thin it out so it was very viscous and it made many "strings" of paint. I intentionally used a "paint string" to connect the mast to the top of the tail because it was extremely thin and nothing else I had would have worked.
The paint was the biggest pain of this model and If I make another one like this I would definitely get some thinners first.
The battery in the pictures is an "AA" battery for scale.

Participated in the
Holiday Gifts Contest

Participated in the
Pocket Sized Contest

Participated in the
Instructables Design Competition


