

Introduction: Outfeed Table Storage Upgrade


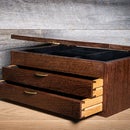
My shop is an ever growing process. I am always looking for improvement and learning better and better process's. Efficiency and work flow are both huge for me and my business. I built an outfeed table when i moved in, but never addressed the storage problems with the underneath. Well now that is taken care of with my new outfeed table storage cabinet. Check out the full build video and plan!
If you wanna tackle this project yourself you can purchase a plan here!
If you would like to attempt this project on your own, here are a links to the tools and the router lifts!
Check it out!!
Step 1: Begin With the Job Site Box Drawers


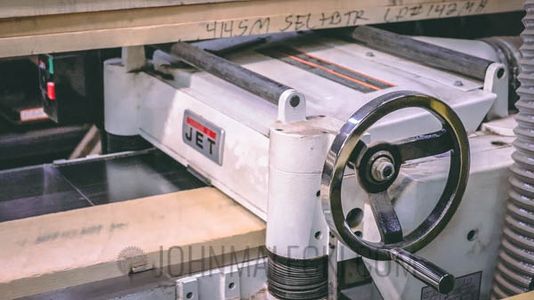
Break down hardwood stock to the various lengths on the cut list in the project plans!
Step 2: Cut Drawer Bottom Recesses

Cut the 1/4" x 1/4" recess for all drawer bottoms
Step 3: Pre Drill

These drawers are assembled with face joinery and dowel plugs to accent. In this step pre drill your screw holes.
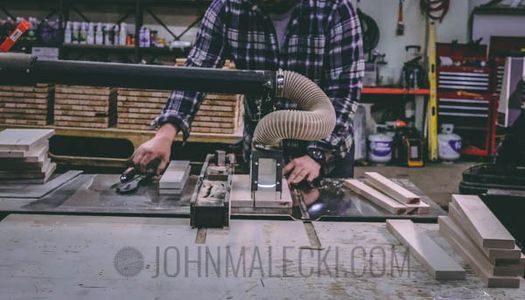
Step 4: Cut Drawer Handles


Trace your pull onto the fronts. Using your bandsaw or jigsaw, roughly cut inside the lines for your recesses’. Then using a templating bit either in a router table, or a hand held router, clean up all your pulls.
Step 5: Cut Drawer Bottoms and Assemble


Mock up your drawers, then measure the inside of your drawer box. Use this measurement to cut your drawer bottoms. They should be close to the dimensions on the cut list
Using clamps assemble your drawers with 1 ¼” screws and glue.
Step 6: Carcass - Cut Stock

Cut your carcass according to the cut list using ½” plywood
Note - Be sure to use specific measurements for this part that go with your specific outfeed table. Double check the interior measurement of your open space.
Step 7: Assemble


Attach the side walls to the stretchers. I use pin nails and glue to secure initially, then reinforce with screws.
Step 8: Attach Face Frame

Cut your face frames based on your carcass. Attach using 23g Brad Nails
Step 9: Storage Drawer Boxes - Cut Stock and Pre - Drill


Cut all your stock for the drawers using relative dimensions for the interior space between your Job Site box Pull outs
Similar to Part 1 pre drill your fastening holes.
Step 10: Cut Face Frames


Using your drill press cut a hole at the center of the drawer face. Using a chamfer patterning bit, cut a chamfer on the inside of your drawer face.
Step 11: Assemble Drawers & Attach Face


Mock up your drawer box and measure for your bottom panel. Attach your drawer faces leaving room below to hide the slides
Plug all holes with dowels of your choice.
Step 12: Final Assembly


Install your carcass into your outfeed table void. This part will depend on your specific outfeed table storage opening. I use screws and spacers to make sure everything is flush.Mount the center strips for the storage boxes. Using your method of choice, attach your drawer slides to the inside face of the job site boxes drawers. Give the whole face a final sanding and finish. This step is optional, being it is shop furniture. But finish never hurts. I used a cheap oil based finish I had laying around
For more detailed instructions check out the full plan!


