

Introduction: Patterned Plywood Using Only PLYWOOD SCRAPS!


In this instructable, I will show you how I created this patterned plywood project using only SCRAP PLYWOOD!
Step 1: Go Through Your Scrap Plywood Pile

I used Baltic Birch for this project, however you can use any kind of plywood. I would recommend using higher grade plywood with a nice finished surface for best results. It is also best to use plywood without a lot of gaps or knots between different plys.
Step 2: Rip the Plywood Into Thin Strips.

You want to rip the plywood into thin strips. Remember that when the plywood is flipped onto its side, the ripping width will become the height of the piece. Rip the width that you want, there is no correct or incorrect measurement. I used a width of 1" for reference.
Step 3: Flip All the Strips With Ply Facing Up and Glue Together. (unless You Want to Mix Things Up Like Mine)


For my design, I ended up flipping every 8th strip so that the finished ply was facing outward. To make it the correct thickness I had to glue two strips together. Make sure to use an adequate amount of glue on both sides of wood. I would highly recommend to do the glue ups in smaller sets. I ended up doing 4 separate glue ups, then combining them into one big sheet for easier clamping and working with the glue set up time.
Step 4: Cut 45 Degree Angled Strips of Desired Width.

Use the table saw to cut 45 degree angle strips of the glued up plywood sheet. To make this more manageable for me, I cut my big plywood sheet in half at the 45 degrees. The width you decide to cut does not matter, it is all user preference. For reference, I cut my strips 1.5" wide.
Step 5: Arrange Your Strips in Desired Design and Glue Back Up.


Spend some time moving around the strips of wood into a pattern you like. Once you find a pattern you like, spend time gluing them up in smaller batches.
Step 6: Cut Them at 90 Degrees on the Table Saw


Once all the Glue is dry, use the table saw to rip the plywood into strips yet again. The width still does not matter here. Any desired width will work. For reference, I just ripped in the dead center of the patterns.
Step 7: The Final Glue Up.

Glue up for your last time!!!! OR take it a step further and rip into strips again!
Step 8: Plane the Plywood Sheet Flat.


You can plane many different ways. I decided to use a router sled to plane both sides of my plywood sheet. The video will show how I made this very simple router sled. Once the bulk of the piece is planed, sand, sand and more sanding!
Step 9: Finish the Patterned Plywood Board With Your Favorite Sealer.

I used a simple polyurethane to finish the wood.
Step 10: Admire What You Just Created!
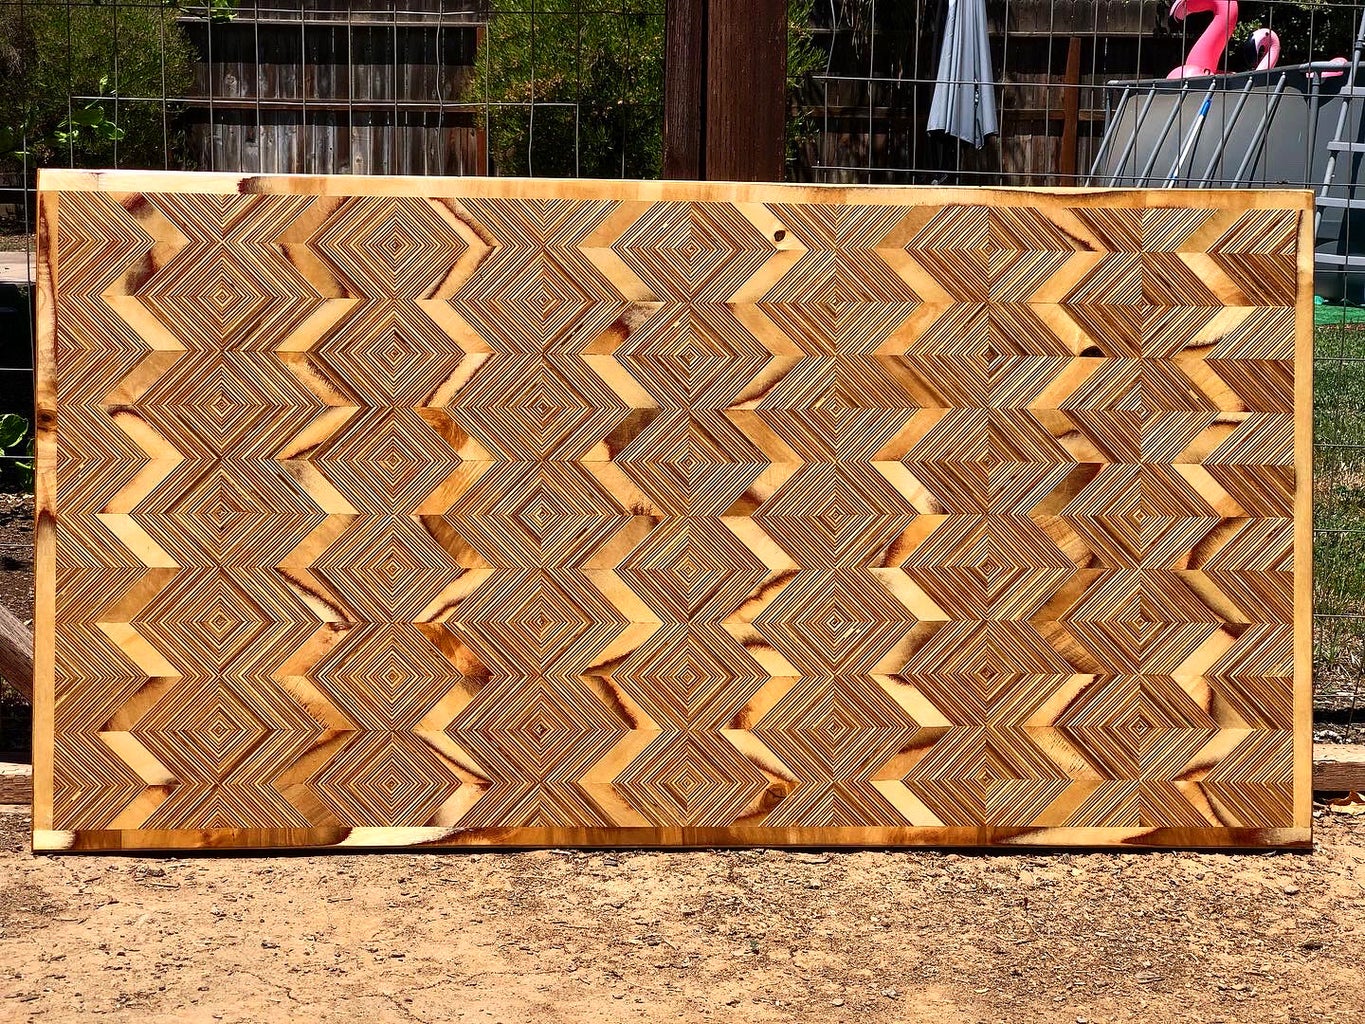
Your done! Now you can use this patterned plywood for a tabletop, wall picture, cutting board..... The possibilities are endless!


