

Introduction: Photon:Connect LCD With I2C


Hello, Guys!! I'm Sridhar Janardhan back with another tutorial.This is a series of Photon microcontroller.Today I am showing how to use an I2C integrated to LCD and interface using the Photon.After I have conveyed the advantages of the I2C using an Arduino, I taught to try to interface it using a Photon, an emerging IoT platform.
Now let's start to collect the components for this Instructables.
Step 1: Components Required.


The components required for this project are:
- Photon.
- I2C.
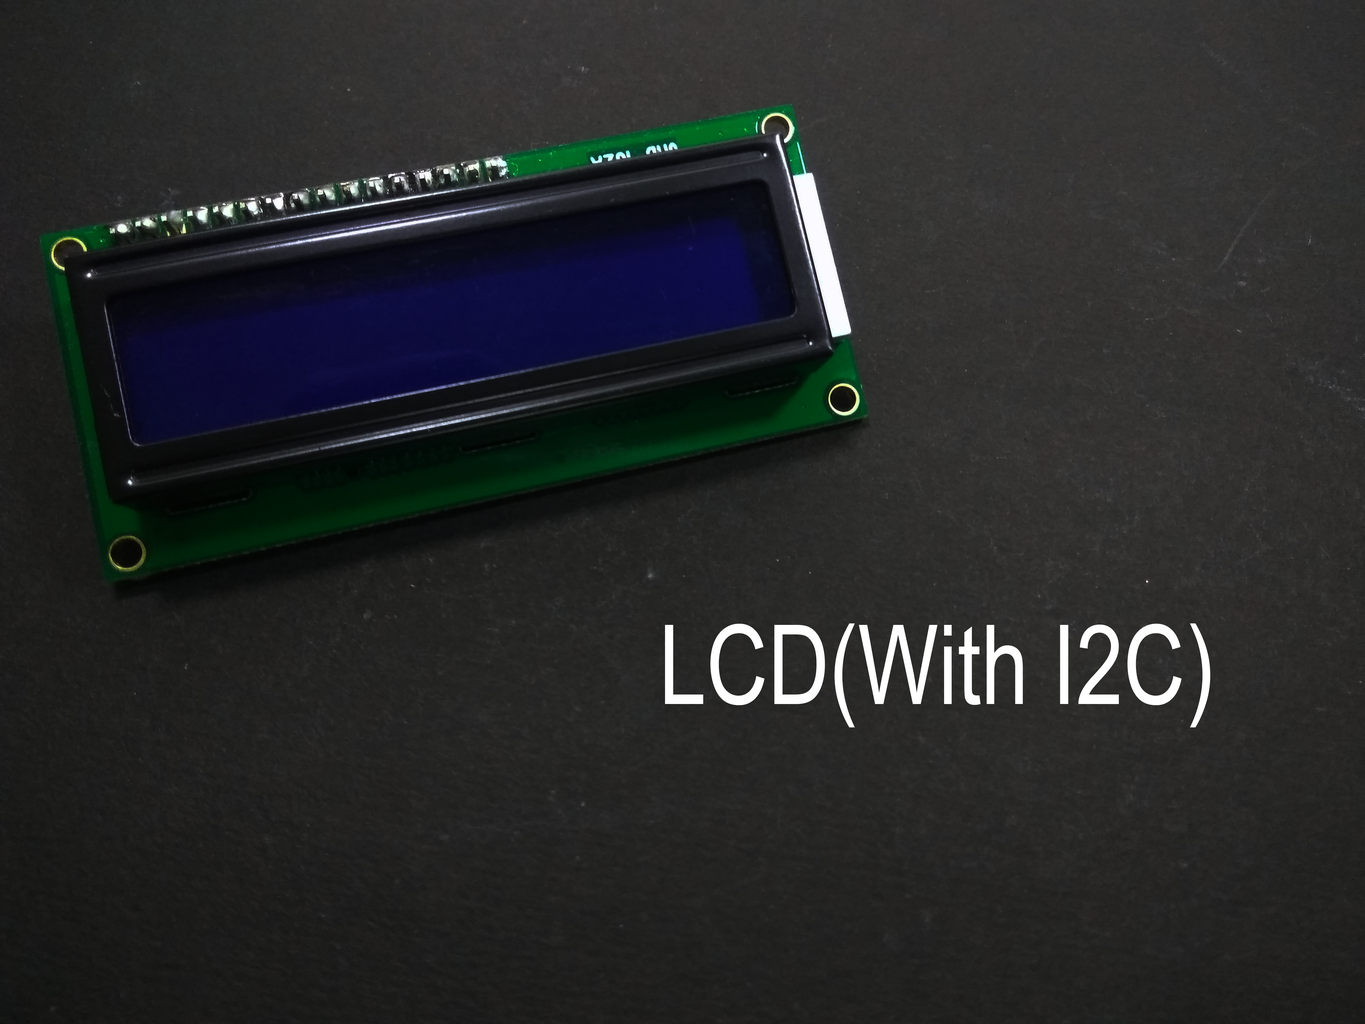
- LCD.
- Jumper wire.
- Android app.
- Type A to Type C cable.
Let's now setup the Photon using an Android app.
Step 2: Connecting Photon to the Wifi.


get started connecting the photon to the Wifi
Powering on your device:
- Before you connect the device to connect to wifi put the device in listening mode(Blue color led)This can be achieved by pressing setup button for few seconds.
- If it's blinking in other colors indicating the other mode of device you go through the docs presented by particle here
Step by step instruction to connect it successfully to the wifi:
- Download the official Particle app from the play store: Particle
- Open the app login with your detail, if you are a new user click here
- Click on the plus symbol below and choose Photon.
- Now continue the process until you the breathing cyan on your device.
- At last stage name your Photon.
Hope you breathe relief on seeing your device breathing Cyan
Step 3: Connecting the LCD to the Photon


I2C is a powerful circuit that is used to interface the LCD to microcontrollers like Arduino, NodeMCU, Photon and much more.the one main application of the I2C is reducing the wire required to connect LCD, makes circuit look neat and help in wire management.
Below are the description of the I2C
- VCC pin: The Positive supply of the LCD.
- GND pin: the grounded supply to the LCD
- SCL pin: This is the clock line where the speed of the data transfer from the microcontroller to the LCD is decided
- SDA pin: This is a data line where the data transfer from the microcontroller and LCD is decided.
The connection of the LCD is as follows:
- VCC pin is fixed to the 3.3-volt pin on the Photon board.
- GND pin is given to the GND pin present on the Photon.
- SDA is given to digital pin D0.
- SCL is applied to the digital D1.
Step 4: Coding

#include<LiquidCrystal_I2C_Spark.h>
LiquidCrystal_I2C *lcd;
void setup() {
Serial.begin(9600);
lcd = new LiquidCrystal_I2C(0x3F, 16, 2);
lcd->init();
lcd->backlight();
lcd->clear();
Time.zone(+2.00); }
void loop() {
if (Time.now(), "%H:%M:%S" == "00:00:00") {
lcd->clear(); }
lcd->setCursor(0 ,0 );
lcd->print("Appytechie");
}

Participated in the
Makerspace Contest 2017


