

Introduction: Photoshop Smoke Tutorial


Basically i spent a large portion of my evening trying to make blue mist for my new user name and almost all of the guides i googled weren't too helpful so i mixed and matched and I'm going to share my improved guide with you all for my first complete Instructable.
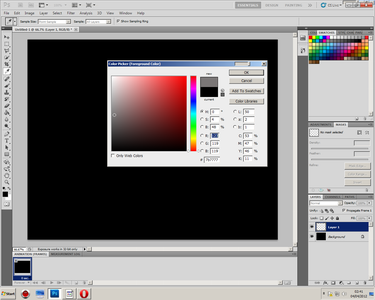
Step 1: Setting Up


1. Open up a new document in Photoshop,
2. Make it any size you want,
3. Where it says "Background Contents" set that to white,
4. Click Okay,
5. Use the Paint Bucket tool to make the background layer black
6. Create a new transparent layer
Step 2: Base of Your Smoke


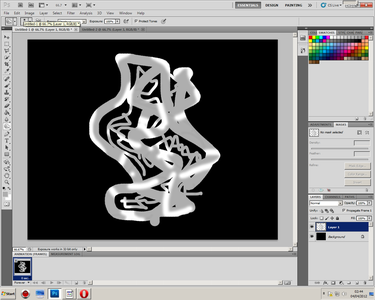
1. Pick a grey colour (Make sure you have the transparent layer selected),
2. Draw a squiggle in a medium to large brush,
3. Fill in any gaps with a smaller brush,
4. Use the dodge and burn tools to randomly shade different parts (Hard to understand, theres a picture for ya :3)
Step 3: Fun Part (Filters)
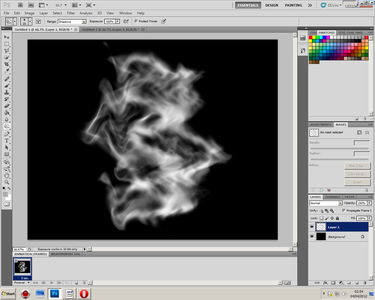
1. Go onto Filter>Blur>Gaussian blur then set radius to "9",
2. Go to Filter>Other>maximum and one again set radius to "9",
3. Go to Filter>Distort>wave click the randomize button until it looks sufficient,
4. Go to Edit>Fade wave
5. Make opacity 50%
6. Repeat Steps 3-5 until you're happy with your smoke effect.
Step 4: BONUS SECTION! Colouring Smoke
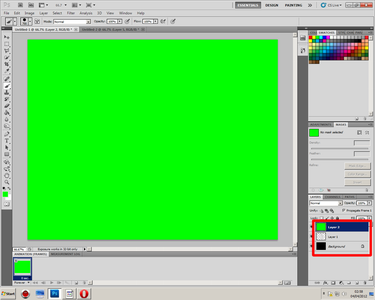
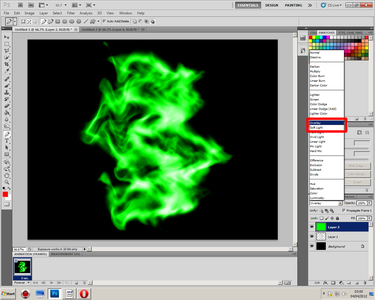
Well here i would like to tell you all my little fun part for this effect coloring, in this example and these picture ill be making it bright green but it can be absolutely any color you want. (bright green doesn't look too good i prefer blue but this is for display purposes only so it shouldn't matter)
1. Make a new layer above your smoke,
2. Make your brush size huge so it covers almost all of your document,
3. Select your chosen colour,
4. Completely cover the document in the colour,
5. Change the belending mode to Overlay an Voila! Coloured smoke
Well thats the end thanks for reading/following guys/girls.


