

Introduction: Pinewood Derby Car (Made by Young Makers)


Every winter, millions of families prepare for serious bonding time at kitchen tables, in garages and in workshops across the country. We enter with dreams of speed, beauty and glory. With a little luck and skill, we leave with pride, joy and a completed Pinewood Derby Car.
Here’s how to generate that little bit of luck and skill for your family so you too can guide your young maker with confidence.
The Pinewood Derby is a race between small gravity-powered model cars. Each official Scouting kit contains a solid pine block, four nails and four plastic wheels but specialized kits are available online. Official rules vary from organization to organization, and in Scouting, district to district.
This guide will show you how to support and help your young maker design, make and race their derby car.
Thank you for your continued support.
Thank you for visiting my blog. To support for this site, please like WoodshopCowboy on Facebook or follow me on Instructables. Twitter, Pinterest or Instagram.
Step 1: Tools & Materials
The Pinewood Derby Car
Tools:
- Pencil
- Scissors
- Glue Stick
- Coping Saw, or band saw if you have access to a wood shop.
- Sanding Block, or disc/belt sander and oscillating sander if you have access to a wood shop.
- Paintbrush and accessories needed for painting
- Ruler
- Hand Drill & Bit
- Kitchen Scale
- Slotted Screwdriver
Materials:
- Pinewood Derby Kit
- Sandpaper, 80- to 220-grit
- Paint and accessories
- Super Glue
- Extra Weights. Can be anything, but I bought round weights at a hobby shop.
- Wet sandpaper, 1200- and 2000-grit, found in automotive stores
- Graphite Lube
Step 2: The Physics & Engineering:
The Physics & Engineering:
A derby car’s success depends on its ability to convert its potential energy at the top of a track, into kinetic energy at the bottom of the track. The more kinetic energy is expressed by the car, the more speed. More speed, the more it will win.
The three most important ways to increase a car’s kinetic energy are increasing its mass, increasing the time spend accelerating and decreasing energy loss due to friction.
To increase the mass, a builder makes sure the car is as heavy as possible. Most competitions have a hard limit of 5oz.
To increase spent accelerating, move the derby car’s center of gravity close to the rear axle. This means the center of the car stays elevated on the ramp longer and it acts as a push as the car hits the straightaway.
To decrease friction, polish and lubricate the axles.
Notice the aerodynamics don’t play a huge issue. This means young makers can make an artistically interesting and aerodynamically flawed design without too many consequences. And you don’t have to sand incredibly long or hard either.
Step 3: The Design


The Design:
1. Use graph paper to design a side and top view of the car. The front wheel slot is about 1 5/8” from the front (the long side).
Engineering paper works well, or you can use this template. Definitely show a few examples. This step introduces different perspectives and spatial awareness to young minds. This skill develops side-by-side with brain maturity and practice, so don’t expect perfection. For 1st – 3rd graders, this is more an interpretive art than engineering!
2. Once complete, cut out your design and glue it to the top and side of the pine block.
Step 4: The Body:


The Body:
- Use a coping saw to cut out your design, clamping the workpiece down for safety. Young makers often need hand-over-hand adult help and supervision to complete this step. Often, they don’t have the attention span to complete this in one session, so plan accordingly, or take over when they are tired.
- Sand the body with a sanding block or power sander up to 220-grit, or as smooth as you can make it.
Step 5: Paint:


Paint:
Paint your derby car. Acrylic paints work fantastic, but don’t wash out of clothes. Tempera paints wash out of clothes and grip onto wood, but will wash away with water. To get great results with tempra paint, prime the wood with a light coat of white paint first. Give the car two coats of paint, then seal the car with a coat of clear spray paint or shellac.
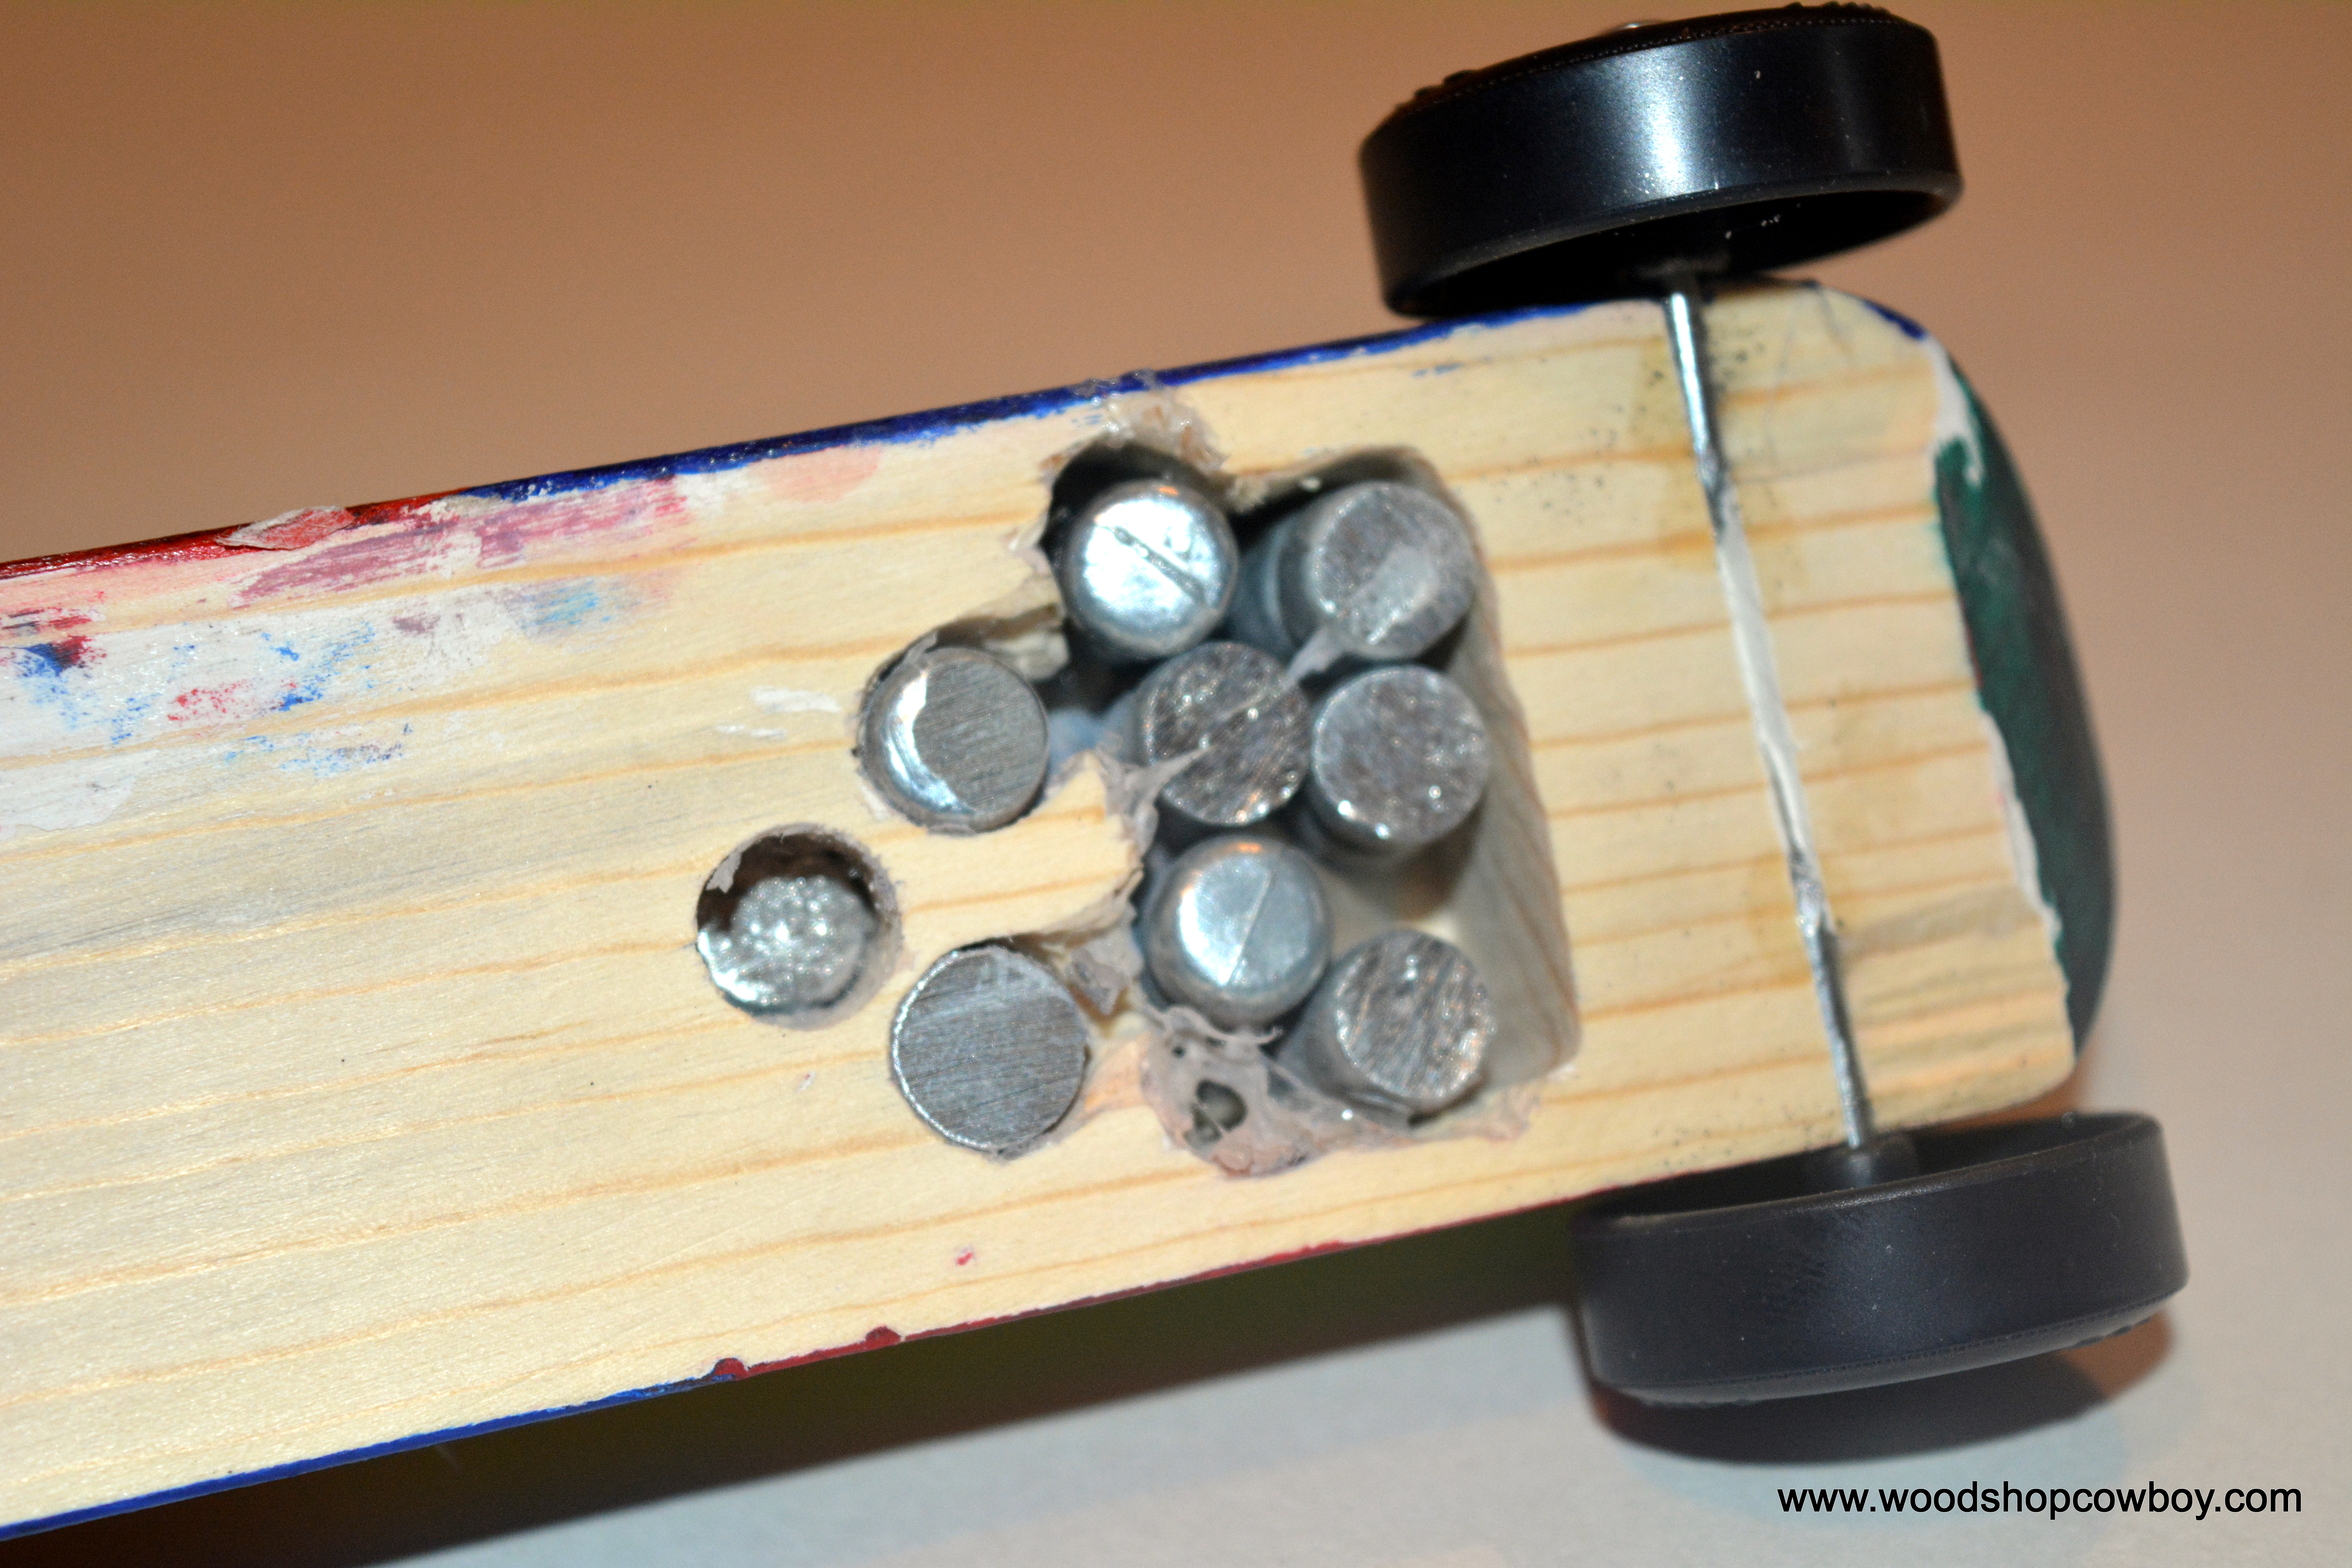
Step 6: Making Weight


Making Weight:
Now, prep your body to make weight. The trick to winning is to create a car as close to 5oz as possibly without going over and placing the center of balance near the rear of the car.
- Zero out your scale. Next, place every unassembled parts on the scale.

- Add small weights onto the balance until you get to about 4.95 oz, or as close as possible to 5oz.
- Mark a line 1” in front of the rear axle. Drill as many holes into the base of the car as needed to hold the weights.
- Tape the weights into the pockets.
- Re-weigh the car, making sure the wheels stay on the scale. Adjust the weight as necessary by adding or removing weights. If you need to remove smaller sections of weights, split the weights with a coping saw along the score lines.
- Superglue the weights when ready.

Step 7: The Wheels


Wheels:
Friction between the wheel and axle will slow your car tremendously. Here’s a quick, simple way to reduce friction and get a fast car. 
- Polish the axle nails with the high grit sandpaper and a little water or machine oil as a cutting lubricant. Wipe dry to avoid rust. If you use machine oil, wipe with a little nail polish remover or other cleaner, as lubricating oils are against the rules and will interfere with the graphite lube.
- Scuff and sand any imperfections in the wheel.
- Load the wheel with graphite lube, then place the wheel on the axle.
- Press fit the wheel into the slots with a screw driver. Make sure all four feet touch the ground, unless your rules state otherwise.
- Use a pliers to twist the nail if your car is misaligned.
- Use super glue to affix the axles in place.


Step 8: Test and Race!


Final Test:

Re-weigh your car, making sure everything is ready. Get ready to race!
Tips:
Derby cars have a long history, beginning in 1953. There are many, many suppliers and sites where you may buy all sorts of tools and contraptions to win. This guide is meant to give a parent enough confidence to help their child succeed in building a machine which works well – and learning sportsmanship along the way.
But if you want to win and want to know the physics behind fast cars, check out this explanation from Marc Rober, dad extraordinaire:
https://www.youtube.com/watch?v=-RjJtO51ykY
Good speed and good luck!
Thank you for your continued support.
Thank you for visiting my blog. To support for this site, please like WoodshopCowboy on Facebook or follow me on Instructables. Twitter, Pinterest or Instagram.

Participated in the
Epilog Contest 8


