

Introduction: Programming Arduino With a Sainsmart UNO


OK my Atmega328P-Pu ICs have finally arrived and it is time to see if they work or not. Whether you order the ATmega328P-PU ICs bootloaded with blink or not you should test them first to be sure they work before you build your project. And even if they are bootloaded you will need to program them for your project.
My Sainsmart UNO is built with a Mega328P-AU IC, and unlike the Arduino UNO R3, you can’t just pull the ATmega328P IC out to program a new ATmega328P so I will be breadboard bootloading and programming the ATmega328P with a Sainsmart UNO.
Step 1: Parts

To test the ICs I like to set up the ATmega328P as a standalone Arduino, for bootloading, testing, and programming, you will need:
1, Arduino UNO, any model will do.
ATmega328P ICs
1, breadboard
1, 16 MHz crystal,
1, 10 kΩ resistor
4, 680 Ω resistor
4, LEDs 1 red, 1 green, 1 blue, and 1 the color of your choice.
2, 18 to 22 picofarad ceramic capacitors.
1, 1 nanofarad ceramic capacitor
1, normally open momentary tactile switch
Jumper Wires
A 5 volt power supply
Step 2: Breadboards

Not all breadboards are created equal; some breadboards have split power rails, so before you start make sure the power rails are connected if you need them connected. The split in the power rails is usually in the center of the breadboard.
Step 3: Testing the ATmega328P IC


If you ordered ATmega328P-PU ICs bootloaded with blink when you assemble the stand alone Arduino the LED on pin D13 should blink. If the LED on pin D13 doesn’t blink the IC is ether not bootloaded or the IC doesn’t work.
Step 4: Setting Up to Bootload
To bootload ATmega328P ICs you'll need to install support for an additional hardware configuration to your Arduino IDE if you do not have it already.
Download this hardware configuration archive: breadboard-1-6-x.zip, breadboard1-5-x.zip, or breadboard1-0-x.zip, depending on which IDE you use from this Arduino sight.
https://www.arduino.cc/en/Tutorial/ArduinoToBreadb...
Create a "hardware" sub-folder in your Arduino sketchbook folder, whose location you can find in the Arduino preferences dialog. If you've previously installed support for additional hardware configuration, you may already have a "hardware" folder in your sketchbook.
Move the breadboard folder from the zip archive to the "hardware" folder of your Arduino sketchbook.
Step 5: Restart the Arduino IDE.

Now when you click on Tools then BoardYou should see "ATmega328 on a breadboard (8 MHz internal clock)" in the Tools Board menu.
Once you've done this, you can burn the bootloader and upload programs onto your ATmega328 as described. Be sure to select "ATmega328 on a breadboard (8 MHz internal clock)" when burning the bootloader. If you select the wrong item and configure the microcontroller to use an external clock, it won't work unless you connect one.
Step 6: Burning the Bootloader


To burn the bootloader into the ATmega328 or ATmega168 follow these steps:
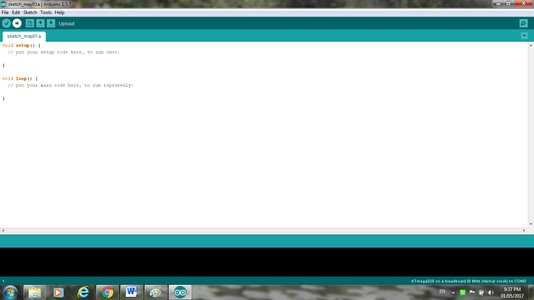
Click on file scroll down to examples and click on Arduino ISP. A new Arduino IDE window will open with the Arduino ISP sketch in it.
Copy the pin connections but don’t make them yet.
Making sure nothing is connected to your UNO connect it to your computer.
You’ll need to select the board from the Tools menu that correspond to your board.
Select the serial port from the Tools menu that corresponds to your board.
Upload the Arduino ISP sketch onto your Arduino board.
Step 7: Wiring the Bootloader


Disconnect the Uno board from your computer and wire up the board and microcontroller as described in the ISP Sketch.
pin name: UNO:
slave reset: 10:
MOSI: 11:
MISO: 12:
SCK: 13:
mega(1280 and 2560)
slave reset: 53
MOSI: 51
MISO: 50
SCK: 52
Put an LED (with resistor) on the following pins:
9: Heartbeat - shows the programmer is running
8: Error - Lights up if something goes wrong (use red if that makes sense)
7: Programming - In communication with the slave
I used a blue LED for Heartbeat Red for Error and Green for Programming as shown in the diagram. Beyond the fact I like blinking lights, the LEDs tell you if the Arduino ISP is working right. The pulsing blue LED will tell you the Arduino ISP is running, the green LED will tell you it is uploading when it lights up, and the red LED will tell you the upload failed when it lights up.
Step 8: Bootload


In the Tools menu select Board and then the ATmega328 on a breadboard (8MHz internal clock) if you are using the minimal configuration from the Board menu.
Select the serial port from the Tools menu that corresponds to your board.
Select Arduino as ISP from Tools menu and Programmer menu.
Then in Tools menu select Burn Bootloader.
The LEDs should flicker and the green LED should light up as the Arduino ISP uploads the bootload. When it is finished loading the blue LED should go back to pulsing and LED on pin 13 should blink once a second in unison with the LED on the UNO board.
You should only need to burn the bootloader once.
Step 9: Programming


After you’ve bootloaded the ATmega328 do not remove any of the jumper wires connected to the breadboard or the UNO board.
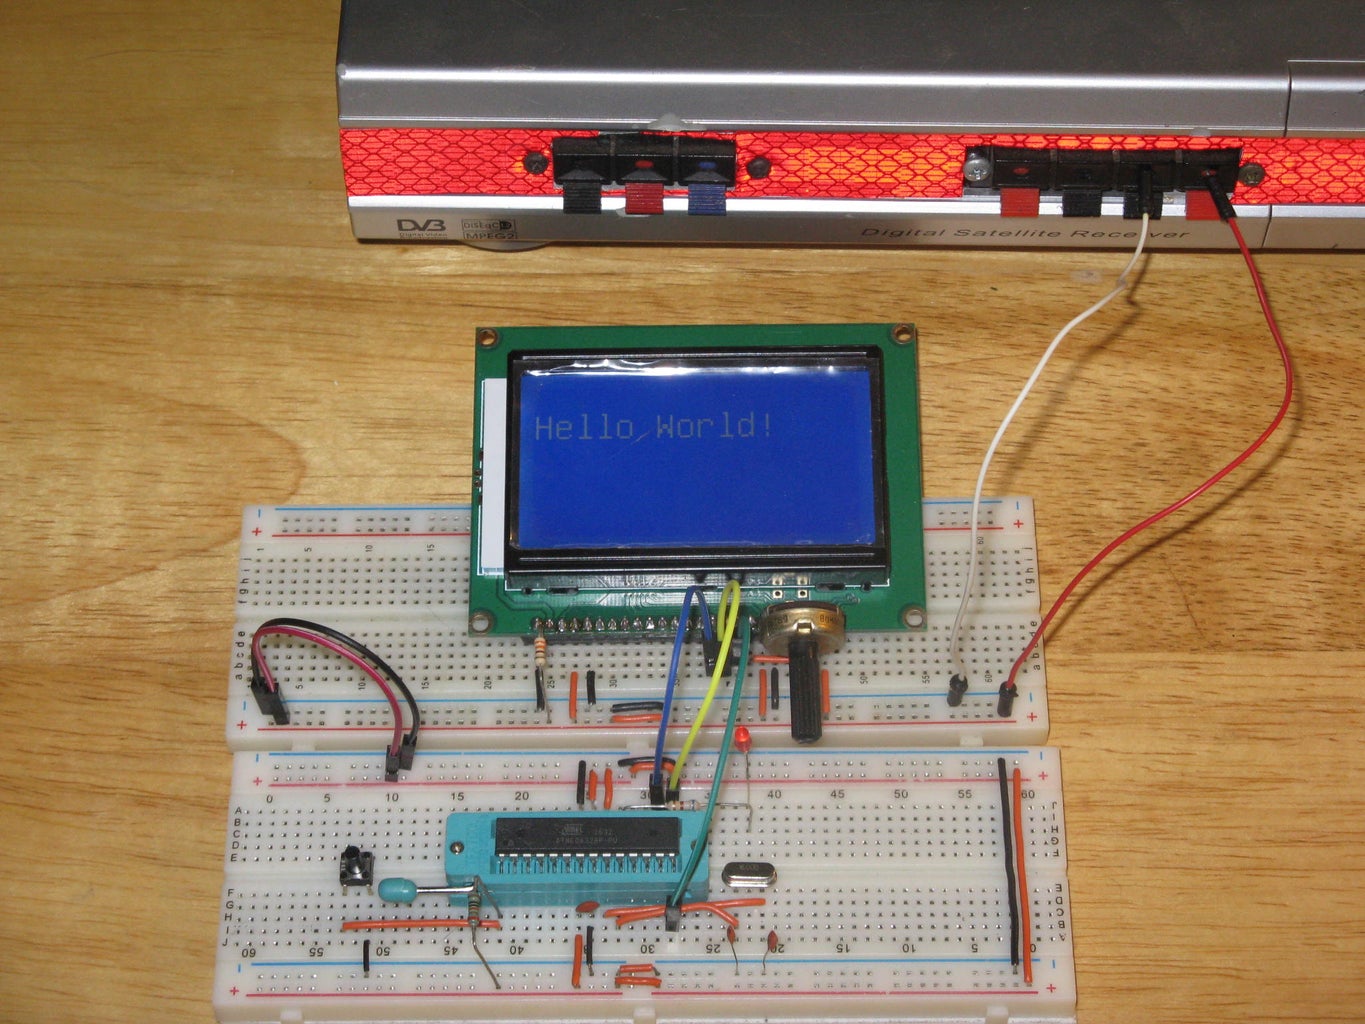
When your ATmega328P has the bootloader on it you can upload programs to the microcontroller using the same setup you used for the bootloader.
Select or create the sketch you want to up load to the microcontroller.
In the Tools menu select Board and then the ATmega328 on a breadboard (8MHz internal clock) if you are using the minimal configuration from the Board menu.
Select the serial port from the Tools menu that corresponds to your board.
Select Arduino as ISP from Tools menu and Programmer menu.
Then to upload the sketch to the microcontroller do not click on upload. Click on the File menu and select Upload Using Programmer to program the microcontroller on the breadboard.
The LEDs should flicker and the green LED should light up as the Arduino ISP uploads the program to your microcontroller. When it is finished loading the blue LED should go back to pulsing.
Step 10: And You Are Done
Once the microcontroller is programmed you can build your dedicated standalone Arduino.

Participated in the
Microcontroller Contest 2017


