

Introduction: Pulse Sensor With Arduino


Source: https://theorycircuit.com/arduino-projects/pulse-sensor-arduino/
Heart Rate data can be used in many Electronic design and microcontroller projects. But the heart rate data is difficult to read, however the Pulse Sensor Amped help us to read heart rate. The Pulse Sensor Amped is a plug-and-play heart-rate sensor for Arduino. It can be used by students, artists, athletes, makers, and game & mobile developers who want to easily incorporate live heart-rate data into their projects.It essentially combines a simple optical heart rate sensor with amplification and noise cancellation circuitry making it fast and easy to get reliable pulse readings.
Step 1:

Lets do!
Step 2: Pulse Sensor Schematic

Here the APDS-9008 Miniature surface Mount Ambient light photo sensor from Avago technologies plays an important role and it is responsible to detect concentration of Light bounces back through fingertip or earlobe. D1 LED gives light source for this operation. Signal from the ambient light sensor amplified through op Amp and the signal is ready to read by the microcontroller.
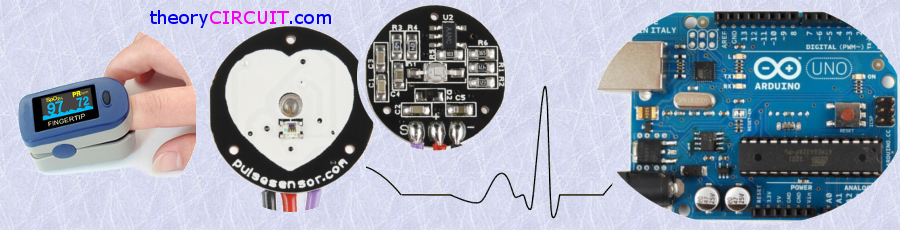
Step 3: The Pulse Sensor Kit

Step 4: Pulse Sensor Arduino Hookup

Connect the sensor’s power supply pins to the arduino board supply pin as Red – 5V, Black – GND and Purple – A0 (analog input 0) its over. This Analog input reading can be displayed in serial terminal of Arduino IDE or it can be drawn as pulse by using Processing IDE.
Step 5: Pulse Sensor Arduino & Processing Code

Step 6: Processing IDE Output Screenshot


