

Introduction: Random Number Generator
This project was created to have the 4-digit 7-segment LED display show random numbers when a push button was pressed. It uses the Arduino Uno micro-controller to create a circuit where a button is pressed to generate a somewhat random number to appear on the LED display. I intended to use this random number generator in my middle school math classroom. Each student would be assigned a different number and if their number appeared on the display, they would have to answer the math problem written on the board. This instructable is intended for a slightly more experienced audience because it is fairly challenging to put together and to write the code.
List of Materials Needed:
*Arduino Uno micro-controller
*4-digit 7-segment LED display
*push button
*At least 14 Male-Male Jumper Wires
*USB connector cable
Step 1: Explanation of Connections

The 7-segment LED display has seven different segments that are labeled A-G. The different labels can be seen on the left side of the image. This will help you better understand how they are connected to the Arduino and how the code is written. The right side of the image shows the 4-digit display and how each of the seven segments along with the four different digits are connected into the breadboard. This will help when you are connecting your breadboard with jumper cables to the Arduino.
Step 2: Connecting the Arduino to the Breadboard

The first image gives you an idea of how the wires are connecting the breadboard with the Arduino.
Segment A = Pin 2
Segment B = Pin 3
Segment C = Pin 4
Segment D = Pin 5
Segment E = Pin 6
Segment F = Pin 7
Segment G = Pin 8
D1 = Pin 9
D2 = Pin 10
D3 = Pin 11
D4 = Pin 12
Button 1 = Pin 13
(the other wire connecting the button should be connected to GND)
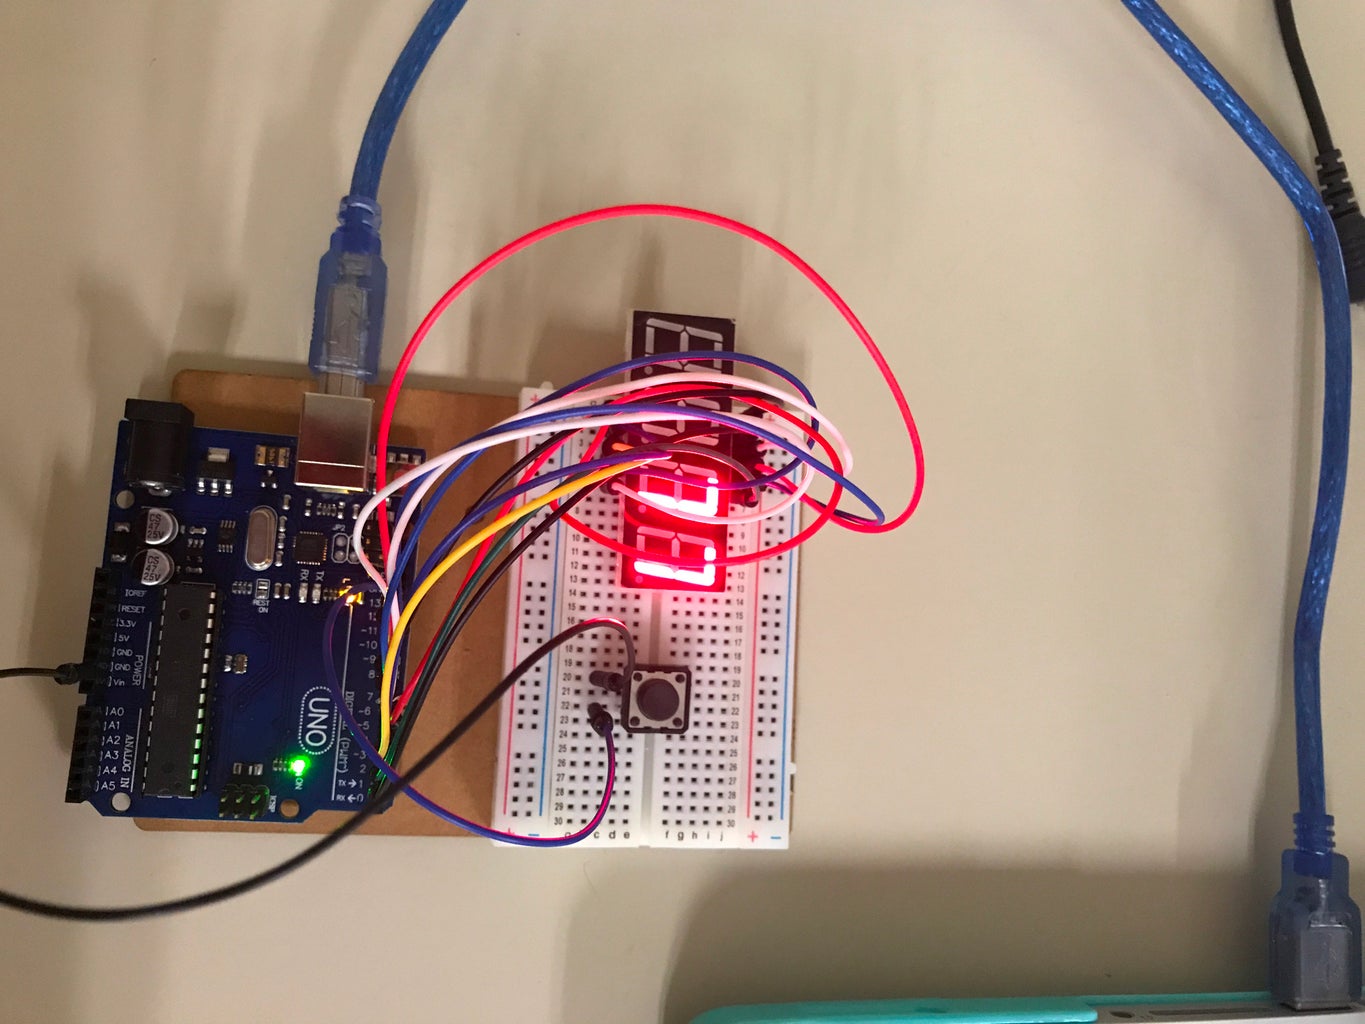
**The second image is showing a real picture of what your circuit may look like.
Step 3: Writing the Code
To begin the code, each pin needs to be set to a corresponding segment of the display and to the four different digits on the display. The button also needs to be set to a pin an the digit function needs to be set. Following the pin setup, the different digits are written out depending on what segments need to be lit up. Each digit has a different set of code to call the pins to be high or low based on what segment they are attached to.
All the segments and digits are setup as output values and the button is setup as an input value.
The loop is just calling the digits to be randomly selected and displayed when the button is pressed. Within the loop, the digits 1 and 2 are set to HIGH so that they will be displaying numbers and digits 3 and 4 are LOW so they will not be displaying a number. This will give you a two-digit number versus a 3 or 4 digit number.
To view the code written for this random number generator, click on the link below.


