

Introduction: Recycled Emergency Jar Light


A simple LED light made from recycled materials
Step 1: Question: Why? Answer: Why Not?

1st published instructable, so excuse the poor photos, and my campy humor.
They always said Necessity is the mother of invention, and this seems VERY true, when you move into your first efficiency apartment. Especially when you end up with a closet, with no light inside. Prior to moving in, I had developed an odd hobby of rebuilding/scrapping old computers.. and developing a guilty pleasure of Gelato.
The parts required are a small list, and simple enough..
1. an empty plastic (or could be glass) jar with a thin plastic top (screw-on, or snap-on)
2. a 3V 2032 Lithium Battery cell (Amazing how many of these are still at full voltage when tossed?)
3. PC mount (Pin, not SMT) holder for said battery (I have plenty from board recycling)
4. a single 5mm Clear-Water (who came up with this name?) White LED. (I bought a bag of 100 of these from a dealer in china, for <$2.00(us) on eBay, Might as well use some of them!)
Step 2: Punch It Through!


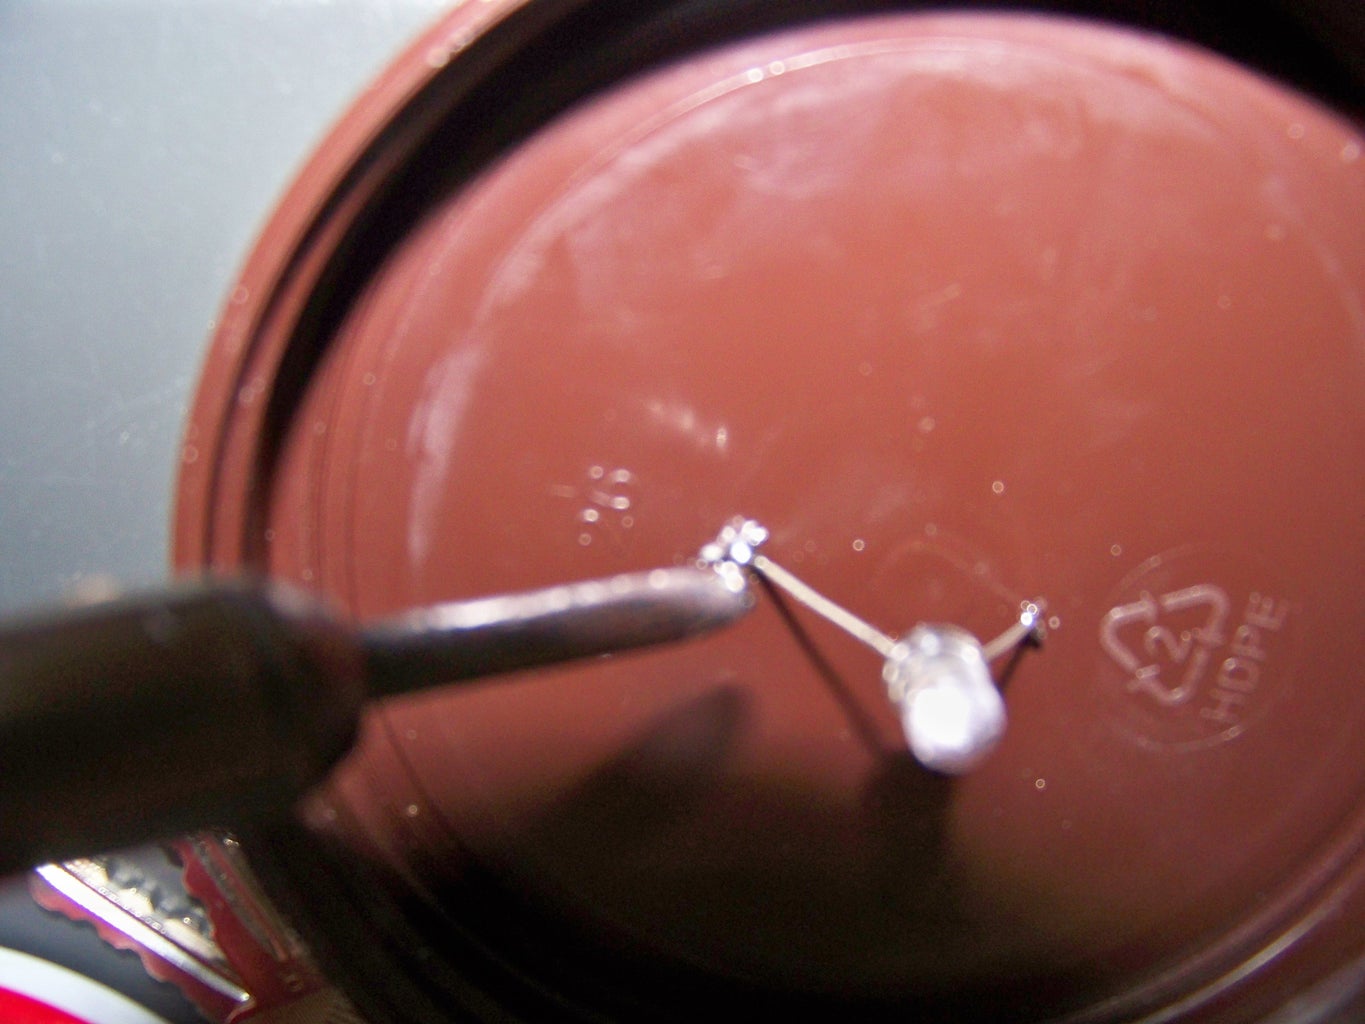
First, (though not shown) Tin the pins of the battery holder with a little solder. This will be explained later.
Now, simply center the holder in the center of the cover, and poke the pins through (Now you see why a thin, soft plastic cover!) enough to reach through.. (See 2nd photo, you can barely make out the pins)(Excuse some of the photos are blurry..)
Now, take the LED, and CAREFULLY spread the pins apart, roughly a little more than the distance of the holder pins. (Photo 3)
Now, using a pair of pliers, make a "L" bend not more than a few mm (1-2) at the very ends of the pins.
You might want to bring the ends a little closer together about now, and you'll see why next step.
Step 3: Let the Soldering Begin!


Did I forget to mention, there would be soldering involved? (OOPS!)
Add just a small droplet of solder to the "L"'s, (photo 1) this will aid in the mounting of the LED, with minimal damage to the plastic cover (remember I said I'd explain this?) I, however, in the initial assembly, put the solder on the battery pins after poking them through.. result: wider holes.. (and a loose connector, photo 2)
Now, for a little basic electronics.. An LED, is a tiny chip of doped Galium-Arsenide, which generates visible light (except Infra-red LED's, but that's another story), when electricity is passed through it. and LED, also acts like a diode, only allowing power to pass through it 1 direction. from Cathode (K) to Anode (A).. ( K -|<- A ) and despite whatever you learned about electricity, Negative, the Ground, is the actual source and Positive, is the actual drain. Power passes through a diode, from the Cathode, connected to Negative, to the Anode, connected to the positive. Most LED's will allow for up to 3-Volts to pass through them, without being overloaded. (trust me, you haven't lived, til you've tried connecting a plain red LED, to a 12V power supply.. With too low a limiting resistor value. *POP!* ) White LED's, however, seem to require a little more OOMPH, so a 3V lithium cell is plenty safe.
Lithium batteries, provide plenty of OOMPH, in a compact size. the basic anatomy of a watch cell, is the opposite of what you learned about old dry-cell batteries. The outer shell, is Positive, and the smaller inner contact, is negative. They provide high-amperage output, and can easily burn up if shorted!
Okay, lesson over.. In photo 4, you solder the pins from the LED to the battery holder. Remember I said to tin the pins 1st, as well as the solder drop on the LED pins? Here's why again. the solder drop is so you can heat the junction quickly, so as not to melt the plastic. (burned hole, as well as noxious fumes.. Should I provide an MSDS sheet with this now?) Not shown in detail, look at the top of the battery holder, and note which pin goes to the + (outer shell) and - (inner contact) of the battery.. Most LED's have the Anode longer than the Cathode. If you can see the junction inside the LED, (photo 4 for example) You'll notice a " y/ " shape, the "Y", is the cathode, the "/" is the anode, to a tiny cat-whisker (good-grief! did I show my age in radio electronics there?) wire to the anode side. simply heat the solder drop on the LED enough to melt the solder, and make fuse to the battery holder pin. do the same for both sides! (- to cathode, + to anode)
Step 4: Final Assembly


Now, once the LED is soldered into place, simply put the cover on the jar. and, insert the battery into the holder.. The LED should light up immediately! If not, Don't panic! (and always bring your towel.. Sorry, Douglas Adams moment there..) Simply remove the battery, open the jar, and unsolder the LED, and swap connections. the 3rd photo shows a fairly weak light (old battery) but gives you a general idea.. It depends on the maker of the LED, and the maker of the battery, but you should be able to get a couple of hours of light from a single battery. I only needed it to light up a storage closet for a few minutes at most. I can imagine these will make for novelty party lights, camping tent lights, even simple carrying lanterns for night time.
4th, and final photo.. This is dependent on the type of holder used.. I've seen 'finger' type, (one strip across the bottom, another across the top), side-clip (like this one) and even a vertical slide-in style. As you can see, I had to use the pliers to remove the battery, by pressing the clip outward.


