

Introduction: Restoration of the Eberspacher Air Heater


Hello, i am Niko, and in this instructables i am going to show you, how to make heating system out of old air heater.
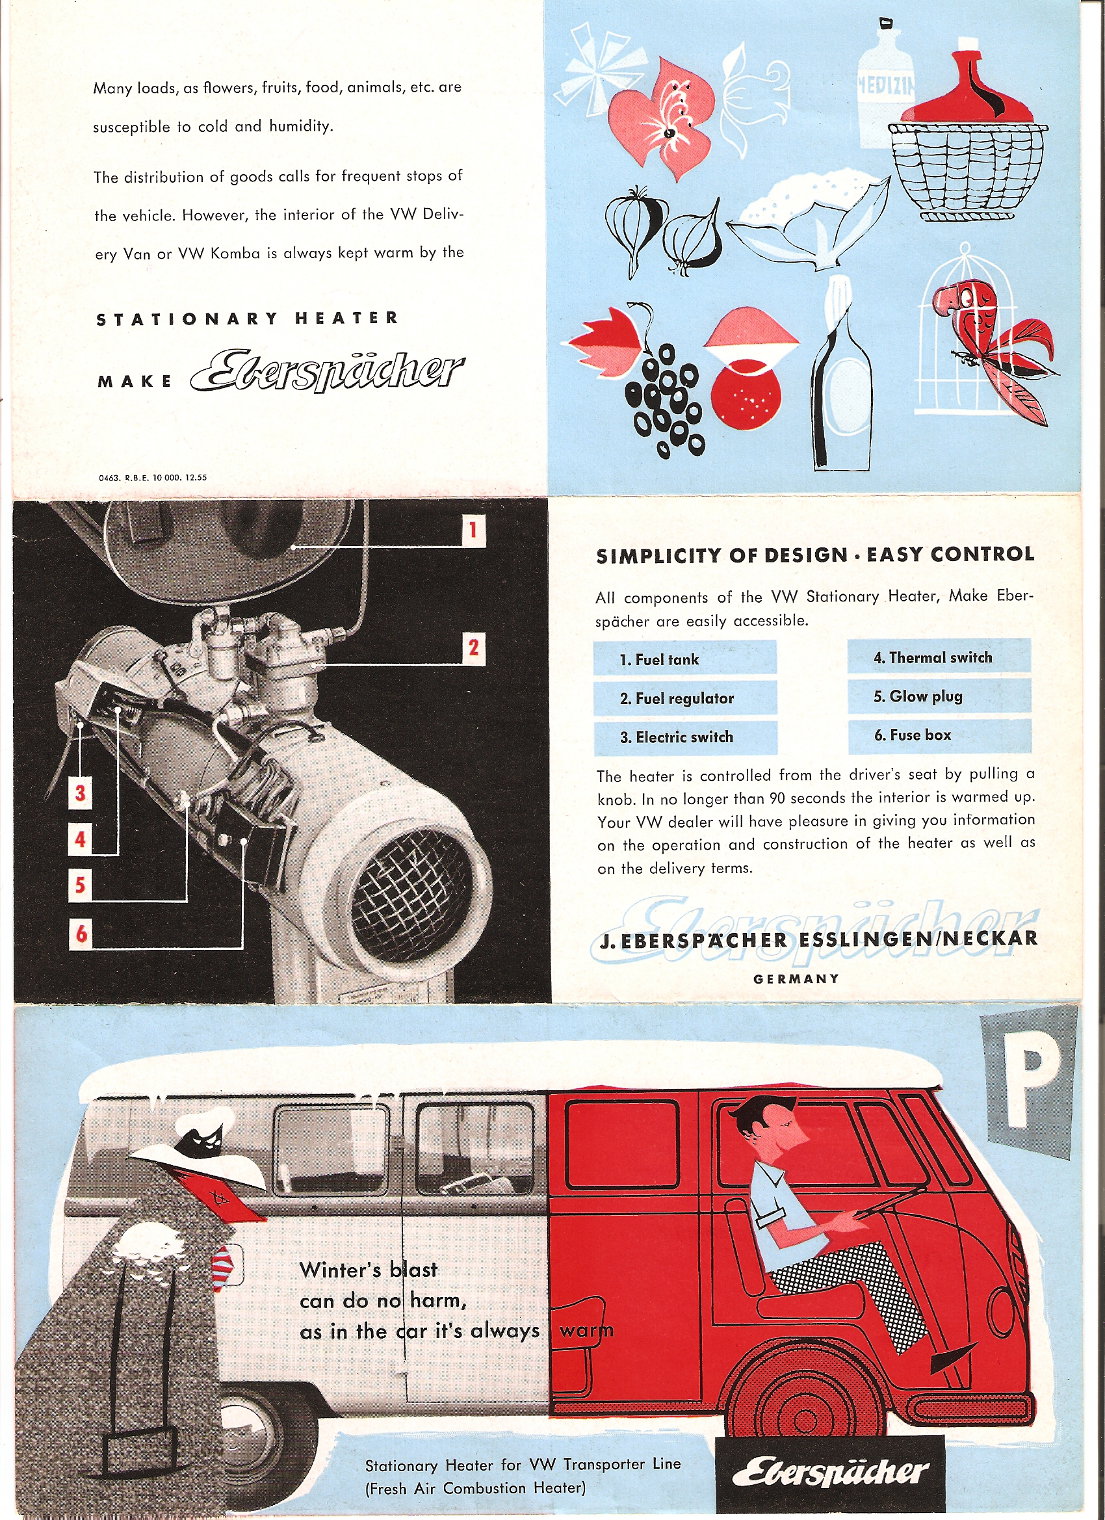
I bought very old eberspacher air heater on garage sale. Eberspacher is a company similar to webasto. I google it and find out that it was used in VW busses and vans. (link)
In following steps I will show you how to disassemble it, test it's components, reassemble it, wire it, test it and make heating system with it.
Step 1: How Does Air Heater Works?

I found picture on this website. There is also a video where you can see whole process.
There are two separated chambers in air heater. In one of the chambers oil burns and heat up first chambers walls (chamber are usually made out of Stainless Steel). First chamber is inside of second so it heat up air in second chamber. Air flow is created by fan that blow cold air in chambers. Each chamber has it's own exit. First chamber is connected to exhaust system, and second one to place we want to heat.
With two separated chambers we heat up clean air, and take away exhaust gases.
Air heater that output power is less than 3kw usually need so called fuel metering pump. At "stronger" heaters pump is integrated in housing. Pump cost about 120$ so be careful when buying old air heater.
Glow plug is used to ignite fuel. Usually you connect pump on it.
We can find safety thermostat on old air heaters. I will mention it in following steps.
Step 2: Inscription Board

We need to check heaters working voltage. For me it is 24V.
Second thing we need to check is output power. For me is 2000W. I didn't know that i need fuel metering pump, so first check if you heaters output power is less than 3kw and if it has pump already integrated.
Step 3: Disassembling Heater


First take few pictures of your heater and its wires.
Step 4: Disassembling Heater


Unscrew cowers on both sides.
Step 5: Disassembling Heater


Unscrew upper cower. We can see that three wires are coming out of motor, whole heaters housing is connected to negative pole (-).
Step 6: Disassembling Heater


Turn heater around, and remove cars connector.
Gently remove pipe from glow plug.
Step 7: Disassembling Heater


Remove wire from glow plug (it has only one wire because it get second pole over housing).
Gently unscrew safety thermostat and pull it out of hole. You can test it up by heating up thermostats pipe.
Step 8: Disassembling Heater


Now you can remove second cower. If you look at picture 2 you can see a resistor. It is used to reduce current trough glow plug.
Step 9: Disassembling Heater


Unscrew glow plug. Then measure resistance between its housing and contact. For me it is around 2 ohms. You can test. Wire the glow plug successively to the resistor and then connect it to working voltage.
Step 10: Disassembling Heater


Test motor by connecting red and black wire to working voltage. For me third wire was not connected to any of other two. I think that third wire was second speed or some kind of temperature protection.
Remove clamp and separate motor and chambers.
Step 11: Disassembling Heater


Unscrew first fan (picture 1,2).
Remove "fuse" and carefully pull down fan.
Remove safety spring and pull motor out of housing.
Step 12: Repair Housing


My heaters housing was in very bad condition. I repaired big bulges with hammer and steel pipe.
Step 13: Paint


Clean housing parts with diluent nitro, and paint them with temperature-resistant colour. Make sure you don't paint inscription board.
Step 14: Clean Chamber

Clean chamber with compressed air. Don't paint them!
Step 15: Assembling Heater


Grease motors bearings.
Step 16: Assembling Heater


Put sealing on motor and place it in housing.
Step 17: Assembling Heater


Put safety spring around motor and squeeze it in housing so it snaps.
Step 18: Assembling Heater


Put second fan on axis and screw it on. Glue screw!
Step 19: Assembling Heater


Put chambers and fan together. Tighten clamp (make sure parts are facing into right direction).
Step 20: Assembling Heater


Screw back wires to housing, and add isolation on them.
Step 21: Assembling Heater


Put front fan back on axis.
Step 22: Assembling Heater


Clean glow plug and screw it into housing.
Step 23: Assembling Heater


Screw resistor on housing and put wires trough hole.
Step 24: Assembling Heater


Put sealing and temperature fuse on housing.
Step 25: Assembling Heater


Screw main cowers on heater.
Step 26: Assembling Heater


Screw pipe on glow plug.
Put sealing on exhaust pipe.
Place thermostat in hole and tighten it.
Mount shock absorbers on housing. You need to mount them because they separate heater from housing electrically.
Step 27: Assembling Heater


Connect pump and glow plug with short plastic pipe.
On other side of pump put on longer plastic pipe, so you can put it in fuel canister.
Step 28: TEST!


Put 24V (or your working voltage) on fan. Then connect glow plug over resistor and wait 5 seconds to glow. After that start sending 24V impulses to pump (4 impulses per second) don't disconnect glow plug. When you see smoke disconnect glow plug and continue giving impulses to glow plug. Heater should see some smoke and feel heat.
Step 29: Heating System Housing


I made housing out of old table frame. I cut it to right dimensions and weld it together.
Make sure that you separate heater and fuel canister for safety.
Step 30: Heating System Housing


I close heater in box with sheet metal plates (i got plates from old washing machine).
Paint housing.
Step 31: WIRING DIAGRAM


I had to do a new electrical installation, because old one was in car. As power supply i used 24V transformer. I used transformer because i can overcharge it, for a short time, when glow plug is turned on (glow plugs current is about 16A, transformer output current is 10,42A).
I used 20A rectifier, because i needed DC voltage to control pump.
I used two 10A relays to control glow plug.
Pump is controlled with mosfet, because you need to drive it with pulses.
As micro controller i used arduino uno.
Don't power arduino from same transformer, because voltage fall (when you turn on glow plug) and that cause arduino to reset.
Step 32: Program
I write this short program. It is basically just start up of heater. I didn't include any safety sensors or thermostat yet.
If you find right time between pulses that runs pump, heater wont smoke, and will work fine.
Attachments

Step 33: Conclusion


I will use this heater in my garage, where i had electrical heater until now. Heating will be much cheaper now.
I tested it outside, at about 15°C, where it heated air at about 50°C. Its efficiency is very low, it is about 60%. therefore i am going to make long chimney inside garage.
It is really hard to make heater works without micro controller.

Participated in the
Fix It Contest


