

Introduction: Restoring an N64 Nintendo Cartridge


This instructable will go through the very simple steps to make an N64 cart act like it was new.
Old cartridges tend to have some issues, but most commonly, these can be resolved by simply cleaning the contacts and inside of the casing.
I will be posting restoration projects for several retro systems and accessories over the next few days, they are very similar projects because they function the same way.
Items needed:
N64 cart
Rubbing alcohol
Q-tips
(Optional for really dirty carts: Bar Keepers Friend and an old toothbrush).
Small Nintendo bit (there are 2 sizes, they can be bought on ebay for about $3).
Philips screwdriver
If you are replacing the battery, you will also need a soldering iron and a new battery CR2025 or CR2032.
Step 1: Opening the Cartridge


Open the cartridge by using the Nintendo bit on the 2 screws on the rear of the cartridge.
Use the philips screwdriver to take off the 2 screws holding down the metal cart shield.
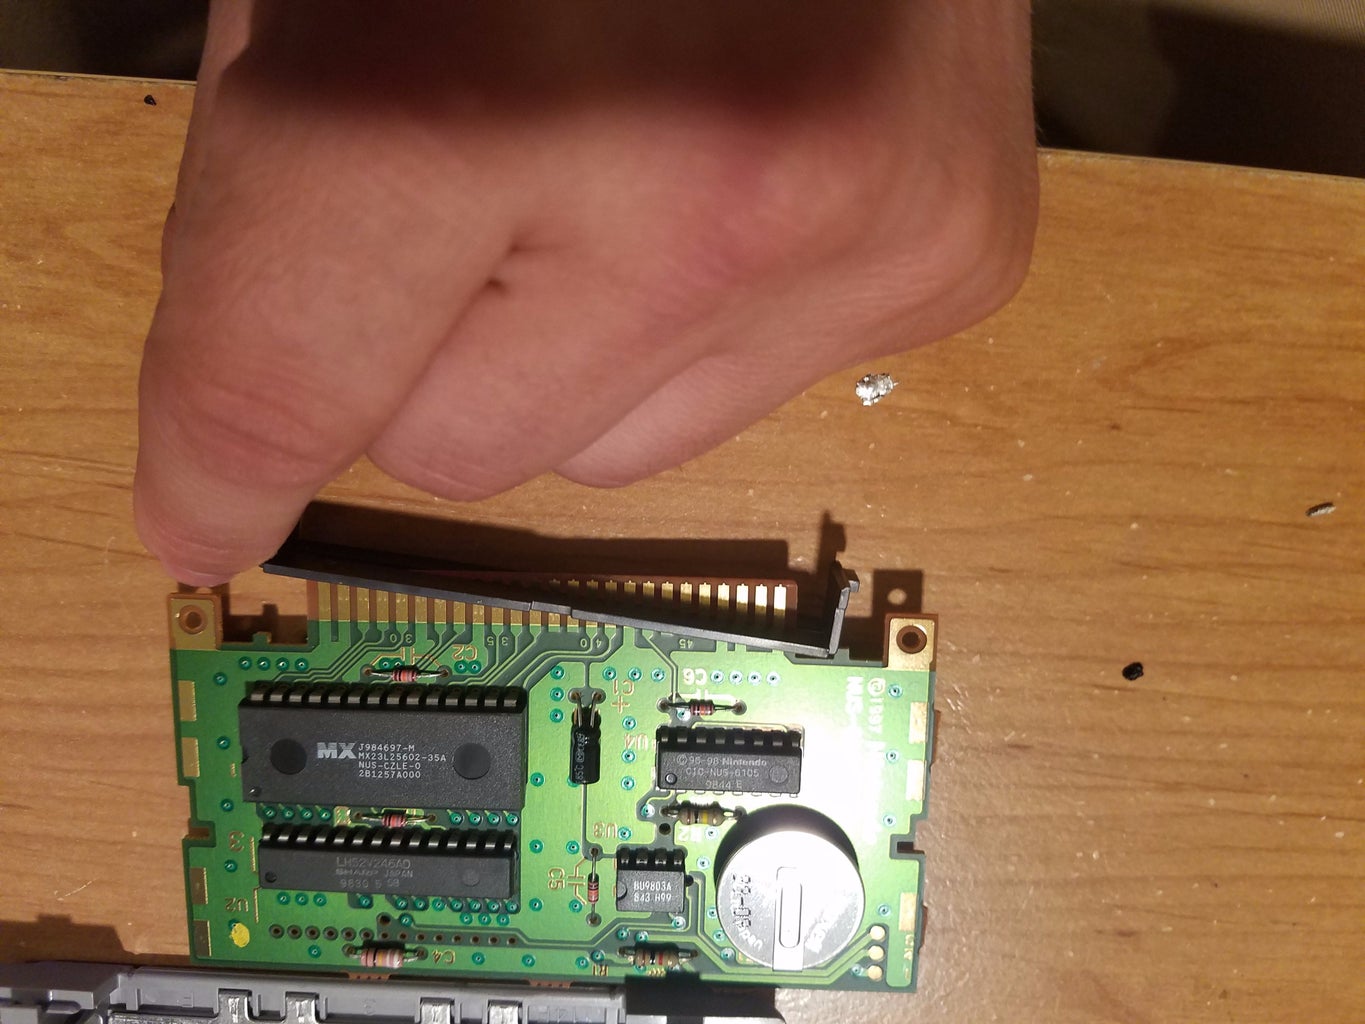
Slide off the contact sealer (the little plastic doohickey which fits around the contacts).
Use the Qtips and alcohol to clean the gold metal contacts very thoroughly.
You will be surprised at how much grime will come off. After that, you can reseal the game as it was before and it should work way better.
Step 2: Really, Really Dirty


If alcohol alone does not get rid of the grime, put a SINGLE droplet of Bar Keeper's Friend on an old toothbrush, or microfiber cloth.
Scrub for about 20 seconds, then wipe clean with alcohol. It will shine like brand new.
The reason that I don't use Bar Keeper's Friend initially is that most cartridges simply don't need it. Prolonged exposure can also degrade the plastic boards, which is why it needs to be wiped off.
(Above pictured cart is from a Game Boy. but the premise works on all carts with these contacts.)
If your game no longer saves, it is typically a battery problem. The next step is optional for replacing the battery.
Step 3: Replacing the Battery


If your game no longer saves, the battery needs to be replaced. Remember , these babies are 20+ years old.
There are 2 methods for replacing battery, both of which assume you have just the most basic soldering skill.
Make sure the positive side of the battery of face up.
Method 1) Desolder the batter from its holder and replace it with a new one, leaving the old battery holder in place. This method is easier, but usually is not a great connection.
Method 2) Remove the entire battery and holder and replace with a fresh battery that came with a built in holder. These can be found on ebay for about $1 each, and this is a greater connection. Good luck!

Participated in the
Trash to Treasure Challenge


