

Introduction: Resurfacing Cast Iron Pans

I really like having a smooth surface on my cast iron pans. The spatula glides across them much better and my omelets slide right out with no effort. However, when buying new cast iron pans they typically have a rough surface from the casting molds. Many manufacturers have skipped the process of grinding and polishing the cooking surface in lieu of a lower price tag. Those who are still producing the smooth bottom pans are commanding a much higher price for their cookware.
I will walk you through the process of turning an inexpensive cast iron pan into one that feels like a $100+ pan. This process will also work on those garage sale and auction finds. Those pans may be pitted with rust, and in worse shape that a store bought cast iron pan, but will still clean up with a little elbow grease and be as good as new.
Supplies
- New or used cast iron pan
- Dust mask
- Sand paper 40, 60, 80, 120, 220
- Palm sander (optional but highly suggested)
- Sharpie (optional but highly suggested)
- Lard, grease or oil
Step 1: Assess the Situation

Look at the rough surface on a new store bought pan. We are going to fix that today.
Step 2: Safety First!


Get your dust mask or respirator and put it on. You don't want to breath in the fine metal particles produced by your sanding efforts.
Step 3: Sort Out Your Sand Paper


We are going to use 40 grit, 60 grit, 80 grit, 120 grit and 220 grit. We will use 40 grit the most and also for the longest time. On this pan I used 4 sheets of 40 grit until I felt I removed enough of the metal to progress on to the higher grits. I also used , 2 of the 60, 2 of the 80, 2 of the 120, and 2 of the 220 grit sheets. You won't need to sand it perfectly smooth. There may still be some craters/divots left behind due to the casting methods. Those will fill in when you season the pan afterwards.
Step 4: Start Sanding

Start sanding with the 40 grit.
Step 5: Keep Sanding With the 40 Grit

You will be using the 40 grit the most. This first grit of sand paper is removing the most metal and takes the longest time. Keep at it.
We are trying to flatten the peaks by sanding down the metal. Notice the black vs the shiny silver metal? The shiny parts are the peaks we are flattening. What is left behind are the black valleys/craters. We want to flatten the peaks as best we can, making a nice smooth surface for cooking..
Step 6: To Better See Progress Use a Sharpie

If you have a sharpie available make some marks on the pan to watch the progress of the sanding process. Once the sanding stops removing the markings then is is time to replace the sheet with a new one that will cut better. This trick works for all of the sanding grits.
Step 7: Time to Switch to the Next Higher Grit
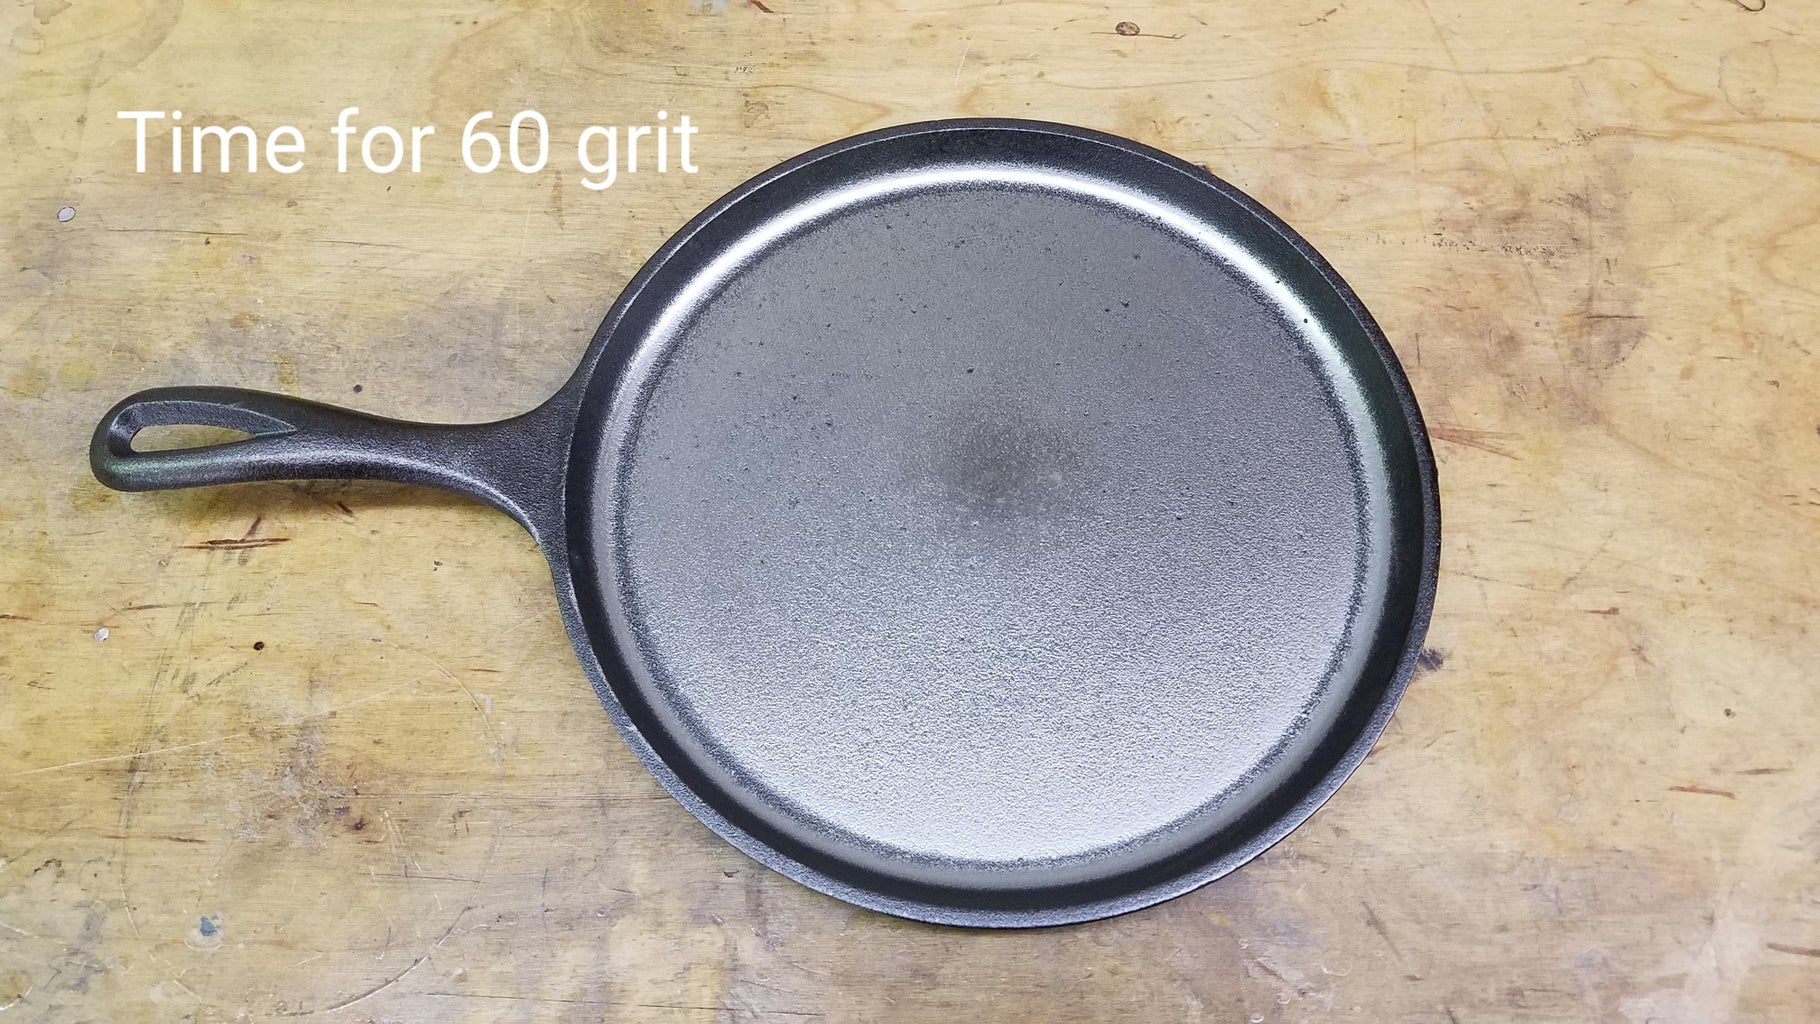
Once the pan looks mostly leveled out, switch to the next higher grit. In this case we are moving to 80 grit sand paper. Keep going until most of the scratches from the 40 grit have been removed. For me this took 2 sheets of 60 grit. Also use the sharpie trick to gauge progress.
Step 8: Step Up to 80 Grit

Next move on to the 80 grit sand paper. I also used 2 sheets of this grit during the process.
Step 9: Going to 120 Grit

Step up to 120 Grit sand paper now. Once again I used 2 sheets of the 120 grit. Keep using that sharpie trick to make sure the paper is still working. When it stops then swap out the sheets for a fresh one.
Step 10: Switching to 220 Grit

Here we are at the final grit of sand paper. The end is getting near. 2 sheets of 220 was used at this stage as well. Keep that sharpie handy.
Step 11: Done With the 220

You are done with the 220 grit and your pan is ready to season.
Step 12: Marvel at Your Work

This isn't mirror quality, because 220 grit sand paper won't give you that, but look at the reflection of the words. If you want mirror like reflections you could sand to 2000 grit or higher. I have done it before. It is a lot more work. The results are not worth the effort for a mirror like finish.
Step 13: This Is Why We Wear a Mask

Look how dirty that mask has become. That black metal dust could have been in your lungs without proper safety gear.
Step 14: Season the Pan
To season the pan wipe down with a very light coat of cooking oil, lard, or bacon grease. I do mean very light. You don't want any puddles or drops of oil on the pan. After applying, come back with a paper towel, and wipe it down one last time. This will leave a thing trace of oil on the pan.
Place the pan into a preheated oven at 400 degrees with the cooking surface facing down. Put a cookie sheet on the rack below the pan to catch any drips in case you left too much oil on the pan. Let it soak in the heat for 60 minutes. After 60 minutes turn the oven off and let it cool down naturally for a few hours without opening the oven door.
You will want to repeat this process a few times to build up a good seasoning layer. Once it is all nice and blackened you are ready to cook with it. Enjoy!

Runner Up in the
Fix It Contest


