

Introduction: Robot Arm Arduino App


We needed a platform to test our new MICILE / Arduino user interface. The robot hand and arm seemed like something complex enough to really give the concept a comprehensive workout. The project allowed us to use a MICILE Tablet, an Arduino Uno board (and sensor shield) to easily control a robot arm. The interface is clean and simple. We think you will find that the the MICILE Tablet is a great compliment to any Arduino project. All the code can be found at www.micile.com.
Step 1: Parts List
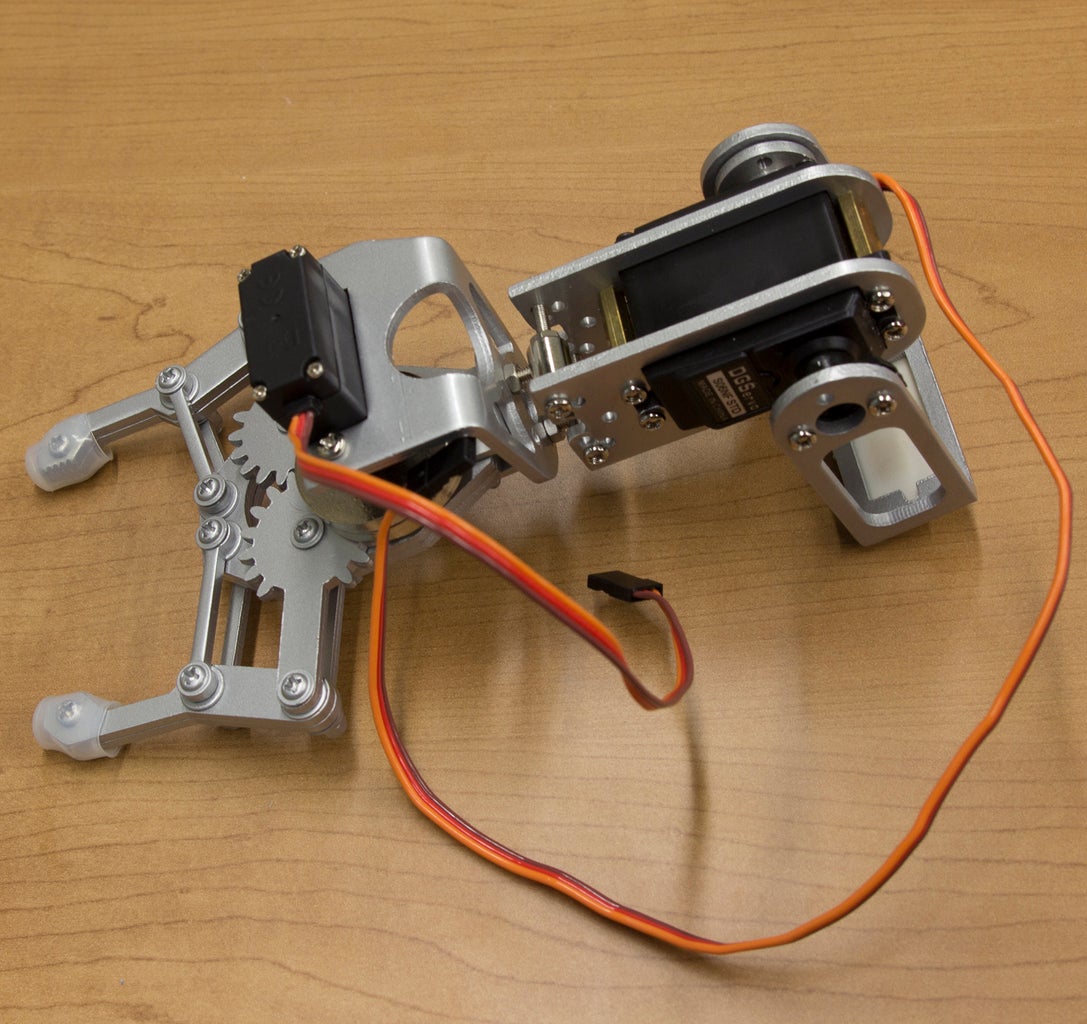
-Robotic Claw Pan/Tilt Bracket
-Servo extension wires (none are shown here but it will be easier if you have them)
-MICILE Robot Hand Code (Available at www.micile.com)
-D/C power supply the one pictured here is overkill, a 5V wall power supply will work fine or a 6V wall wart.
Step 2: Load MICILE Software on the Arduino


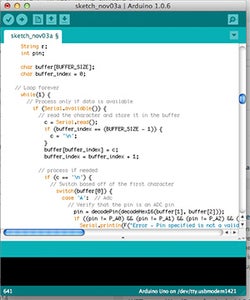
The first thing you will have to do is load the MICILE_Arduino_Uno_Sketch app (available on the MICILE website) on the Aruduino board. Make sure your Arduino board is connected to your computer. Click on the "MICILE Arduino Uno Sketch" button and the .txt file will open. Copy the code. Open a new Arduino sketch, paste the code in, and press the "upload" button.
Step 3: Add the Arduino Sensor Shield to Arduino Uno Board

Clip the Arduino Sensor Shield 5.0 to the Arduino Uno board to allow the servo wires to be plugged in. I lost the screws to attach the wires, so instead soldered them to the board. When the new board arrives, I will replace it.
Step 4: Connect the Sensor Shield to Power Supply


Attach your Arduino Uno board and sensor shield to a DC power supply. I actually tried modifying a cheap, 5V power supply that I ordered from China, but it was too much power. (A better quality 5-volt power supply should work fine.) Instead I used the first one shown here (attached to the Arduino), and it worked perfectly.
Step 5: Connect Pins From Arduino to Robotic Hand


Connect the pins from the robot hand to the Arduino board. I used pins 3 and 5. Then modify the Python code to reflect the pins you connected to. Be sure to connect the brown or black pin to ground.
Step 6: Download Robotic Hand Code


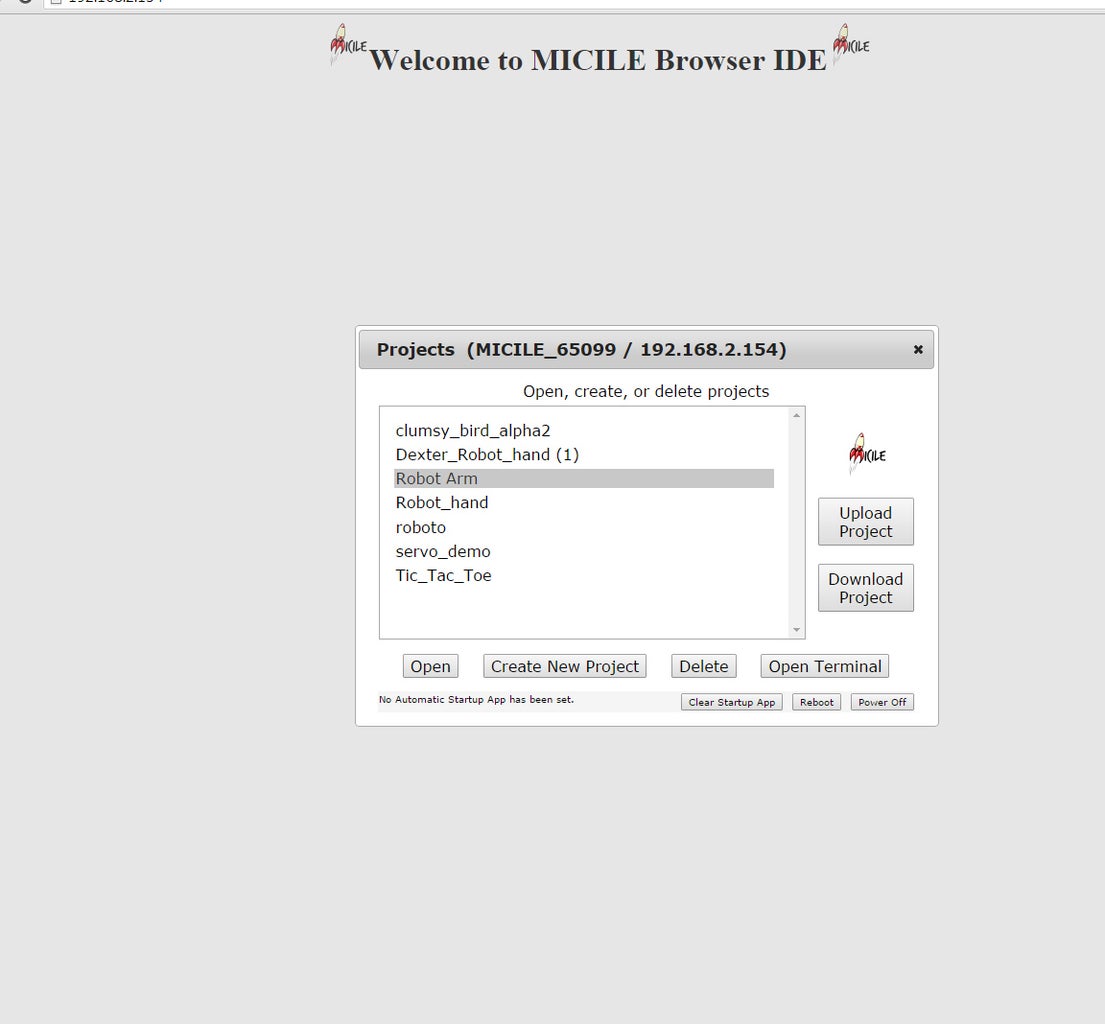
Download the code, called Robot Hand from the MICILE website. Upload the code to the MICILE IDE Browser, open the project, and run the code. For complete directions on using the MICILE Tablet, see the user guide on the MICILE website. The user interface shown above is what you will see on your MICILE Tablet when you run the code. Press the buttons to control the code and see what you can get your robot hand to pick up.
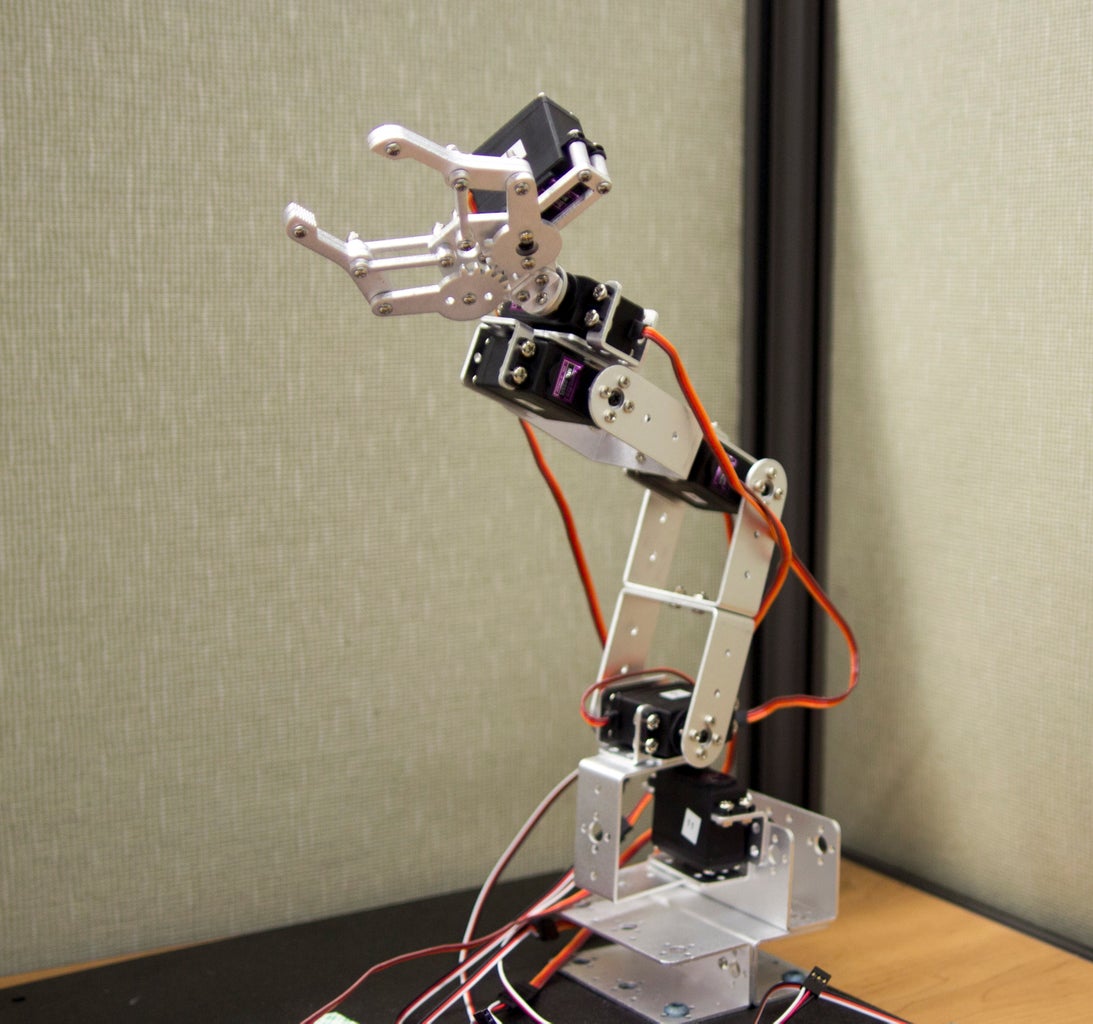
Step 7: Now Try the Robotic Arm
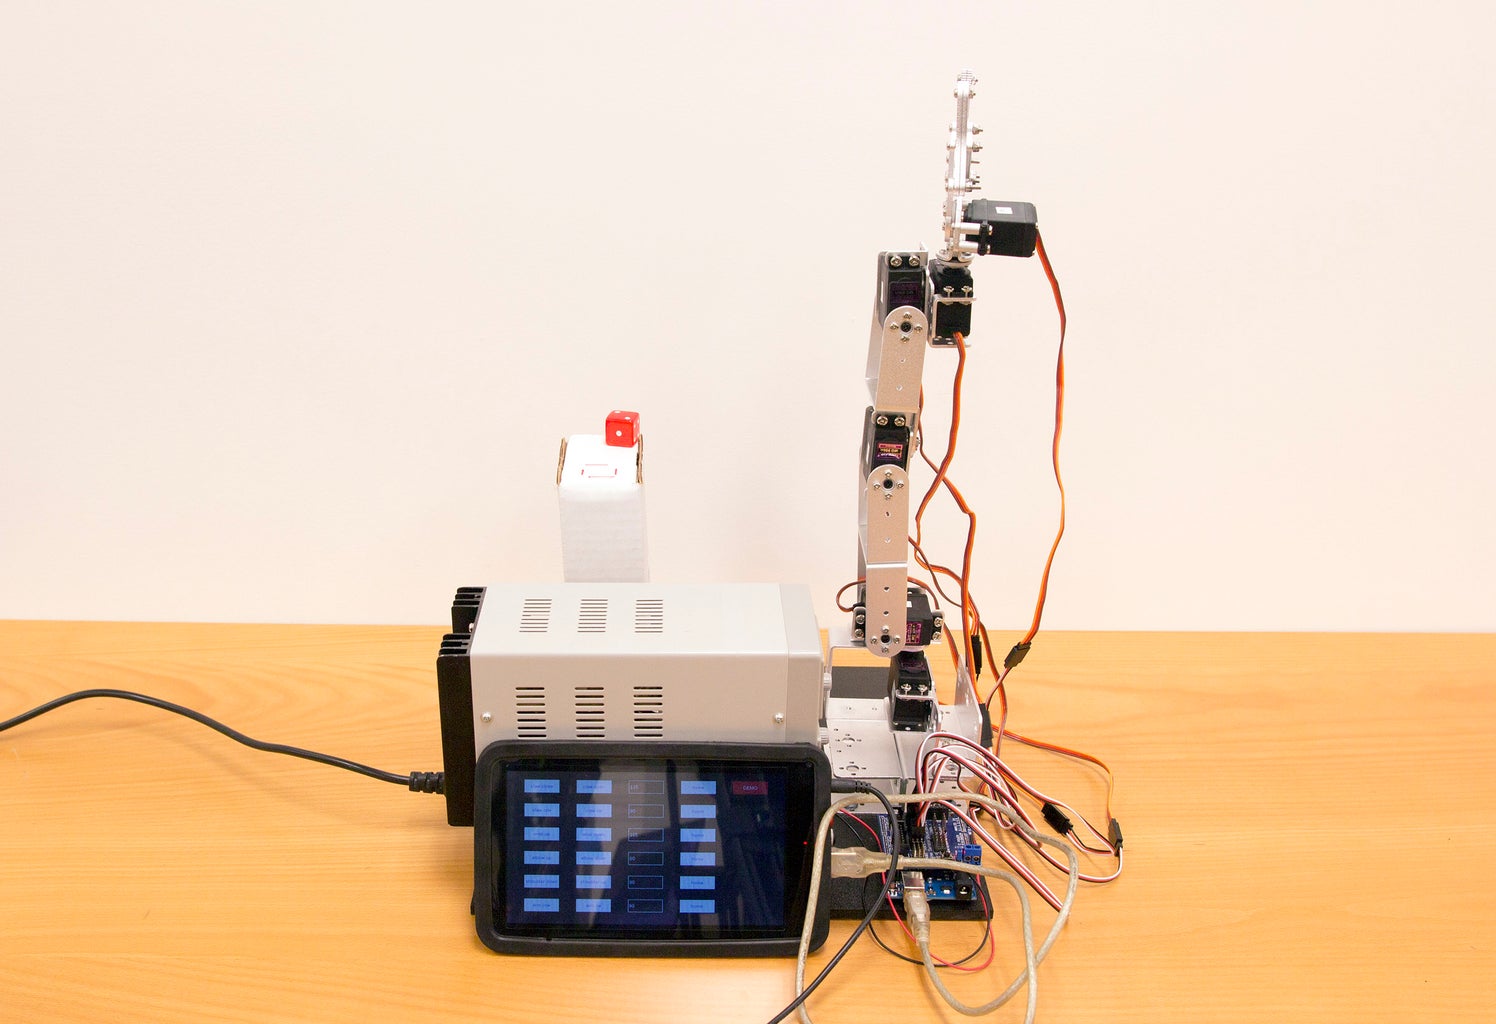
Using the same setup (5V DC power supply, MICILE Tablet, Arduino Uno board, and Arduino Sensor Shield) you used for the robot hand, try connecting the robot arm instead. Assemble the kit properly as per the manufacturers directions. There are five servos included in the kit. You should label them to correspond to the pin numbers on the Arduino board you will be plugging them into. I labeled mine "3" (claw to open and close), "5" (claw to rotate), "6" (wrist), "9" (elbow), "10" (shoulder) and "11" (arm to rotate). You can see which numbers we used by checking the Python code we used. You will find this code on the MICILE website. Press the button that says "Python Zip Files- Robot Arm" (shown in the image above.) This will download the code to your downloads file.
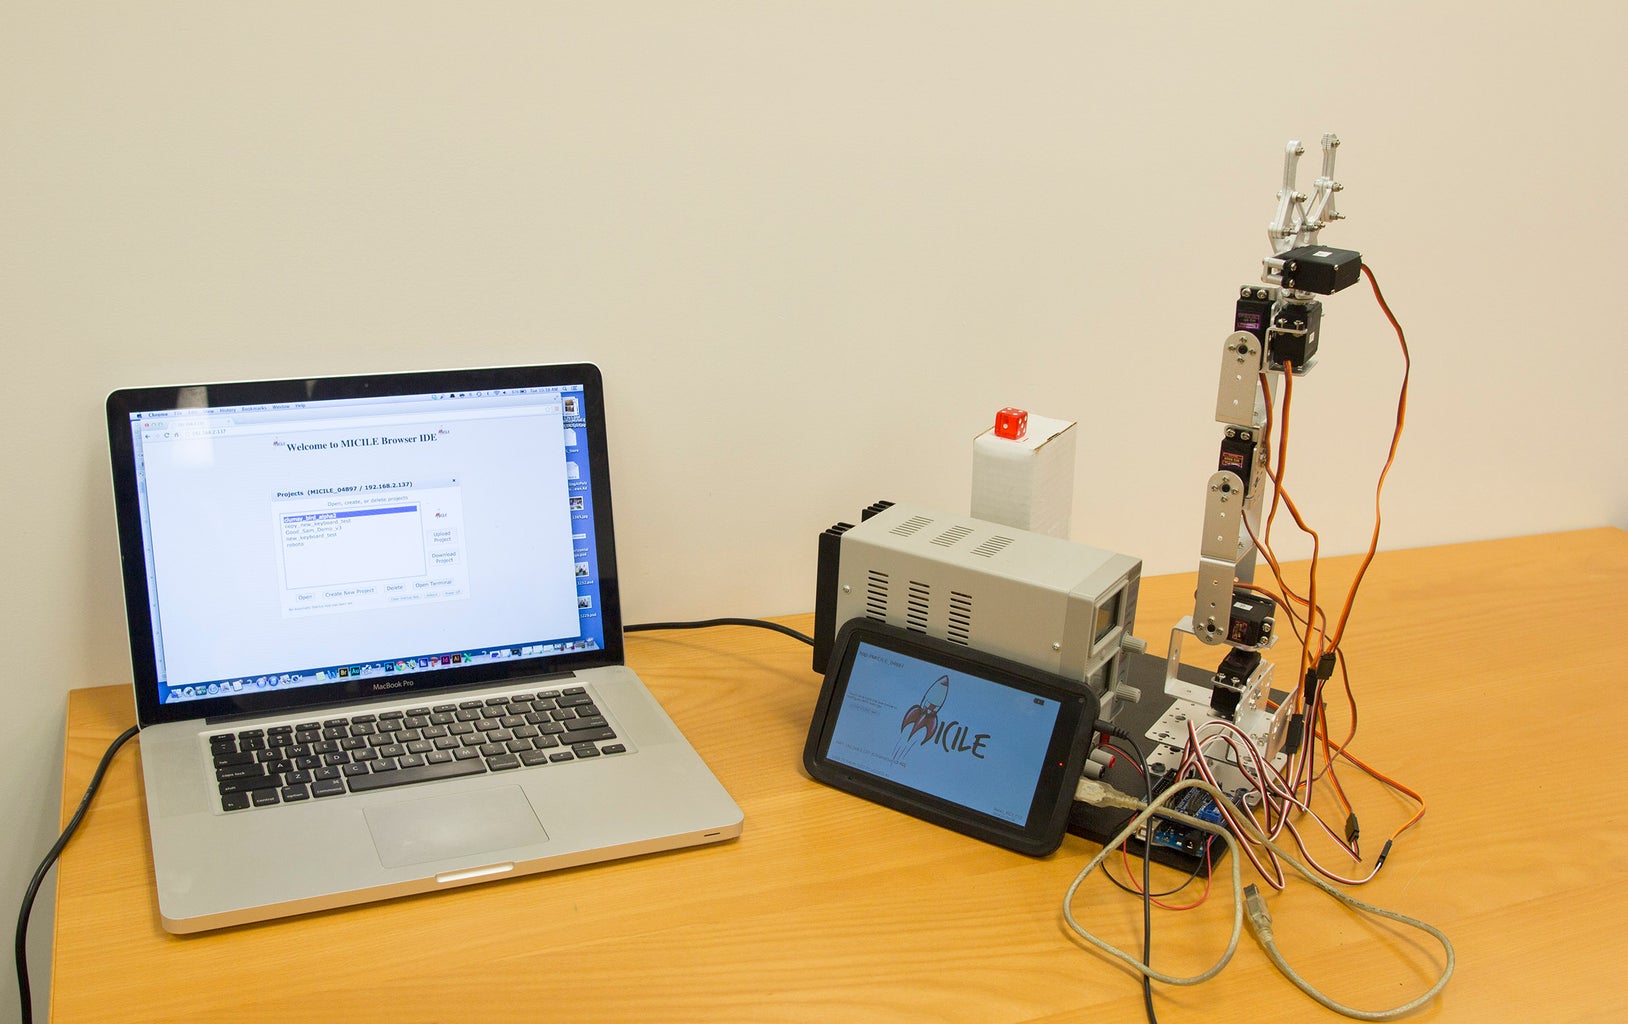
Step 8: Upload and Run the Code

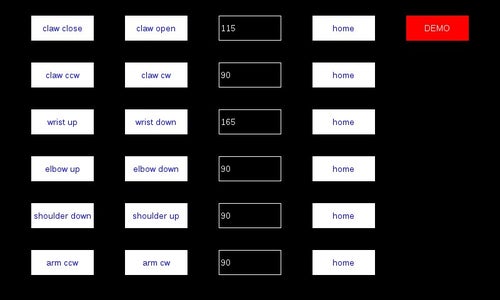
You will then upload the code to the MICILE IDE browser. Open the project and run the code as you did in the previous robot hand project.You will see the user interface shown above on your MICILE tablet. Press the demo button to see the robot go through a preprogrammed set of motions, or press each button individually to manually move your robot around.

Participated in the
Microcontroller Contest

Participated in the
Tech Contest

Participated in the
First Time Author Challenge


