

Introduction: How to Do the Purl Stitch


Welcome back for round two! By now you've mastered the knit stitch, but it's really only half the equation. In this project, you'll learn to purl, which is knitting in the opposite orientation. You'll combine purl and knit stitches to create a ribbed scarf.

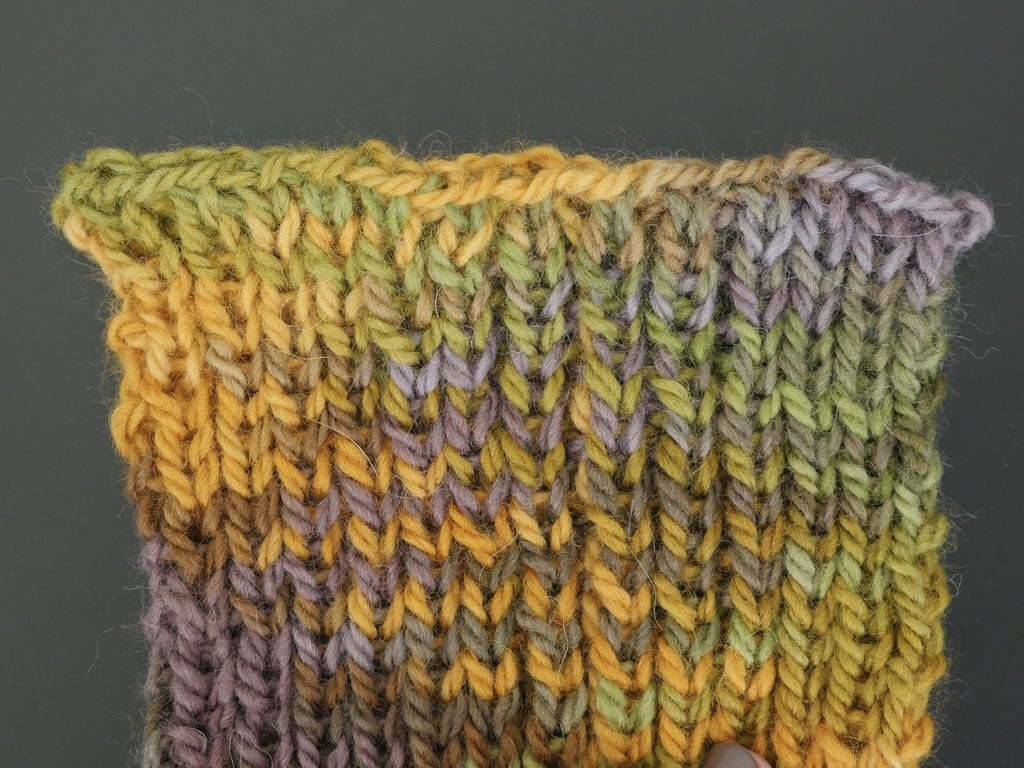
You can use the same yarn for this project as you did the first, or try something different. Remember it's easier to see your stitches with lighter colored yarns. Shown above is a skein of variegated yarn, which is is dyed with a combination of colors. When knit, this yarn creates interesting patterns as the stitches accumulate.

Yarn that comes wrapped in hanks first need to be prepared into center-pull balls before they can be knit. The recommended yarns for this class are already center-pull, but please feel free to use whatever chunky yarn you like! If you need to wind your yarn, learn how in the Knitting Glossary for this class.
I'll show you how to purl using both continental and English styles. Please feel free to use the method that you found more comfortable in the last project, or mix it up and try something new. There is a slight speed advantage to using the continental method when mixing knit and purl stitches, since the yarn transitions more smoothly between positions. So if you knit your first scarf in English style, now might be a great time give continental style a try!
Step 1: Continental Purl Stitch
To wrap your head around how knit and purl stitches compare, imagine hanging clothes on a clothesline. Some shirts may face one way, some the other way. After a few rows of this first project, you'll be able to see this concept illustrated very clearly.


Cast on 26 stitches. Swap needles so the empty one is in your right hand. Knit the first stitch, then bring your yarn to the front of the left needle. Bring the right needle through the next stitch from the righthand side, then wrap the working yarn counter clockwise around the right needle.


Rotate your right needle back out of the stitch, taking a loop of the working yarn with it. Allow the stitch to come off of the left needle, and you did it!

Knit the next stitch, then try again: bring the yarn to the front, right needle goes in the right hand side, grab the working yarn, and twist back out, releasing from the left needle.

Step 2: English Purl Stitch


If English is more your style, here's how you'll purl. Knit the first stitch, then bring the yarn to the front of the work. Insert the right needle into the next stitch from right to left, then bring the working yarn counterclockwise around the right needle.


Rotate the right needle back out of the stitch and let it slide off the left needle. Bring the working yarn to the back of the work and knit the next stitch before repeating with another purl stitch.

Step 3: Knit 1 Purl 1 Rib


Continue alternating knit and purl stitches for the rest of the row (abbreviated K1, P1 rib). Count at the end to make sure you still have 26 stitches. Rotate the work and start a new row, and repeat your K1, P1 rib for a few more rows.

You should start to see the knit and purl stitches stacking on top of one another, and if you flip your work back and forth, you can see the purl stitches recede on one side and their knit side appears prominently on the opposite side.
Step 4: Finishing Up

Continue in K1, P1 rib for the length of the scarf, adding new skeins of yarn when necessary. When it's your desired length (six feet or longer should be plenty), bind off the stitches similarly to the way you did the first scarf, but instead of knitting each stitch, alternate purl stitches as you have been doing.
Congratulations on your second knitting project! By now I hope you have a ton of confidence and a beaming smile. Next up we'll make a ribbed hat.
Class table of contents:


