

Introduction: Simple Microphone

Today we'll be teaching everybody how to build a microphone using easy to access items. Many of these items can be purchased for cheap or easily found in your house.
Throughout this project we encountered many obstacles. One was the fact that the original prototype would not produce the best audio. This is where our additions took place. Our improvements.
Step 1: Gather Your Materials


The materials you will need are:
- Paper (To create the box. You can also you different materials)- We had it around. You can buy a 100 page pack of paper for about $1-$2
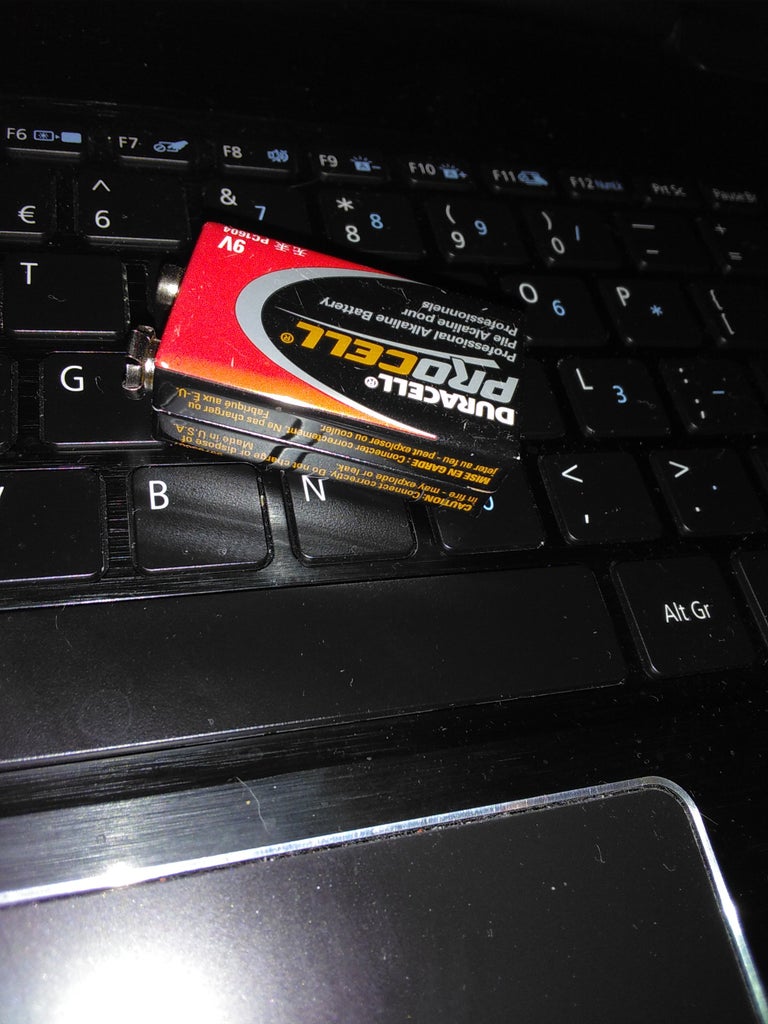
- Graphite (You’ll need 3 pieces)- You can find this in a standard wooden pencil. A box of pencils usually costs about $1. The graphite can also be found in a 6v battery. The battery costs $14
-A lead (You’ll need 3 of these)- These can be found at your local auto shop. They usually cost about 50 cents or $1 at most
-9v Battery (1)- These can be found at a lot of stores. Usually are $7-$8 a pack.
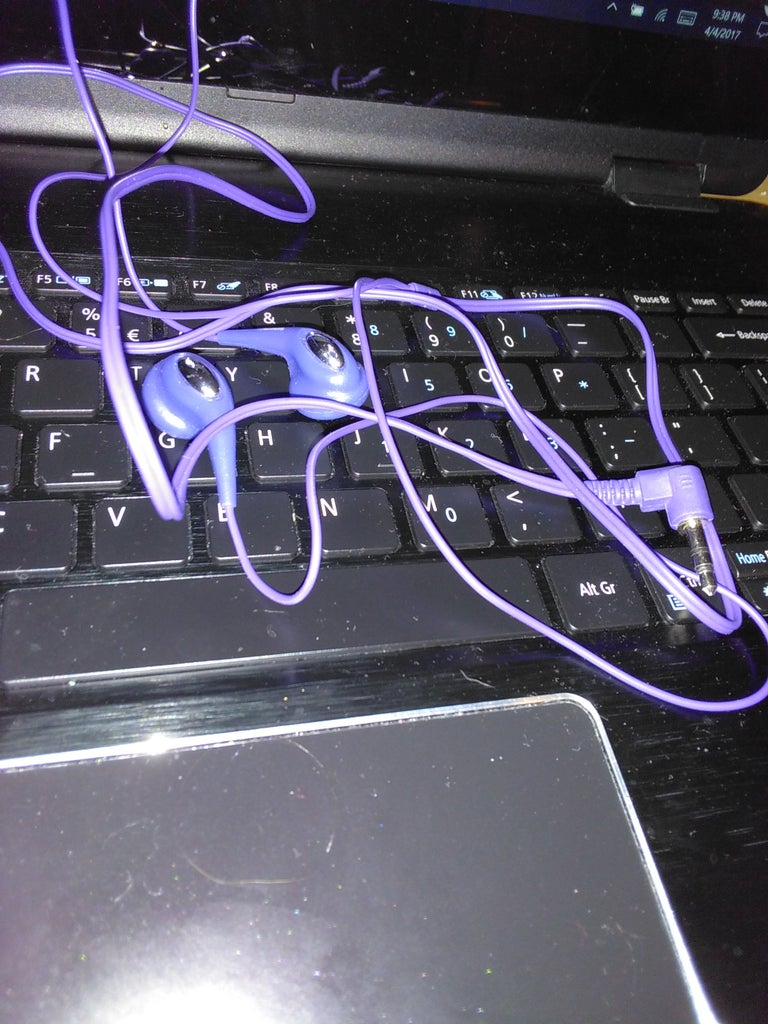
-Earbuds (One set)- These can be bought at any electronic store. They cost about $15. You want to get stereo earbuds
-Copper (Either plate or strips)- You can get these at a store such as Lowes or Home Depot. It will cost around $8.
(All pictures in order as typed)
Step 2: Start to Build!


-Begin by making the paper box. This is simple and should be able to be done by anybody.
-After you have completed the box, use a sharp object to cut holes (Cut with caution) into the side (Long side) that will be used to hold the graphite pieces.
-When you have gotten the holes cut, take your pencil and retrieve the graphite. When you get to the graphite, break it into 3 pieces. Two of the three will 2 inches in length. The last one will be 1 inch.
-Shave one side of the graphite pieces (All pieces) until it is flat. The graphite is retrieved and shaved down. You will now place the 2 inch pieces into the holes cut into the paper box.
-With the shaved sides facing up, place the 1 inch piece on top of the two 2 inch pieces. Shaved sides touching.
-Attach one lead to one end of the graphite piece. Then lead that same lead to the battery attaching it in the positive.
-Take another lead and clip it to the negative and lead it to the base of the earbud jack.
-Finally, take the last lead and clip it to the tip of the earbud jack and attach the other end to the last lead piece.
(All steps (2-6) shown in pictures)
Step 3: Try It Out and Add Improvement
-Try it out. Speak into the box with the graphite pieces. The audio will only come out of the left or right. One at a time.
-To add improvement, you can add pile the copper pieces across where the 1 inch graphite piece connects the 2 inch pieces. This will make the audio that comes from the microphone clearer.
-We had trouble at first getting ours to actually give off understandable audio. To improve, we added more copper pieces. We also tried to get the copper and the 1 inch piece of graphite to not touch any paper. This helped only a little but still produced audio.


