

Introduction: Soda Pop Safe


Here is an updated version of my earlier soda can safe, with some improvements!
I've highlighted the whole process below:
Step 1: Supplies


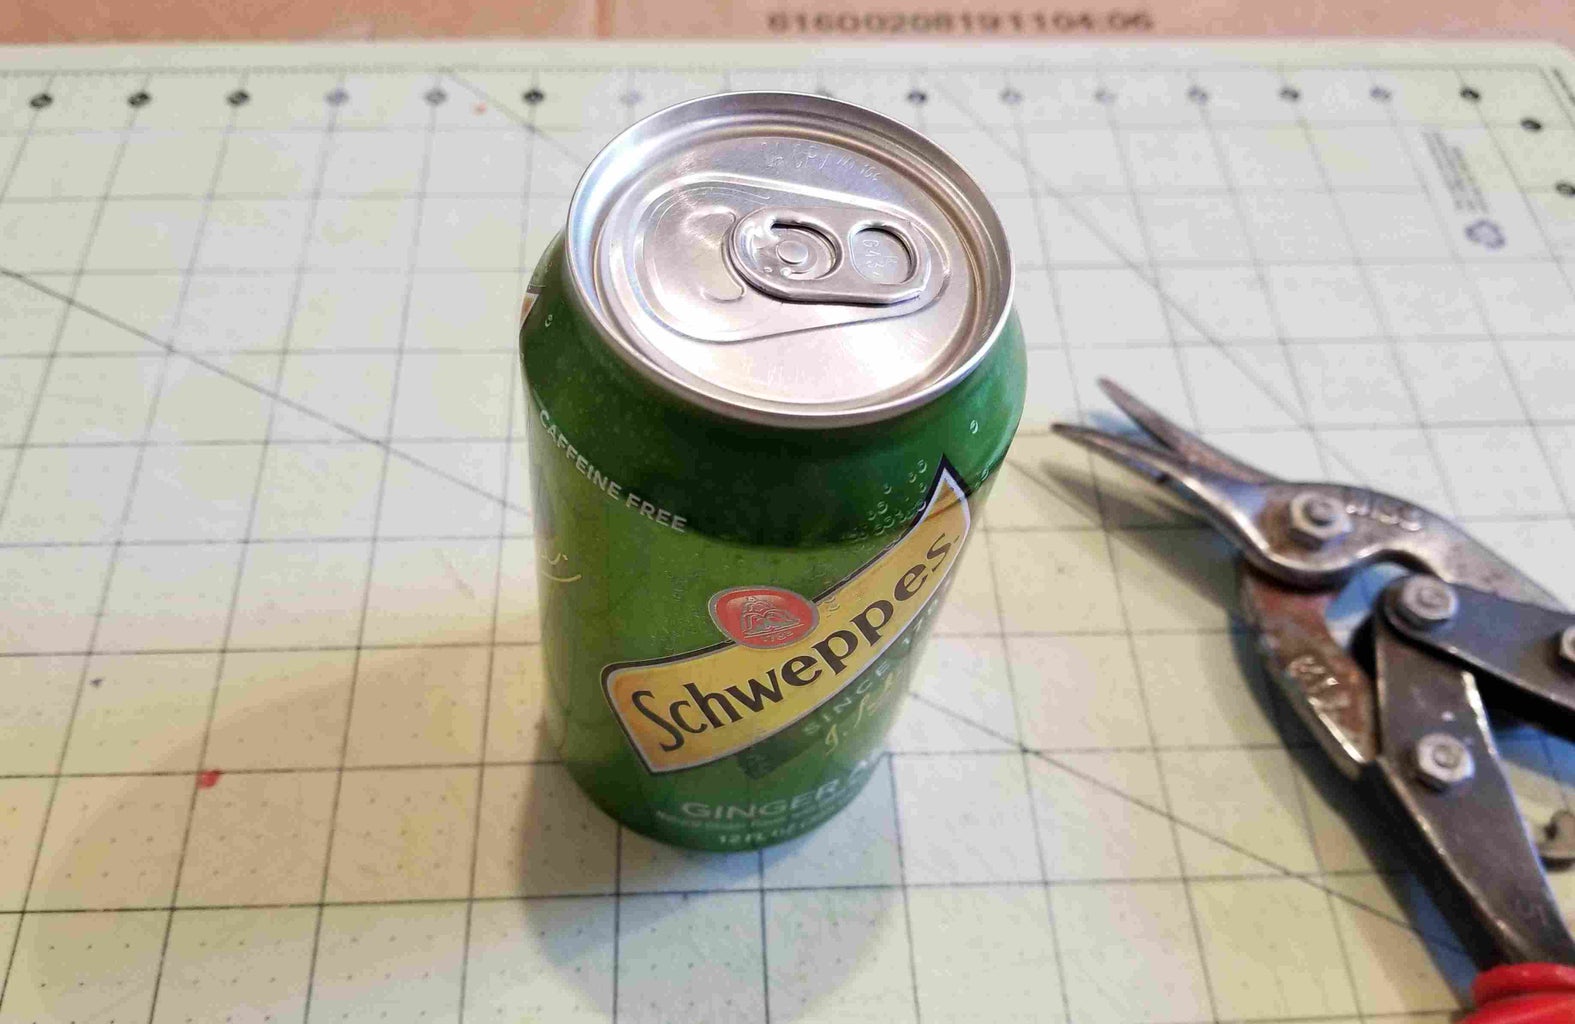
With the addition of two soda cans, here's what I used
- Tin-snips (metal shears)
- sharpie
- pliers or flathead screwdriver
- fine-grit sandpaper
One can is open, the other left sealed, but more on this later.
Step 2: Body of the Safe


Using the tin-snips, cut along the center around the lip of the can.
This leaves half the lip still on the can, so we can peel this off and cut along the indentation.
A pair of pliers or other implement was used to remove the other half of the lip, leaving an indentation
Use the snips to cut along this indentation, taking it slow to get it just right.
After that, sanding the lip removes metal burrs and dulls the surprisingly sharp edge
The bottom half is now complete, onto the top half!
Step 3: Sealed Lid


Take the sealed soda can and put a couple holes in the bottom to drain out the soda
Soda may spray everywhere, so take it somewhere out in the open, away from the precious tools
Use a sharpie or other implement to mark where you want to cut the can, keeping it nice and symmetrical
Cut along the line, and sand away the burrs and sharp edge
A screwdriver stem was used to bend and flatten the lid to nest in the open end of the other can
Step 4: Fitting It All Together


After both parts are done, they should pop together snugly, but don't force it too much.
If the cap is not flush enough, it will tear or dent the lip of the can, so take notice of those ridges!
This is a really fast project that can be done within the hour, and fairly simple as well!
If you liked it or found it intriguing, let me know below, and please VOTE!!

Participated in the
Travel Contest 2017


