

Introduction: Spline Modeling Flower Blossoms in 3DS MAX for 3D Printing


In this Instructable you will learn tips on how to create a organic looking flower in 3DS Max for 3d printing for a unique gift for such holidays as Mother's Day or Valentines Day.
Requirements:
- A Trial or Personal copy of Autodesk 3ds Max
- Some knowledge of the 3ds max interface.
- Autodesk Meshmixer.
- A 3D Printer.
- 12-18 Gauge floral stem wire (optional).
Step 1: Set Up System Units


The system unit is the standard measurement throughout 3ds Max. You should only change the system unit value before importing or creating geometry. This makes conversion easier between different software such as a design software to a 3d print slicer.
I personally like to work in Millimeters as most 3d print slicers use metric as the default system units.
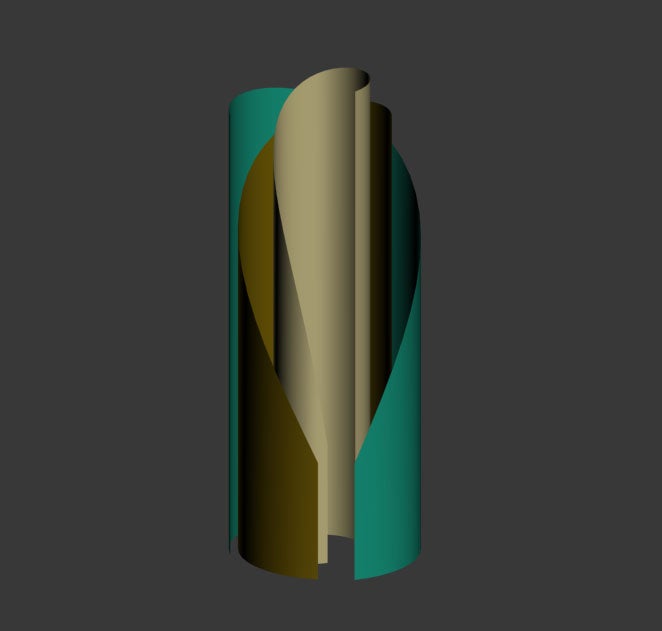
Step 2: Inner Petals
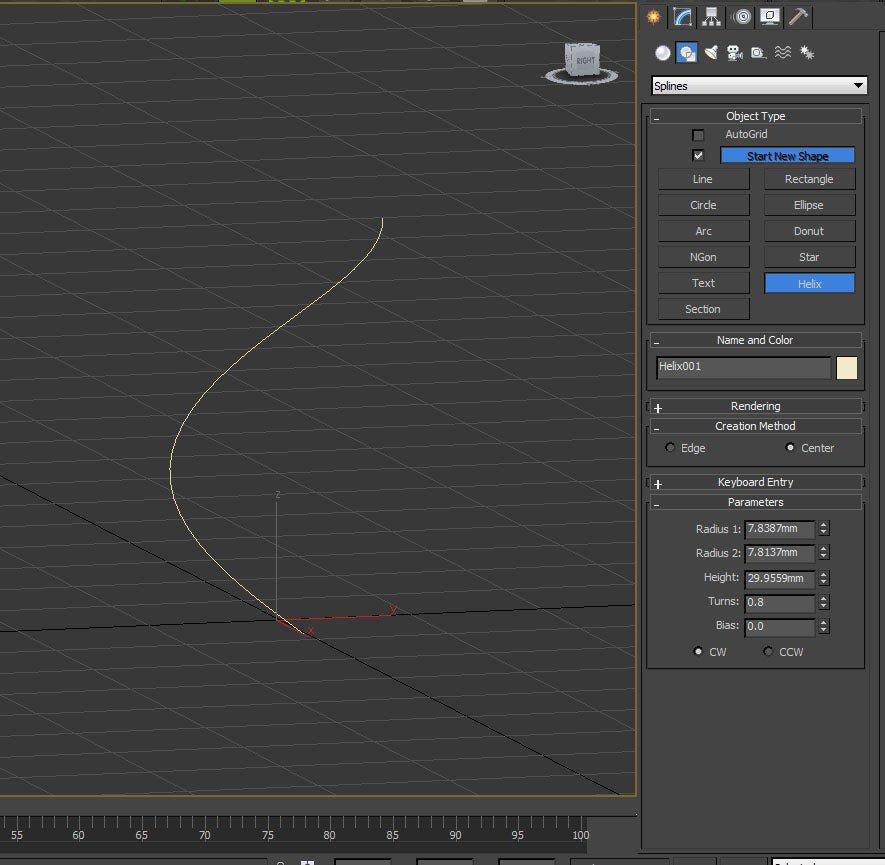
1) Start by creating a helix in the top down view. Experiment with the parameters. Sizing doesn't matter currently. I ended up using the following parameters:
- Radius 1: 2.3516 mm
- Radius 2: 3.6725mm
- Height: 29.9559 mm
- Turns: 0.93
- Bias: 0
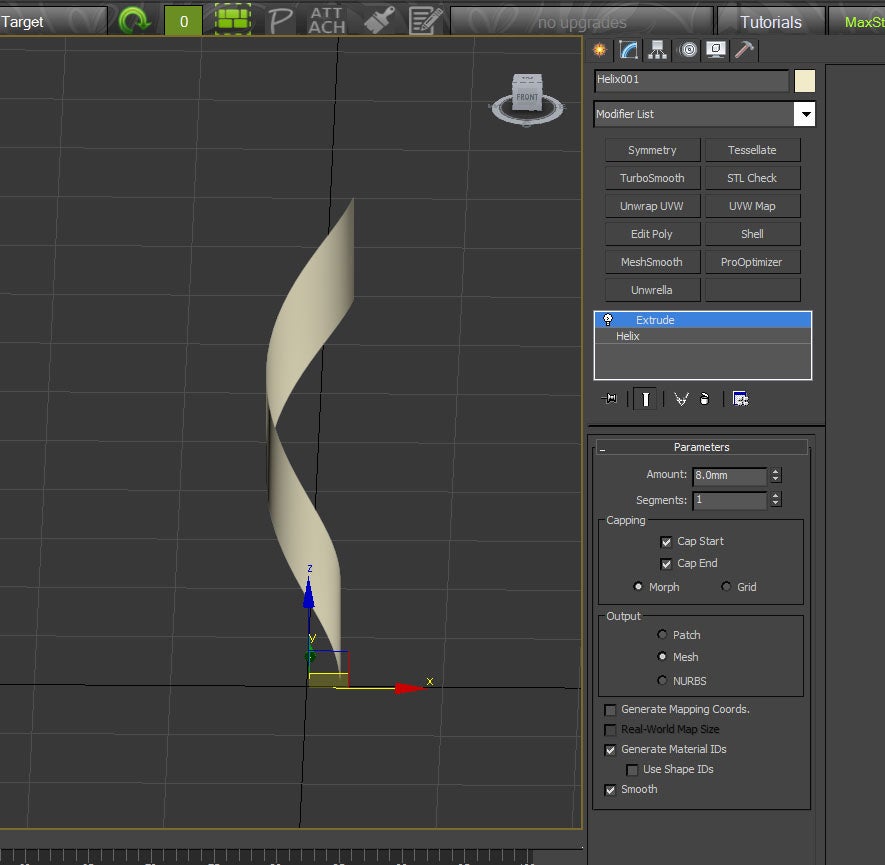
2) Next add a extrude modifier and give it a amount of 8 mm.
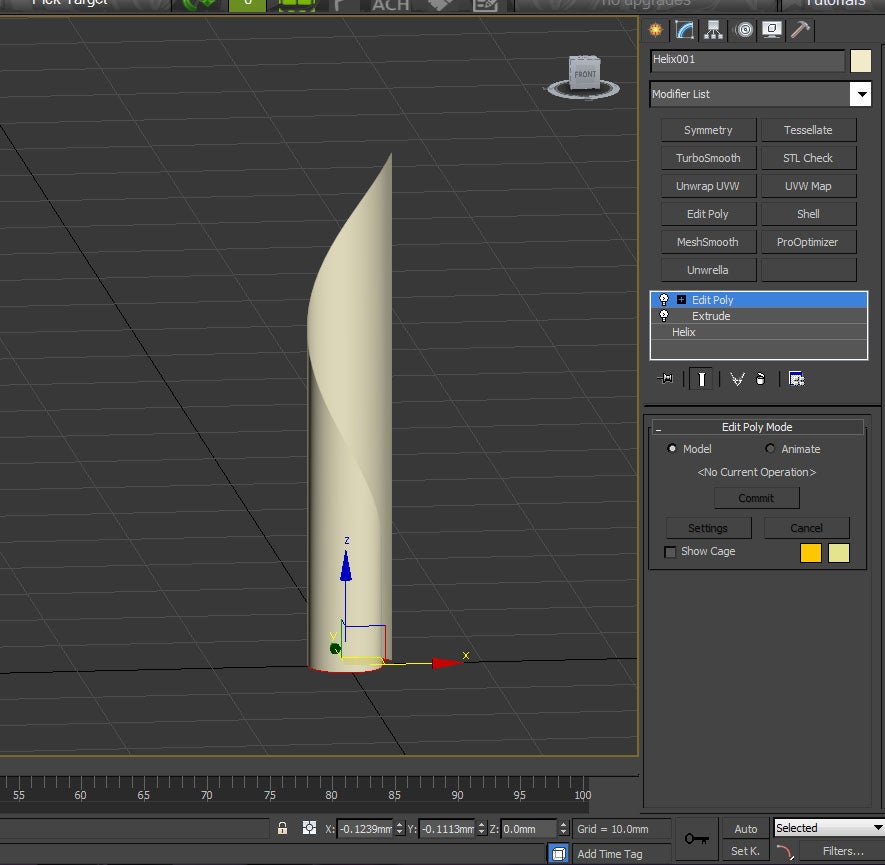
3) Add a Edit Poly Modifier. Grab the bottom edge of the mesh and make the edge planar on the z axis 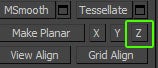
4)Then move edge so the selected edge Z origin is 0.
5) Repeat steps 1-4 two more times. Make each new helix slightly larger with different heights and rotations. Use the scale tool to adjust scaling as needed for all three.
6) Tessellate the meshes. You can do so by selecting the left edge of each mesh, press loop, and then connect. Add 10 connection lines.

7) Add Spherify Modifier to each mesh. Increase the percentage on each mesh from the center to the outer mesh. I usually put around 15 for the center, 33 for the next, and 44 for the outer mesh.
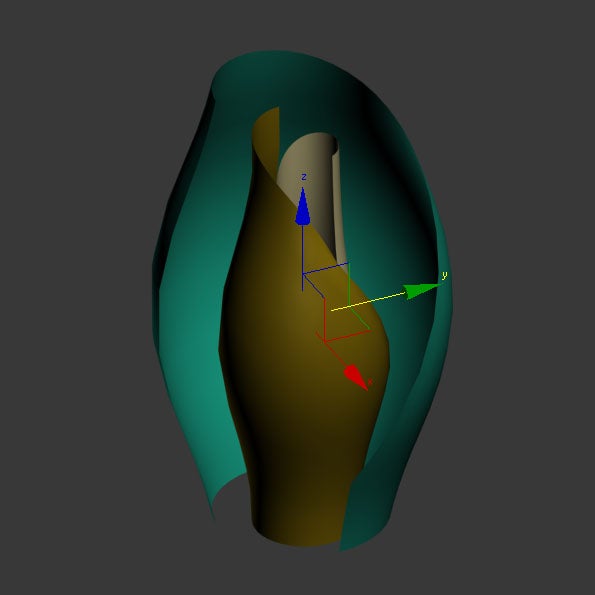
8) Add a Shell Modifier to your meshes. Add 2mm inner amount, 0 outer amount.
9) Add a MeshSmooth Modifier to all the meshes to smooth out the imperfections of the mesh.
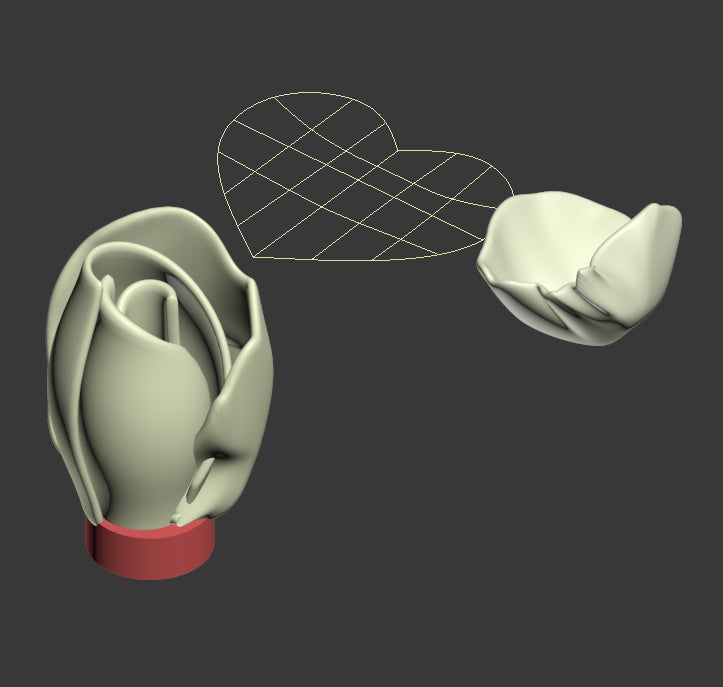
Step 3: Create Base

Add a cylinder to the base of your inner petals. Mesh only needs to be slightly larger than the inner petals but only 1/4 to 1/5 of the height.
Step 4: Create Petal
1) Start by accessing the Create panel and choosing the second icon from there for Shapes, and from there choose line. We'll start by drawing a heart.
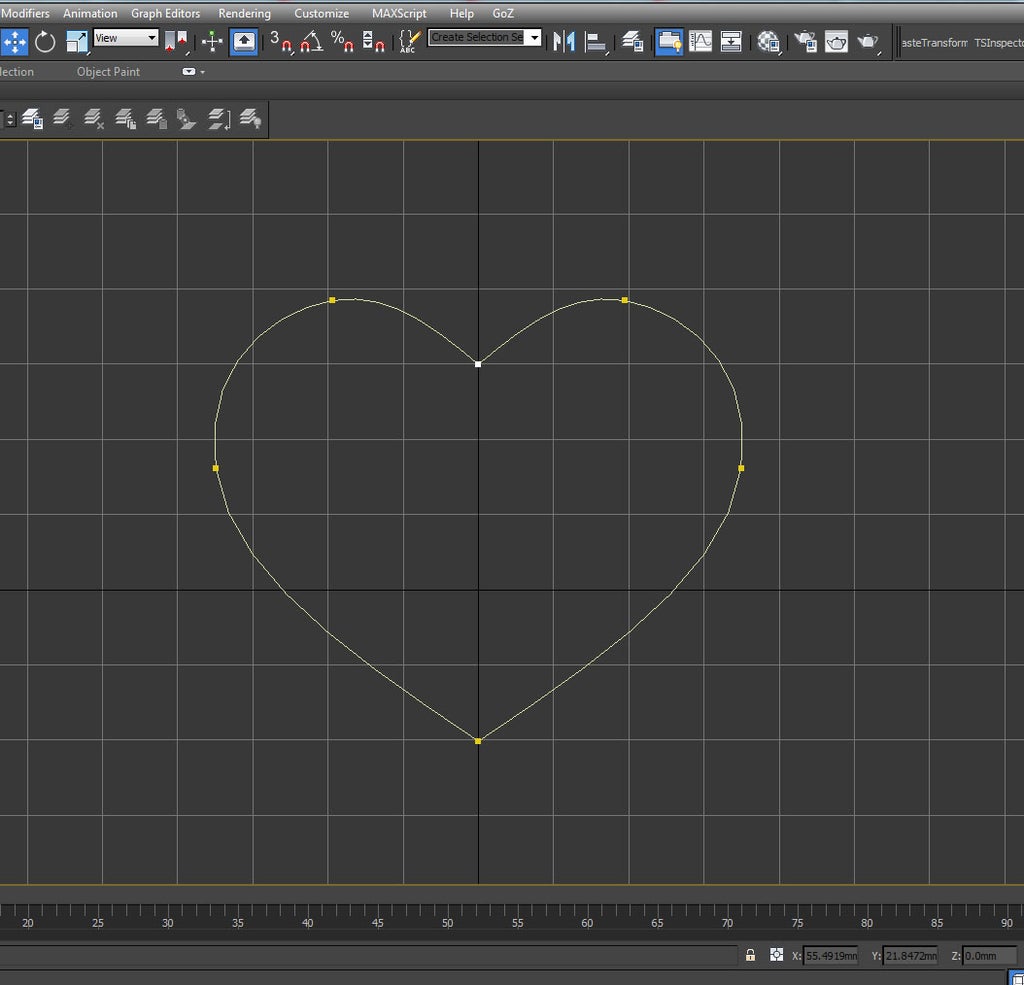
2) After completing your drawing, click on the spline and change the selection to vertex on the "Modify" panel.
3) In the subsection Geometry, check connect and click Refine,
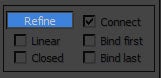
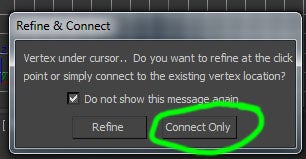
4) If a message pops up check "Do not show..." and click Connect Only.
5) Create topology by connecting lines. Note to create a new line you will need to right click to end the current line and re-click Refine in the side panel each time.

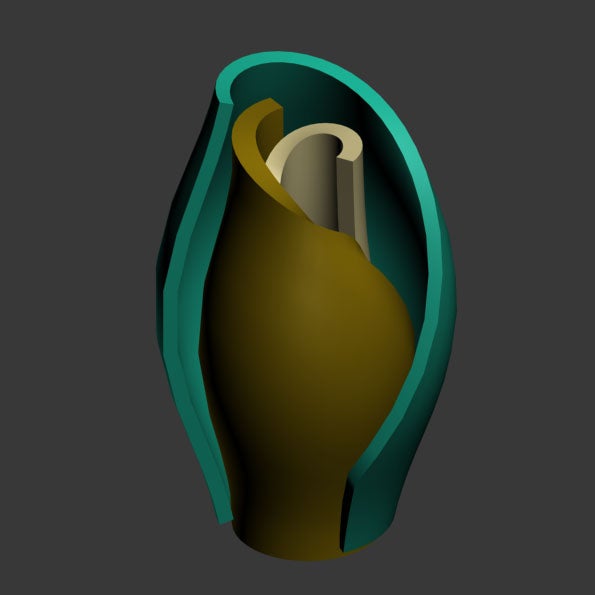
Step 5: Create Petal Variations
- Create a duplicate copy of your heart shape and give it unique name.
- Create a instance of the duplicated heart shape.
- Move/rotate instance copy toward inner petals and begin moving vertices into a another petal. Move vertices to create organic (curvy) shapes.
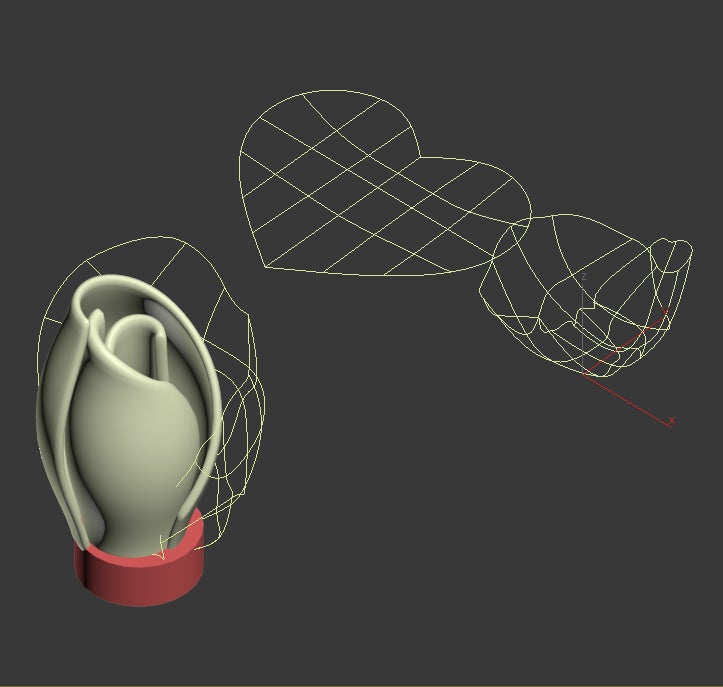
4. Add a surface modifier to one of the instances. Adding to one will add the modifier to the other.
5. Add a Editable Poly modifier to one of the instances.
6. Add a shell modifier to one of the instances. Add 2.0 mm to the outer amount to give the petal some thickness.
7. Repeat steps 1-6 and 4-5 more times. Create each new variation slightly large than the previous and rotate petals to flare out the farther from the center of the flower the petals are.
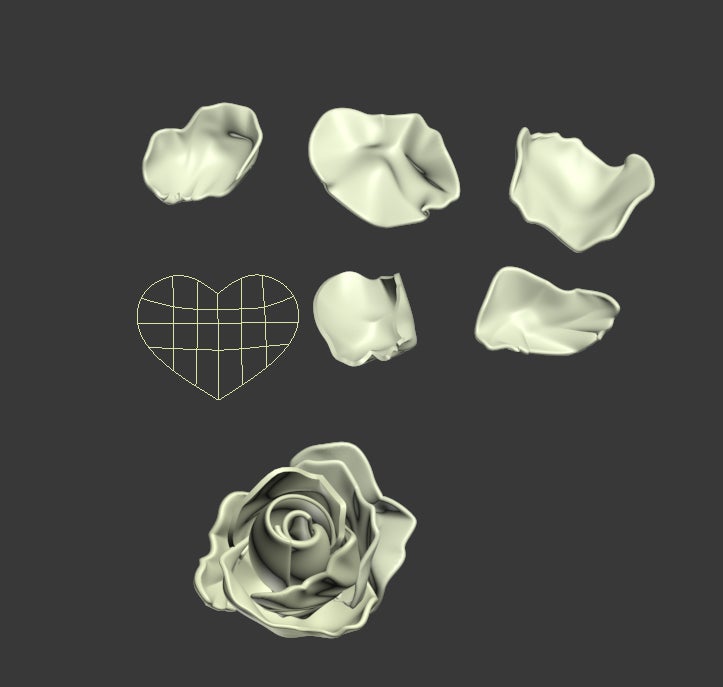
8. Add a meshsmooth modifier to all the petals to smooth out the geometry.

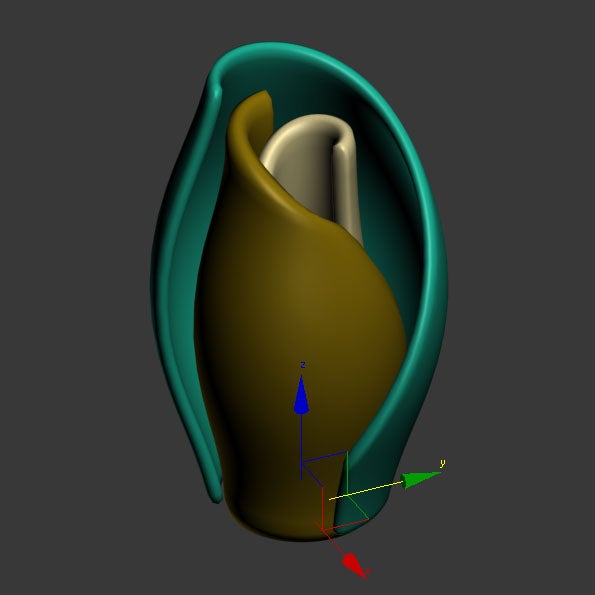
Step 6: Prepare Model
1. Select all the petals of the flower.
2. Scale up according to how big your want the blossom to be.
3. Go to File > Export> Export Selected and export the flower blossom as a OBJ.
4. Import the OBJ into Meshmixer.
5. Go Edit > Make Solid.
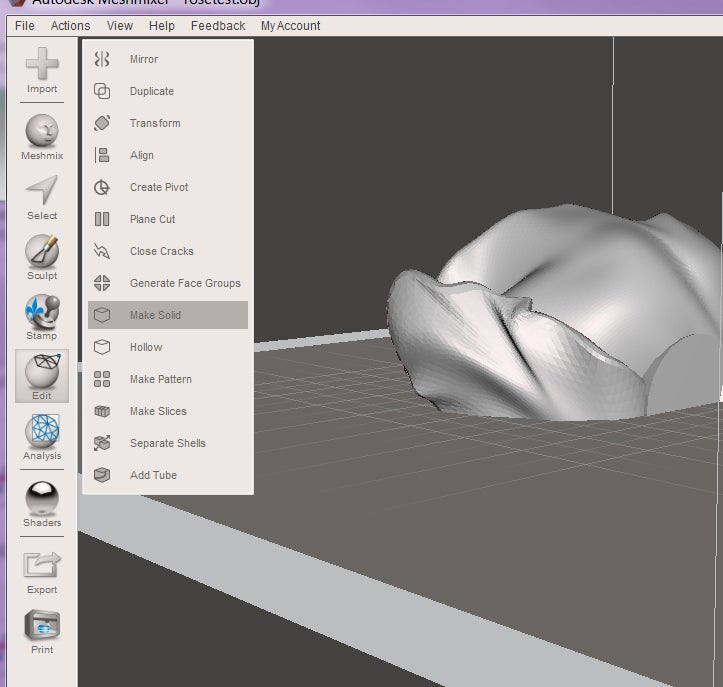
6. Change Solid Accuracy to 512 and click Update.
7. Click Accept. The will convert the flower blossom into a singular mesh with no intersecting geometry.
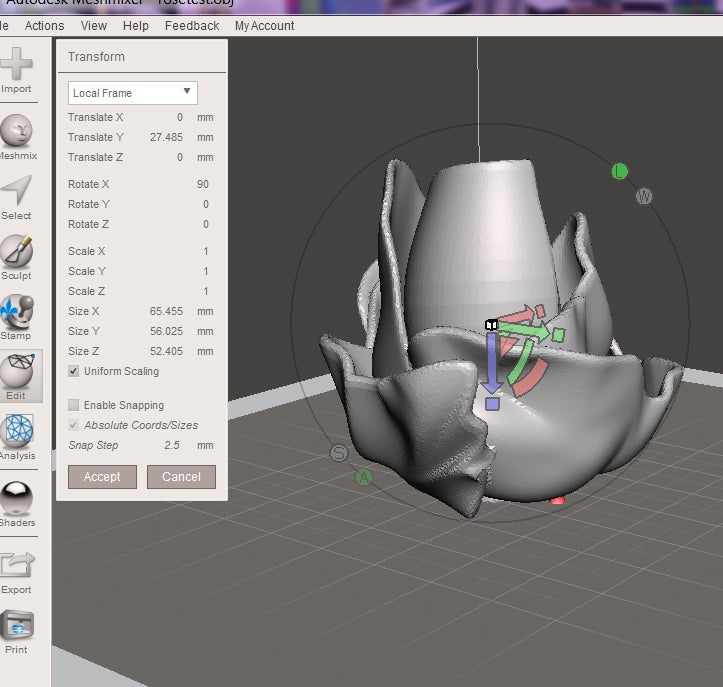
8. Next go to Edit > Transform. Orientate the blossom so it stands up correctly.
9. To give the flower blossom a flat base to make it easier to print got to Edit> Plane Cut.
10. Move the plane cutter to the bottom of the flower blossom. Cut anything that is lower than the cylinder.

11. Click accept when ready.
12. Export the final model as a STL.
Step 7: Print the Model


Print the model with your normal settings. I generally print large blossoms such as roses at a 0.3 mm layer height with a 15% fill in any color you like. With floral wire I will heat one end up with a lighter and then push the heated wire through the bottom of the printed blossom.

Runner Up in the
Flowers Challenge


