

Introduction: Standup Paddleboard Car Roof Rack


DIY Poolnoodle Roof rack • thick pool noodles • vinyl coated clothing wire • Zip ties
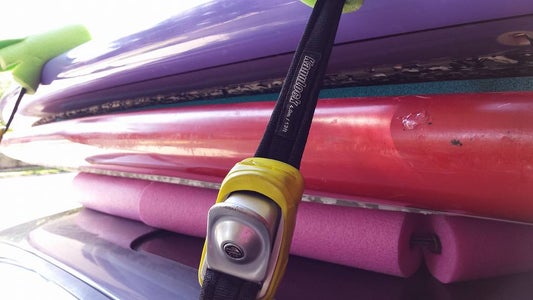
For Straps: Kanulock Straps - nylon coated wire straps with lock! Whatever cuts nylon, doesn't cut wire. Whatever cuts wire, doesn't cut nylon.
Step 1: The Design


Improved pool noodle roof rack. With my first design and this design, I got up to 90mph with 2 boards on my BMW (Kanulock straps) and it held solid! This is an improved design taking the roof and board shape into consideration as well as adding vinyl tubing & pipes inside the noodles.
Length of rack = 85% of car roof length
Width of rack = depends on board width but with decent amount of space to the roof edge
Works great on naked roof! Matrix style vs 2 single noodles prevents roof from denting in bc of weight distribution. Supplies needed:
- A sketch with your measurements of your roof
- Your Paddle boards as models
- 3 thick pool noodles
- 2-3 thin pool noodles
- Vinyl coated clothing wire
- Zip ties to secure ends of wire
- Measuring tape
- Marker
- Xacto-knife
- Wire Cutter
- Cargo straps (run thru frame of car)
- (Preferential: extra pool noodle pieces to cushion edges of board, depending on the straps, they may or may not leave marks or dents the tighter you'll pull the straps. And tying the straps tight and secure should be your first concern)
Step 2: Cutting the Noodles in Place


The Length of this rack should be about 85% of your car roof length, mostly depending on the concavity of your car roof tho. It needs to fit. No wobble, no excess! Safety first!
- Line up the noodles in a grid and cut them accordingly.
- thick noodles build the outside of the rack because of the shape of your board (see Pic)
- pull clothing wire thru the noodles tentatively so you are able to see how it lines up without them rolling off the board and also to keep them in place to not lose track of their position
- cut/correct accordingly
Step 3: Insert and Cut Vinyl Tubing & Pipe


I've used both, but really the use of either is fine as well as preferential as well as a fitting question. Thin and thick pool noodles do not have the same inner diameter. That was my main reason to use vinyl pipe on the thin noodles and vinyl tubing on the big noodles. Find whatever pipe or tube you want as long as it fits snug.
The main reason for this design is being able to really tighten the wire, without it eventually cutting thru the pool noodle, rupturing it and you having to redo the whole thing OR even worse, causing an accident on your Drive.
Step 4: Wiring the Rack


This step is super important!
- Every pool noodle NEEDS to be connected with adjacents! Even if that means the wire runs thru the tube/pipe twice or triple.
- Pull tight as you go. Find something to cause a stop "in pull" where you start, like a clamp OR
- if you already know your wire's path, you may already zip tie the wire on its first round so that it allows you to pull the wire tight thru the rest of the tubes/pipes.
- This step may require a few attempts. It's ok. As long as the end result is TIGHT!
Step 5: Securing the Ends

- Zip tie and cut the remaining pieces off.
- Go a bit extra on the wire and tug it into the tube in case the rack does loosen up a bit, which it will over time, so it doesn't become undone and you can easily tighten it again.
Step 6: Fitting & Tying the Board Down


- The noodles should NOT go further out than your board.
- If so, retie it. You may or may not have to cut off more from the horizontal noodles
- For Straps I can recommend: www.Kanulocks.com
- regardless of straps, it helps to cushion the edges of your board when tying it tight. And you want the straps to be tight! Safety should be your first concern.


