

Introduction: Swinging Elf, Santa's Shop 2016


This hand made elf swings on a custom servo operated swing. My wife, Annelle, did the artistic elf work whlle I managed the mechanics.
Step 1: Parts

The elf is designed using Sculpy clay and he is dressed in clothes made using felt. The legs and arms are made with pipe cleaners.
Although I scanned and 3d printed the elf (to make it light weight), you could bake the clay and proceed from there.
The swing is made using wood, a standard servo motor, 3d printed parts, two 1/4 inch id (3/4 inch od) bearings and an Arduino Uno.
Step 2:

I scanned the elf using a MakerBot Digitizer, then in TinkerCad I added a 4mm hole (left to right) for the arm/shoulder and two 4mm holes (front to back) for the legs.
If you bake the clay model, don't forget to make these holes before it goes into the oven,
Step 3:

Paint the head to suit your whim.
Step 4:


Cut the pieces from felt.
Step 5:

Create the arms and legs. Two pipe cleaners were twisted together for each leg and the arm combination.
Step 6:

Sew the clothes together and glue on the hat.
Step 7:

The elf should look something like this.
Step 8:
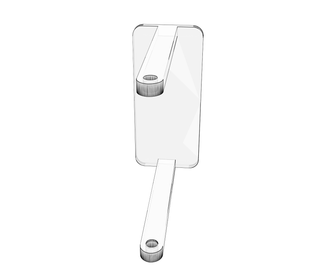
Print out a number of 3d parts. The "top" pieces will slide on the end of 1 x 2 lumber (about 7 inches long). The base is 1" x 5.5" x5.5".


Step 9:


Using 2-56 machine screws, connect the servo horn to the rod connector.
Step 10:

Slide the servo/horn assembly into the servo pole top bracket.
Step 11:

Slide the rod (end with a hole) through a bearing and slide this into the servo top assembly. Slide the swing assembly onto the rod. Slide a bearing onto the end of the rod.
Step 12:

Slide the assembly onto the top of the 1 x 2 wood frame. Fasten the rod to the servo assembly by inserting a 2-56 machine screw through the rod/connector holes. Secure with a 2-56 nut.
Step 13:

Secure the swing to the rod by melting the plastic (using a soldering iron) or super glue.
Step 14:

From the servo motor, attach the yellow wire to digital pin 2 of the Arduino. Red should go to the 5v pin and black to gnd. Install the sketch included in this step and your little elf should be swinging.


