

Introduction: Switch-activated Arduino Electronic Dice Using an Adafruit NeoPixel Shield


There are various examples of electronic dice out there, but I wanted to build a switch-activated version for my daughter who can't use a conventional dice. She's used to playing with various switch-activated toys and switch-accessed computer games - I wanted to add to that so that she could play board game like I used to when I was her age.
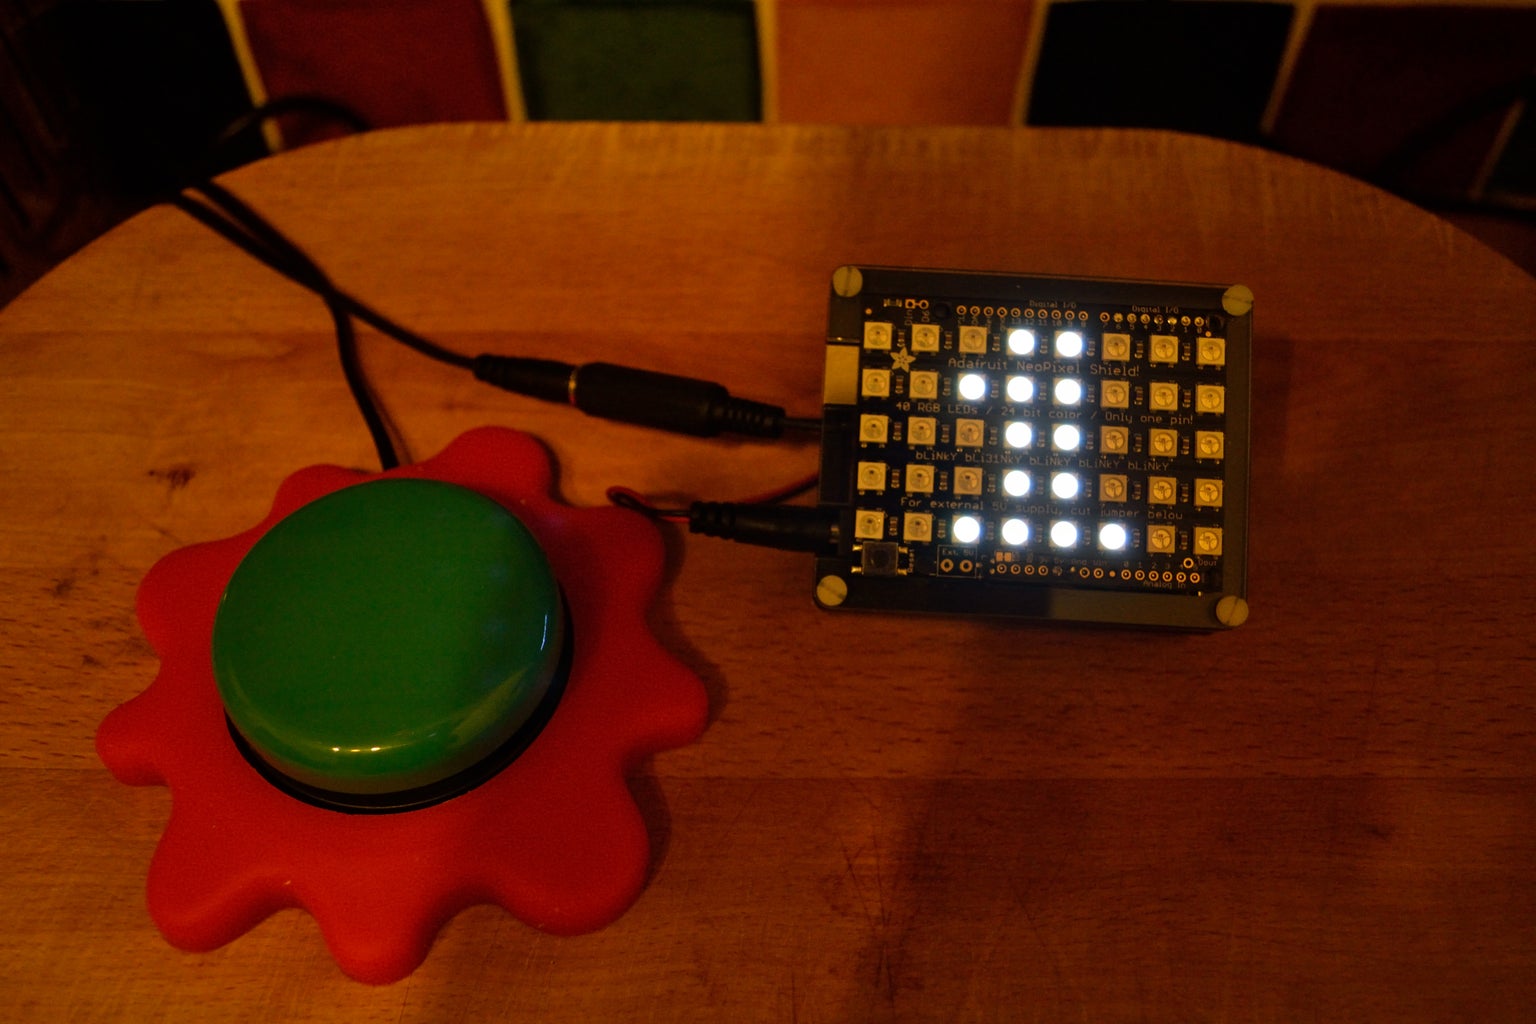
The Adafruit NeoPixel Arduino shield provides a simple way of addressing an array of LEDs. I found a nice case from ModMyPi (www.modmypi.com) to neatly contain the Arduino and shield into one attractive package. The switch I used was one of my daughter's existing momentary switches. As is common with these the switch features a 3.5mm mono jack.
This is my first project with an Arduino!
Step 1: Parts List
Arduino Uno
Adafruit NeoPixel Arduino Shield (I used the RGB version)
Switch (I used a Jelly Bean Twist switch with Splatz switch mount from www.inclusive.co.uk)
3.5mm jack adapter for the switch
Arduino case (I used a Zebra case from ModMyPi www.inclusive.co.uk)
Power supply cable
9v battery
Cables to wire the switch
Step 2: Set Up

Install the Arduino onto the base of the case as per the case instructions and install header pins to mount the NeoPixel shield.
Solder the cables for the switch to a digital pin (I used pin 2) and GND.
Complete the build of the case, install the NeoPixel Shield and solder into place.
Connect the switch and the power supply.
Step 3: Code
Each number is defined as an array of LED addresses which are activated within a FOR loop.
The time to display the number, brightness and colors are all defined at the start of the sketch.
Switch activation causes a random number between 1 and 6 to be generated. A series of IF statements then displays the number for the set time.
Code is attached with plenty of comments, so should be easy to follow.

Step 4: Play!


Select your board game and play!


